How to print with TM3D PETG

PETG (Polyethylene terephthalate with glycol) is a versatile 3D printing material that offers the perfect balance between the strength of ABS and the ease of use of PLA. It is tough, wear-resistant, moisture-resistant, and has excellent layer adhesion, making it ideal for both functional parts and visually appealing prints.
Unlike PLA, PETG is more resistant to heat, UV, and chemical influences. At the same time, it is much easier to print than ABS, without the need for a closed printer enclosure. PETG adheres well to various build surfaces but requires some attention to details such as retraction settings and cooling to minimize stringing.
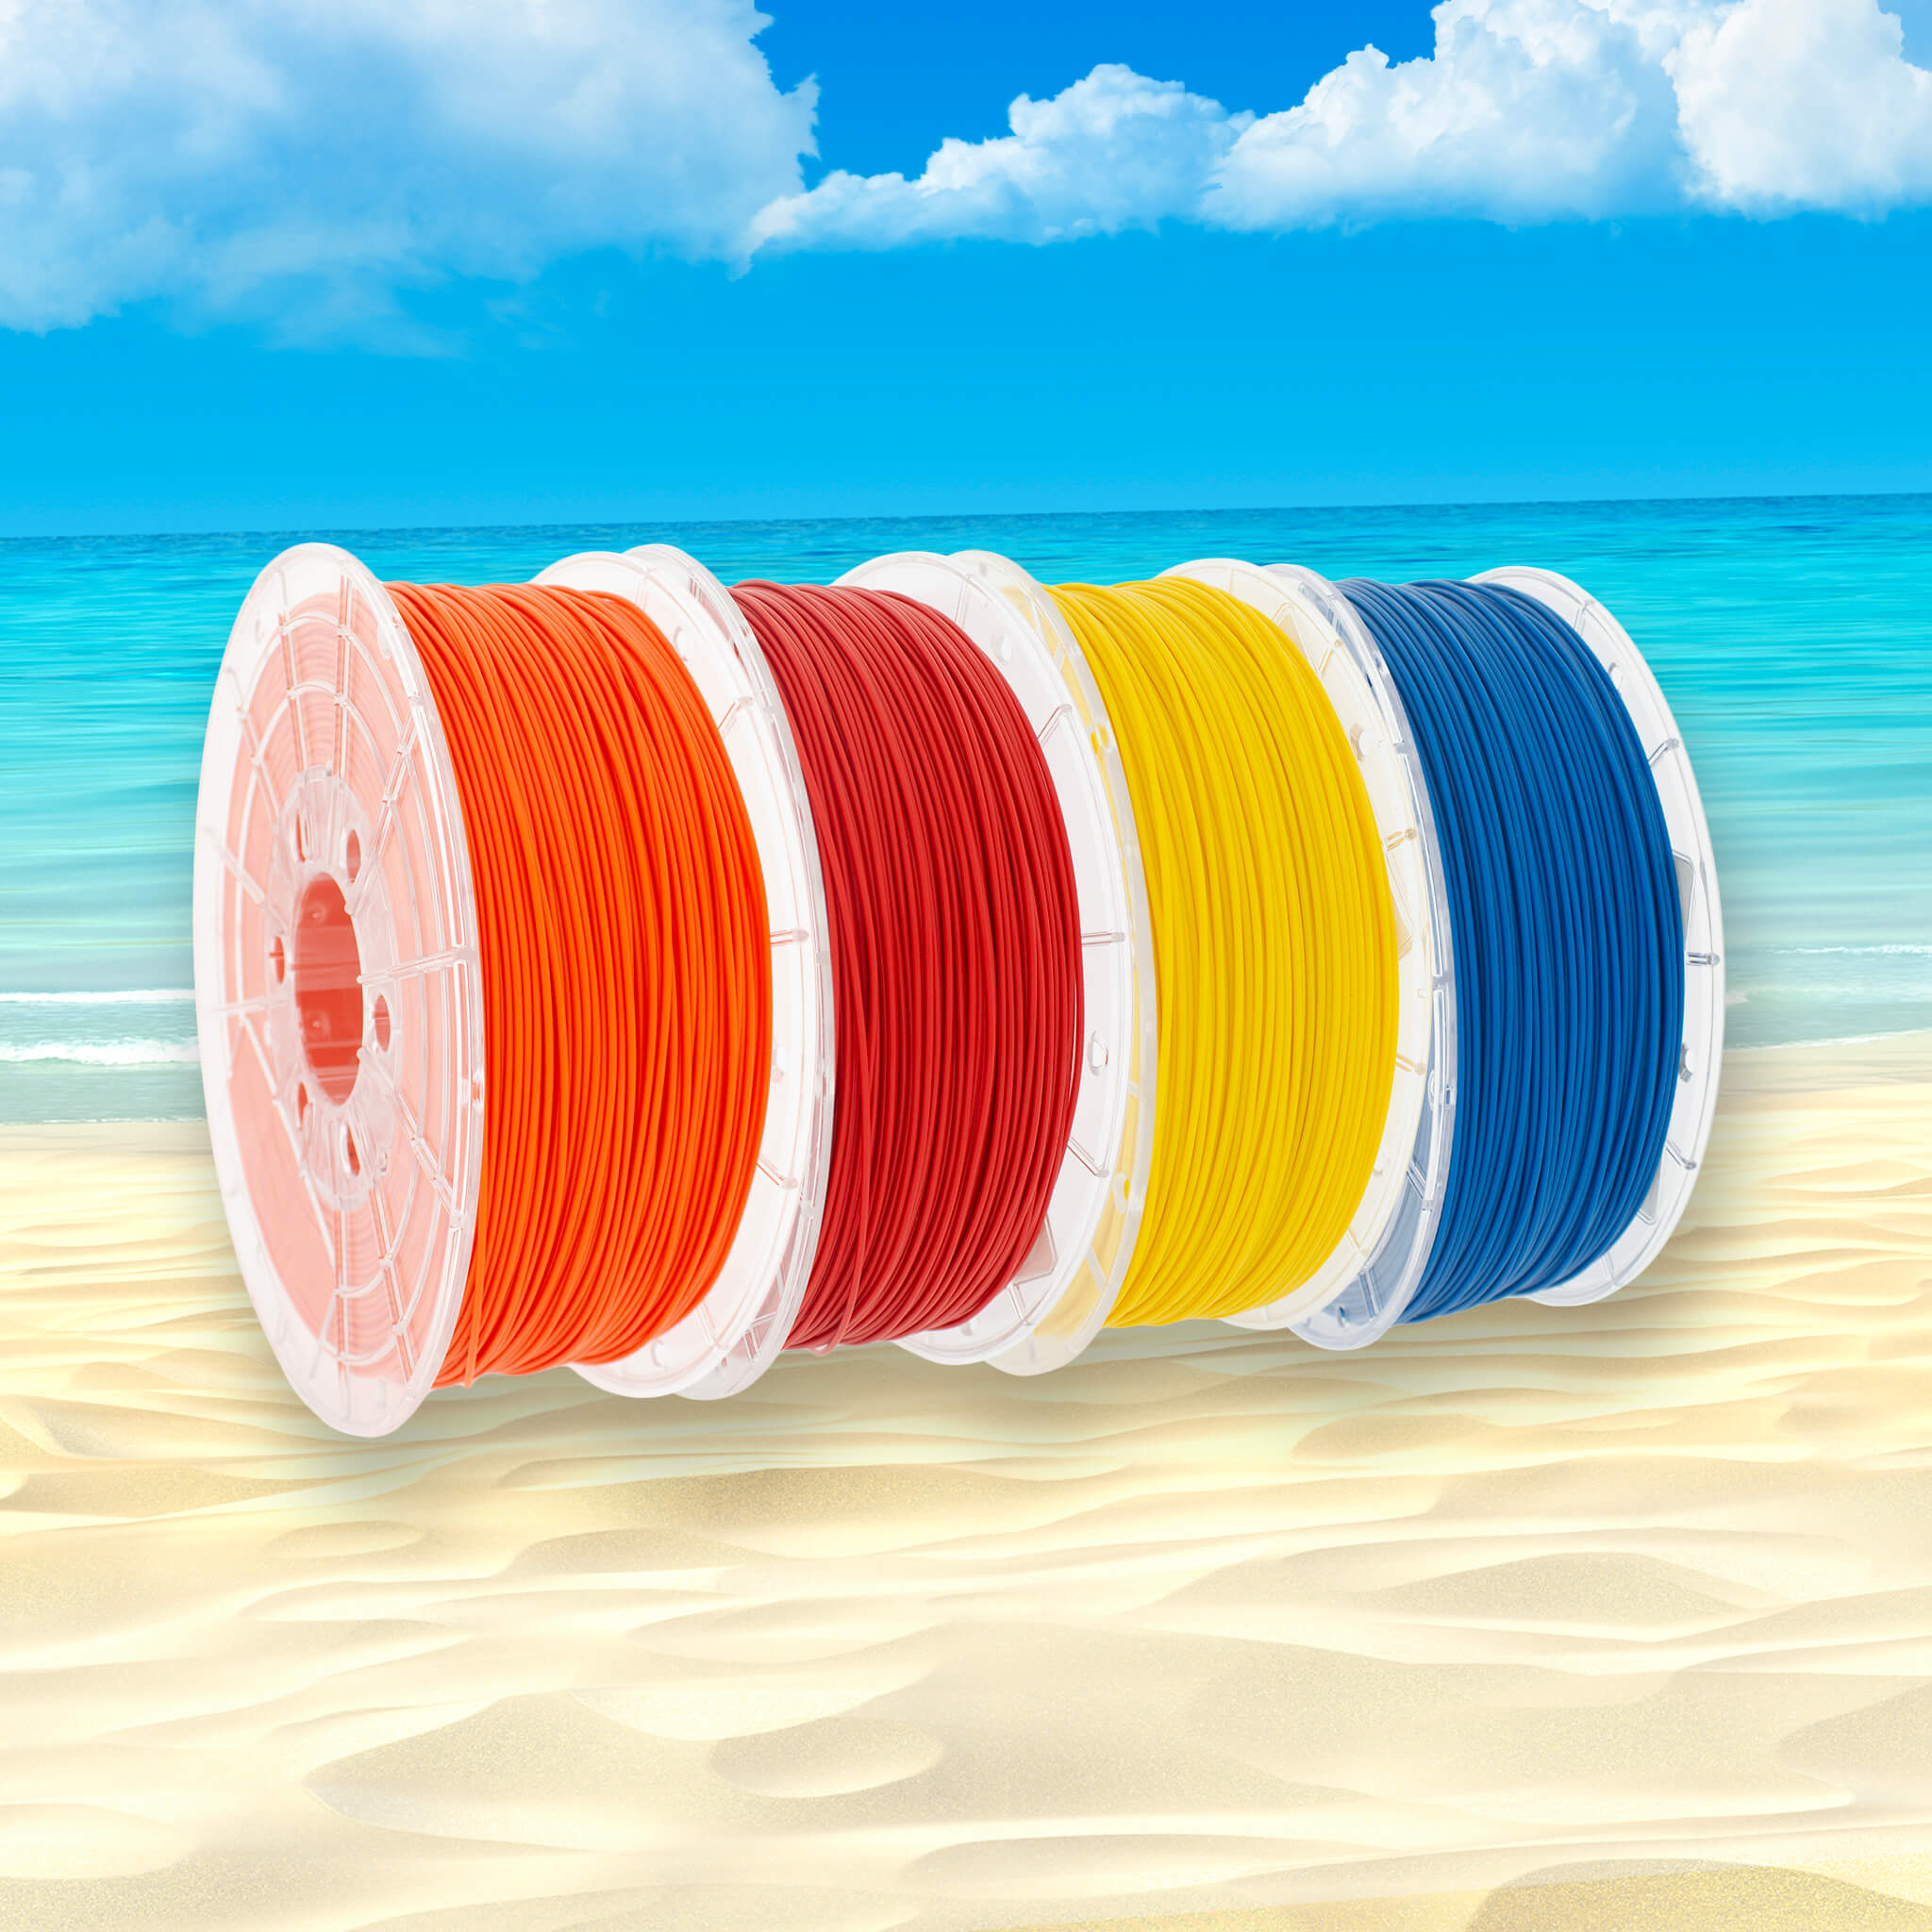
🧵 Filament settings (TM3D PETG)
-
Type: PETG
-
Filament ramming length: 10 mm
-
Filament prime volume: 45 mm³
-
Diameter: 1.75 mm
-
Flow ratio: 0.95
-
Density: 1.27 g/cm³
-
Shrinkage: 100 %
-
Softening temperature: 70
-
Travel time after ramming: N/A
-
Recommended nozzle temperature: 220–270 °C
-
Cooling: 0-10% (We print with fans OFF)
Print temperatures (bed and nozzle per plate):
Build Plate Type |
Initial Layer |
Other Layers |
Cool Plate |
0 °C |
0 °C |
Bambu Cool Plate (SuperTack) |
70 °C |
70 °C |
Engineering Plate |
70 °C |
70 °C |
Smooth PEI / High Temp Plate |
70 °C |
70 °C |
Textured PEI Plate |
70 °C |
70 °C |
Nozzle |
235 °C |
235 °C |
Volumetric Speed Limitation:
-
Max volumetric speed: 9-11 mm³/s
🎨 Print quality (Quality tab)
Layer Height
-
Layer height: 0.2 mm
-
Initial layer height: 0.2 mm
Line Width
-
Default: 0.42 mm
-
Initial layer: 0.50 mm
-
Outer wall: 0.42 mm
-
Inner wall: 0.45 mm
-
Top surface: 0.42 mm
-
Sparse infill: 0.45 mm
-
Internal solid infill / Support: 0.42 mm
Seam Settings
-
Seam position: Aligned
-
Smart scarf seam: ✅
-
Scarf angle threshold: 155°
-
Scarf steps: 10
-
Scarf joint for inner walls: ✅
-
Role-based wipe speed: ✅
Precision
-
Slice gap closing radius: 0.049 mm
-
Resolution: 0.012 mm
-
Arc fitting: ✅
-
XY compensation: 0 mm
Other
-
Elephant foot compensation: 0.15 mm
-
Ironing: Top surfaces
-
Wall generator: Classic
Advanced
-
Order of walls: Inner/outer
-
Bridge flow: 1
-
Only one wall on top surfaces: ✅
-
Smooth speed discontinuity: ✅
-
Smooth coefficient: 150
-
Avoid Crossing Wall: ✅
🧱 Strength settings (Strength-tab)
Walls
-
Wall loops: 2
Top/Bottom Shells
-
Top layers: 5
-
Top shell thickness: 1 mm
-
Bottom layers: 0
-
Bottom paint penetration layers: 3
-
Top paint penetration layers: 5
-
Top surface pattern: Monotonic
-
Bottom surface pattern: Monotonic
-
Internal solid infill pattern: Rectilinear
Infill
-
Sparse infill density: 15 %
-
Pattern: Grid
-
Sparse anchor length: 400 %
-
Max sparse anchor length: 20 mm
-
Overlap with wall: 15 %
-
Infill direction: 45°
Advanced
-
Detect narrow internal solid infill: ✅
-
Ensure vertical shell thickness: Enabled
-
Detect floating vertical shells: ✅
⚡ Speed (Speed tab)
Initial Layer
-
Speed: 50 mm/s
-
Initial infill: 105 mm/s
Other Layers
-
Outer wall: 100 mm/s
-
Inner wall: 150 mm/s
-
Small perimeters: 50 %
-
Sparse infill: 135 mm/s
-
Internal solid infill: 175 mm/s
-
Top surface: 100 mm/s
-
Vertical shell speed: 80 %
-
Slow down for overhangs: ✅
Overhangs
-
10 % angle: 0 mm/s
-
25 % angle: 50 mm/s
-
50 % angle: 30 mm/s
-
75 % angle: 10 mm/s
-
100 % angle: 10 mm/s
Bridges
-
Bridge speed: 50 mm/s
-
Gap infill: 250 mm/s
Travel
-
Travel speed: 500 mm/s
Acceleration
-
Normal: 10,000 mm/s²
-
Travel: 10,000 mm/s²
-
Initial layer travel: 6,000 mm/s²
-
Initial layer: 500 mm/s²
-
Outer wall: 5,000 mm/s²
-
Top surface: 2,000 mm/s²
-
Inner wall: 0 mm/s² (possible error)
🧩 Support-tab
-
Support enabled: ❌
-
Type: Tree (auto)
-
Threshold angle: 30°
-
Remove small overhangs: ✅
Raft
-
Layers: 0
Advanced Support
-
Initial layer density: 90 %
-
Initial layer expansion: 2 mm
-
Top/Bottom Z distance: 0.2 mm
-
Top interface layers: 2
-
Bottom interface layers: 2
-
Support-object XY distance: 0.35 mm
-
Support-object first layer gap: 0.2 mm
-
Independent support layer height: ✅
🔧 Others-tab
Bed Adhesion
-
Skirt loops: 0
-
Brim type: Auto
-
Brim width: 5 mm
-
Brim-object gap: 0.1 mm
Prime Tower
-
Enabled: ✅
-
Width: 35 mm
-
Speed: 90 mm/s
-
Rib wall: ✅
-
Fillet wall: ✅
Special Mode
-
Slicing mode: Regular
-
Print sequence: By layer
-
Timelapse: Traditional
-
Fuzzy skin: None
Problem |
Solution |
Stringing |
Lower nozzle temp, increase retraction, dry filament |
Warping or lifting |
Increase bed temperature, use 3D Lac. |
Poor layer bonding |
Increase nozzle temp, decrease fan. |
Nozzle clogs/blobs |
Check flow rate (default for you: 0.95), test good extrusion |
Prevent stringing
-
Always dry PETG well (60–65 °C, 4–6 hours)
-
Use a filament drybox if you print for a long time
Bridges and overhangs
-
PETG flows more than PLA → lower bridge speed and extra cooling helps
Improve adhesion
-
Use brim or raft on small surfaces
-
Optionally apply "elephant foot compensation" (like you have set at 0.15 mm)
Tip: Start at the high end of the temperature range, and lower if you see stringing or blobs.
Retraction
-
Shorter than PLA: 0.6–2 mm depending on extruder type
-
Speed: 20–40 mm/s
-
Direct Drive: less retraction needed