


How do you print with TM3D PVA?
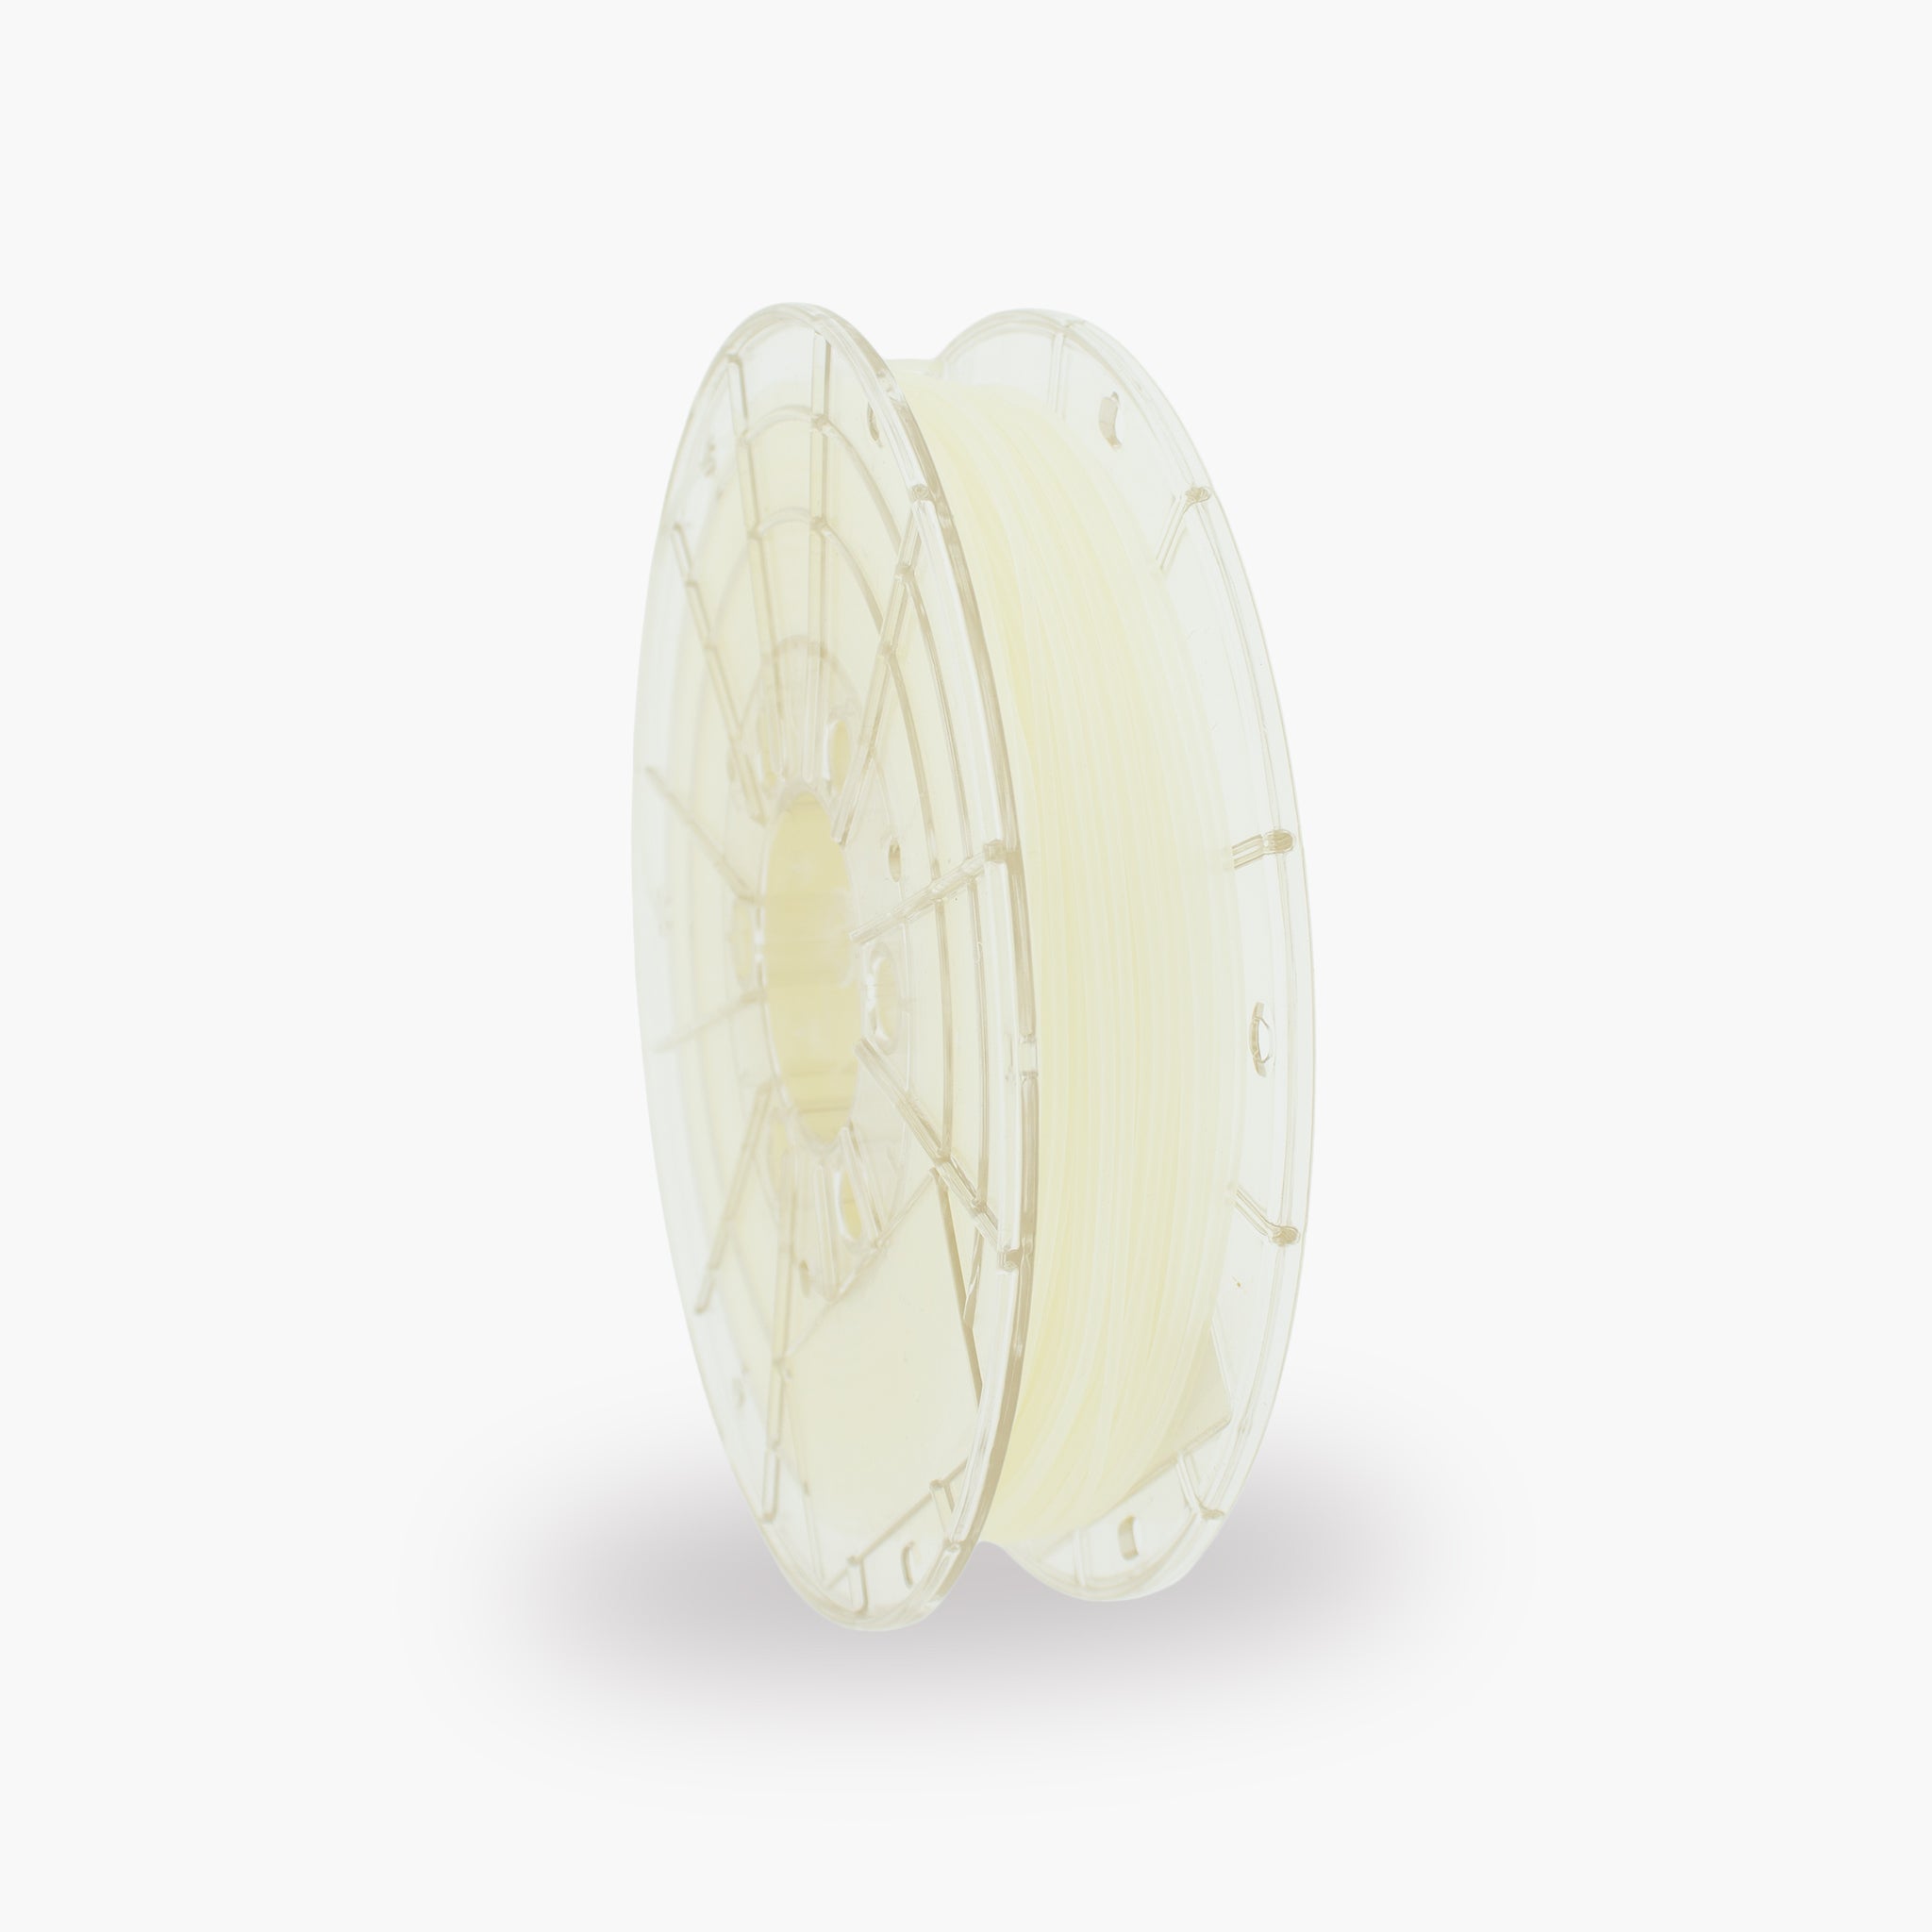
PVA is a water-soluble filament mainly used as a support material for complex 3D prints. This guide covers recommended settings, tips for dual extrusion, and solutions to common PVA printing problems.
The most important PVA settings
Use these settings as a starting point. The ideal values may vary depending on the printer, nozzle, main material, and print speed.
What is PVA?
A water-soluble support material for complex 3D prints.
PVA stands for polyvinyl alcohol. The material dissolves in water and is mainly used as a support material in printers with two or more material channels. This allows you to place supports in locations where support would normally be difficult or impossible to remove.
Advantages of PVA
- Water-soluble
- Suitable for complex geometries
- Supports internal cavities and channels
- No tools needed to remove supports
- Lower risk of damaging the model
- Can provide a cleaner contact surface
Suitable applications
- Internal channels and cavities
- Complex mechanical parts
- Moving parts printed as one piece
- Models with hard-to-reach supports
- Organic and curved shapes
- Prototypes with a neat underside
Recommended print settings for PVA
Start with the values below, then adjust one setting at a time.
| Setting | Recommended value | Explanation |
|---|---|---|
| Nozzle temperature | 190–215 °C | Start around 200–205 °C. Do not use unnecessarily high heat, as PVA can discolor or break down at excessive temperatures. |
| Print bed | 45–60 °C | Adjust the bed temperature to the main material and the print plate being used. |
| First layer | 15–25 mm/s | A slower first layer improves reliability and adhesion. |
| Other layers | 20–40 mm/s | A moderate speed helps maintain a consistent material flow. |
| First-layer fan | 0% | Keep the fan off during the first layer for good adhesion. |
| Fan for other layers | 30–100% | Adjust cooling to the main material, the geometry, and the desired layer adhesion. |
| Retraction | Limited | Frequent retractions increase the risk of PVA deteriorating in the nozzle due to heat and moisture. |
| Nozzle | From 0.4 mm | A clean 0.4 mm nozzle is a good starting point for most applications. |
Which materials can you combine with PVA?
The best combination depends on the printing temperature, bed temperature, and adhesion between the two materials.
| Main material | Suitability | Explanation |
|---|---|---|
| PLA | Well suited | The printing temperatures are relatively close to each other. As a result, PLA and PVA are a commonly used combination. |
| PLA variants | Often suitable | For Tough, Matt, or other variants, check that the required temperatures remain within the range of PVA. |
| PETG | Printer-dependent | PETG is generally printed at higher temperatures. Therefore, test the adhesion beforehand and check that the PVA is not exposed to high temperatures for too long. |
| ABS and ASA | Less suitable | The higher nozzle and chamber temperatures can damage PVA. For this, preferably use a support material specifically suited to higher temperatures. |
| TPU | Limited suitability | The combination can be challenging due to differences in flexibility, material feed, and adhesion. |
Preparing the printer
A clean nozzle and completely dry filament are especially important when using PVA.
Setting up PVA for dual extrusion
Correct calibration prevents shifted support, leakage, and contamination between the materials.
Check on the printer
- The position of both nozzles
- The nozzle offset in the X and Y directions
- The height of both nozzles
- Whether both materials extrude evenly
- Whether the unused nozzle drags across the print
Check in the slicer
- Which extruder prints the model
- Which extruder prints the support
- The purge or prime settings
- The standby temperature
- The support interface settings
Using PVA as a support material
With the right support settings, you use less material and the support dissolves faster.
| Setting | Starting value | Effect |
|---|---|---|
| Support interface | PVA | Use PVA only for the layers that make direct contact with the model. |
| Other support | Main material | Saves PVA and shortens the dissolving time. |
| Support Z distance | 0 mm or minimum | Because the support dissolves, the contact distance can be set smaller than with normal breakaway support. |
| Interface layers | 2–4 layers | Provides an even contact surface without using unnecessarily much PVA. |
| Support density | Model-dependent | Use only enough support to reliably support the model. |
| Prime tower | Recommended | Helps stabilize material flow after a changeover and reduces contamination between the two materials. |
Dissolving PVA support in water
After printing, you can remove the PVA by placing the part in water.
Adjusting the nozzle temperature
PVA is more sensitive to prolonged heating than many standard printing materials.
Temperature may be too low
- Irregular material feed
- Poor adhesion between support layers
- The extruder clicks or skips steps
- The filament has difficulty exiting the nozzle
- Support lines break during printing
Temperature may be too high
- Filament discoloration
- Dark or burnt residue
- Excessive leakage from the nozzle
- Increased risk of clogging
- Sticky or irregular extrusion
Troubleshooting common PVA problems
Click a problem to view the possible causes and solutions.
The PVA crackles or forms bubbles
- Dry the filament before continuing to print.
- Print directly from a drybox or filament dryer.
- Store the spool airtight with desiccant.
- Do not leave the spool unnecessarily in a humid room.
- Check that the packaging was properly sealed.
The PVA exits the nozzle irregularly
- First check that the filament is dry.
- Lower the print speed.
- Increase the nozzle temperature slightly.
- Check the nozzle for a partial clog.
- Check that the spool unwinds without resistance.
The nozzle becomes clogged
- Prevent PVA from remaining in a hot nozzle for extended periods.
- Use dry filament.
- Lower an excessively high nozzle temperature.
- Check the standby temperature during dual extrusion.
- Clean or replace the nozzle if necessary.
The support comes loose during printing
- Check the adhesion between the PVA and the main material.
- Reduce the support distance.
- Use more support interface layers.
- Lower the PVA print speed.
- Check the nozzle offset of the second extruder.
PVA does not adhere to the main material
- Check that both materials are suitable for combining.
- Increase the PVA temperature slightly.
- Reduce cooling around the contact surface.
- Check that the support distance is not set too high.
- Use a denser support interface.
The two materials blend together
- Use a prime tower or purge tower.
- Increase the purge volume after a material change.
- Check the retraction and wipe settings.
- Check whether the unused nozzle is leaking.
- Lower the standby temperature of the unused nozzle.
The PVA discolors or becomes dark
- Lower the nozzle temperature.
- Prevent prolonged idling in the hot nozzle.
- Check the standby temperature.
- Remove burnt material residue from the nozzle.
- Use a lower print speed instead of additional heat.
The PVA breaks during feeding
- Check whether the filament is damp or degraded.
- Avoid sharp bends in the filament path.
- Check that the filament is not being pinched anywhere.
- Feed the filament in slowly and straight.
- Do not use damaged or severely deformed filament.
The support dissolves very slowly
- Remove large pieces of support manually first.
- Use lukewarm water instead of cold water.
- Move or circulate the water.
- Change the water when it becomes saturated.
- Use PVA only for the support interface.
A sticky film remains after dissolving
- Rinse the part with clean water afterward.
- Use a soft brush for hard-to-reach areas.
- Change the water during dissolving.
- Allow the part to dry completely.
- Repeat the rinsing if PVA residue remains.
Storing and drying PVA
Proper storage is an essential part of a reliable printing process with PVA.
Storing PVA properly
- Store the spool completely airtight
- Use sufficient active desiccant
- Store the material in a dry box
- Do not leave the spool open in the printing area
- Close the packaging immediately after use
- Preferably feed the filament from the dry box
Signs of damp PVA
- Crackling or popping sounds
- Bubbles in the extrusion
- A rough or foamy surface
- Excessive stringing and leakage
- Irregular material feed
- Increased risk of clogging
Material properties of TM3D PVA
The data below provides a general overview of the material.
| Material | PVA |
|---|---|
| Key property | Water-soluble |
| Filament diameter | Depending on the selected version |
| Recommended nozzle temperature | Approximately 190–215 °C |
| Recommended print bed temperature | Approximately 45–60 °C, depending on the main material |
| Recommended print speed | Approximately 20–40 mm/s |
| Moisture sensitivity | Very high |
| Enclosed print chamber | Not necessary for use with PLA |
| Suitable nozzle | A clean nozzle of 0.4 mm or larger |
| Use | Water-soluble support material for complex geometries, internal channels, and hard-to-reach supports |
The exact properties and recommended settings may vary by product variant, printer, and combination with the main material. Always consult the current technical data sheet before use.
Safe printing and working with PVA
Ensure a safe and well-equipped workspace during printing and dissolving.
- Ensure sufficient ventilation in the printing area.
- Do not touch the hot nozzle or heated print bed.
- Do not leave a printer running unattended unnecessarily.
- Keep the printer away from flammable materials.
- Use a suitable container to dissolve the PVA.
- Do not allow dissolved PVA to dry on tools or surfaces.
- Do not automatically use printed parts for food contact, medical applications, or safety-critical applications.
- Consult the safety data sheet for additional product information and waste-disposal instructions.
Frequently asked questions about PVA
What is PVA filament used for?
PVA is primarily used as a water-soluble support material. It is especially useful for internal channels, complex shapes, and supports in places that are difficult to reach with tools.
Can I use PVA as a regular model material?
Technically, PVA can be printed, but it is primarily intended as a temporary support material. Due to its high moisture sensitivity and solubility in water, it is generally unsuitable for permanent parts.
Which material works best with PVA?
PVA is often combined with PLA because the required printing temperatures are relatively close. For other materials, always test adhesion and temperature compatibility first.
Do I need a printer with two nozzles?
You need a printer that can work with at least two materials during the same print. This can be done with two separate nozzles, a swappable toolhead, or a suitable multicolor and multimaterial system.
Can PVA be used with any automatic material system?
That depends on the system. PVA is moisture-sensitive and can become softer or more brittle when not stored correctly. Therefore, check that the system supports PVA and keep the material dry during use.
How long does it take for PVA to dissolve?
The dissolution time depends on the amount of support, its thickness, the water temperature, and how much the water is agitated. Thin support interfaces dissolve faster than fully solid support structures.
Do I need to use warm water?
Lukewarm water can speed up dissolution. Do not use a temperature at which the main material or printed part could deform.
Why does my PVA nozzle keep clogging?
This is often caused by damp filament, too high a temperature, or PVA sitting in a hot nozzle for too long. Check the storage conditions, dry the material, and set an appropriate standby temperature.
Can I make only the support interface from PVA?
Yes. This is often the most efficient method. The main support structure is printed with the model material, and only the contact layers are made of PVA.
How should I store an opened spool of PVA?
Immediately after use, store the spool in an airtight container or drybox with sufficient desiccant. Do not leave PVA exposed to ambient air longer than necessary.
Ready to print complex models with PVA?
Discover TM3D PVA filament for water-soluble supports, internal channels, and complex 3D prints with hard-to-reach support structures.
View the PVA filament