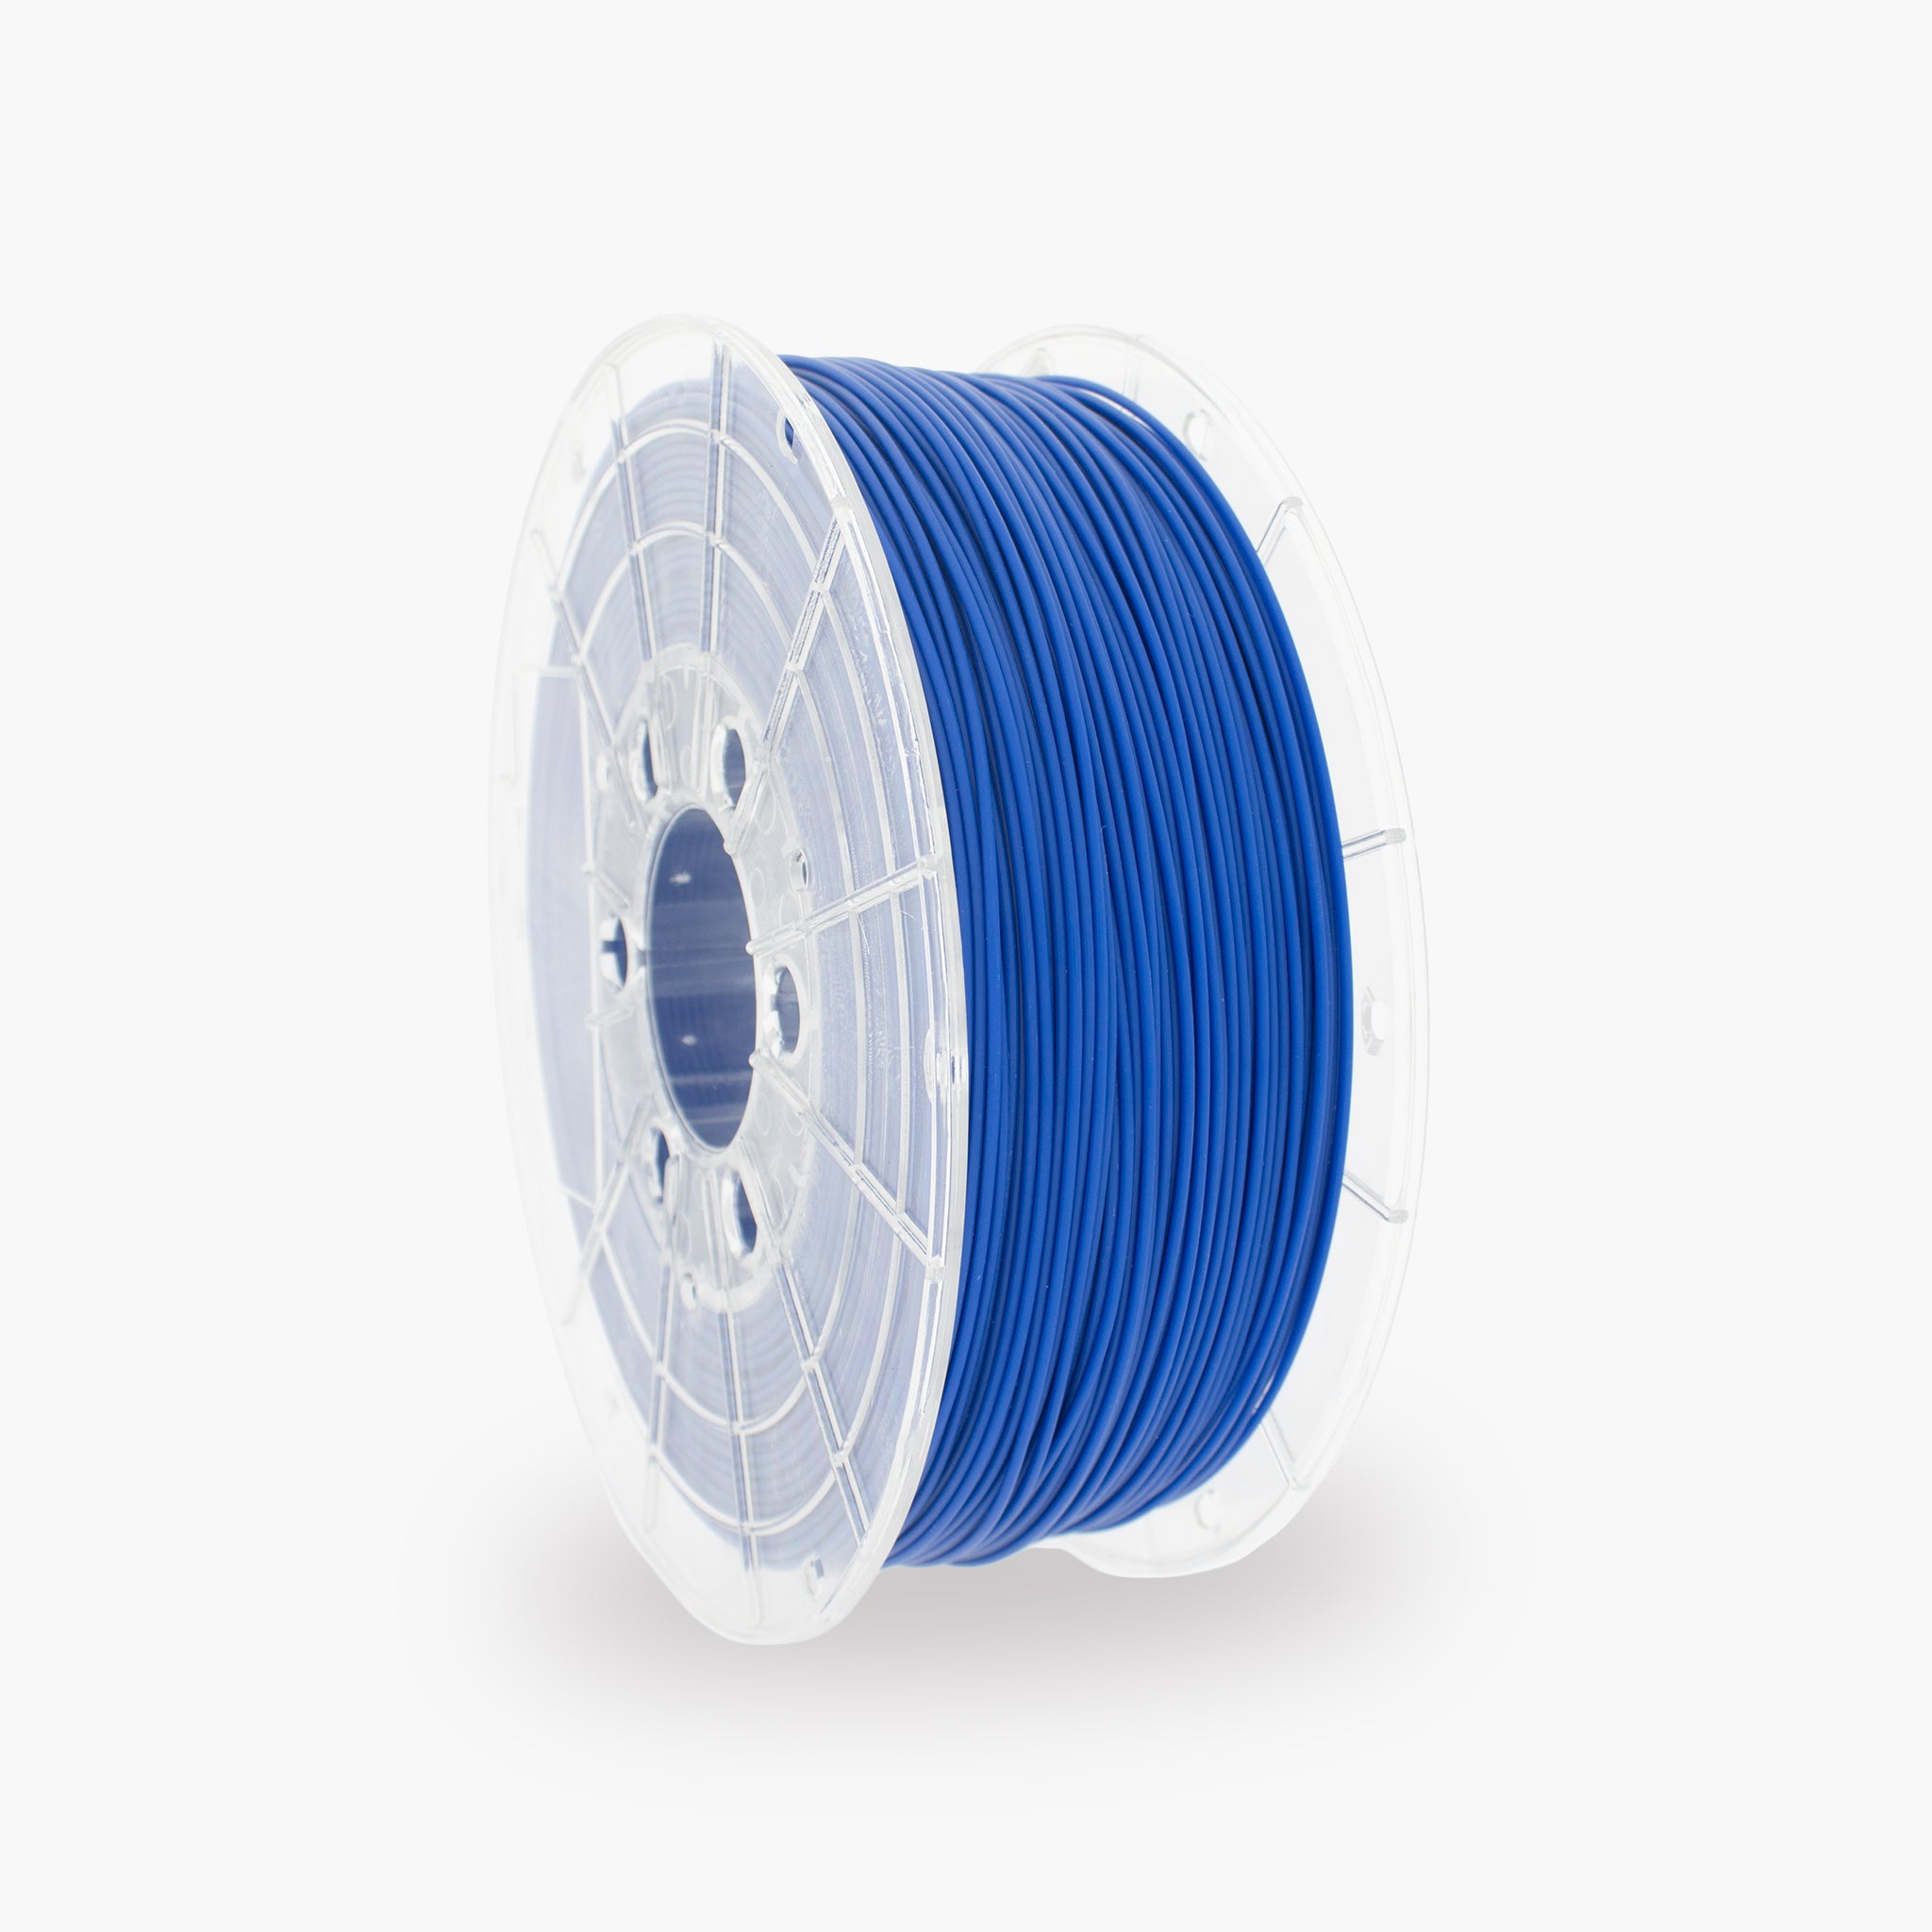

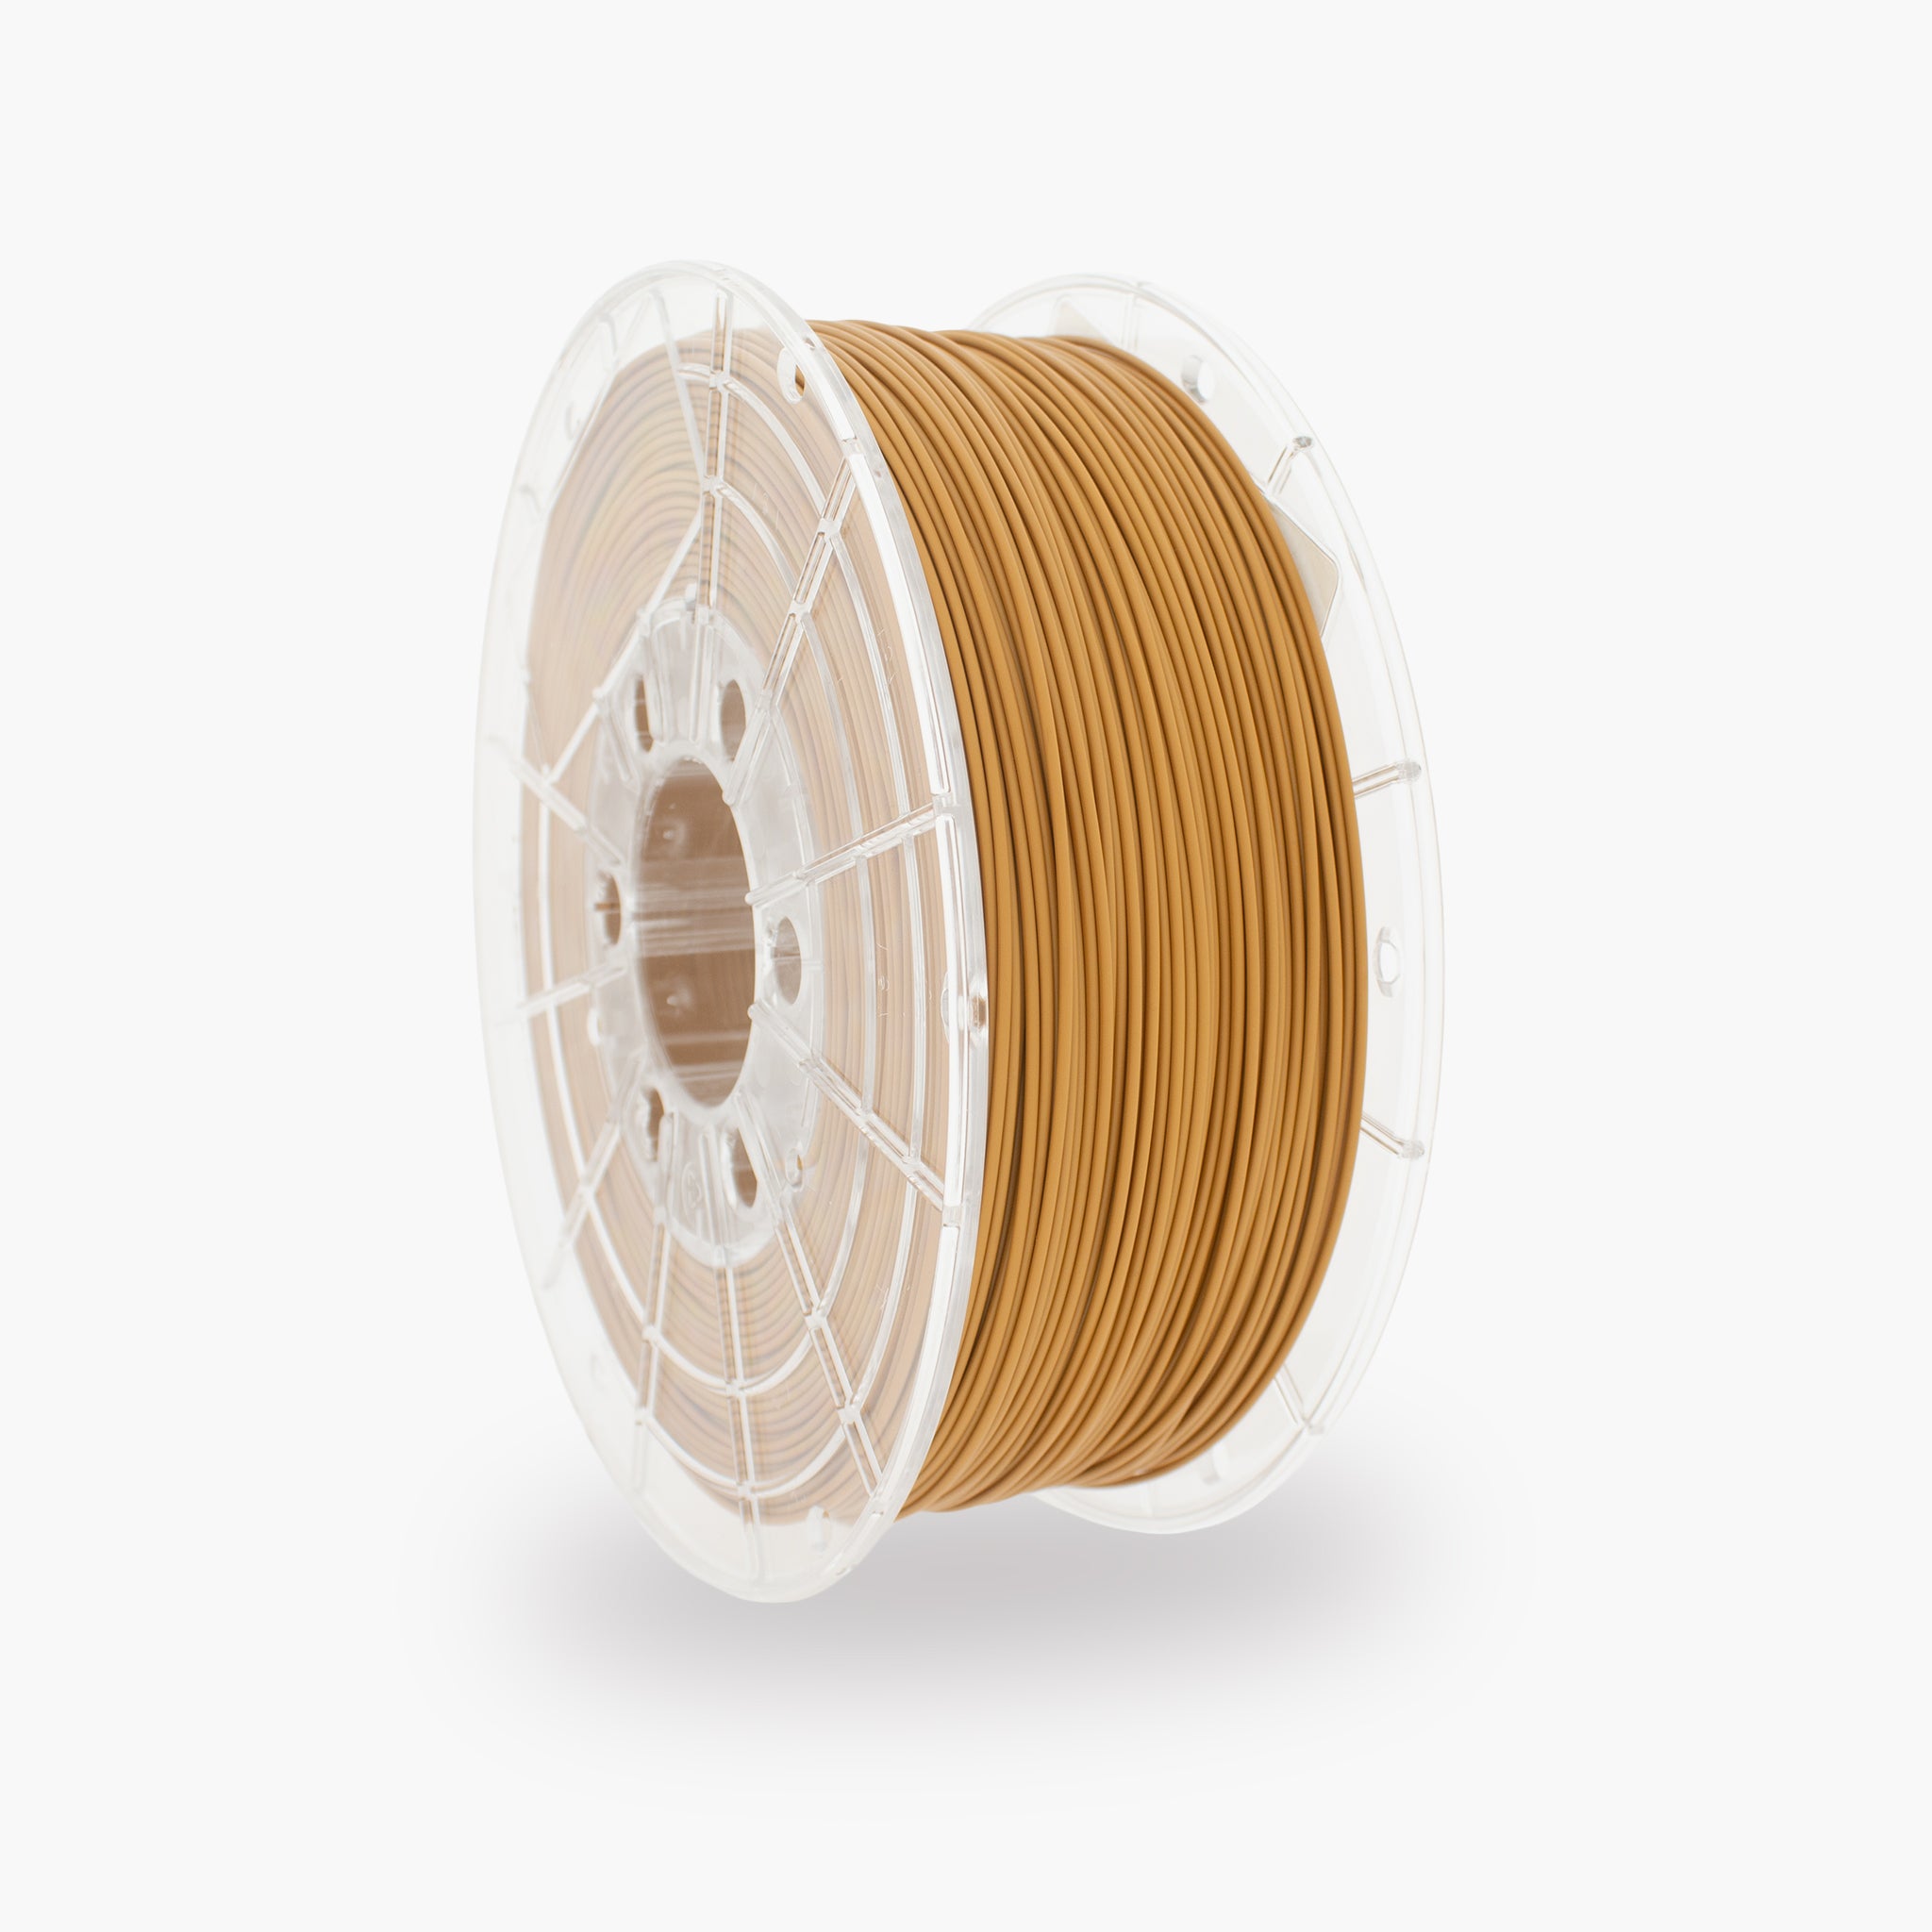
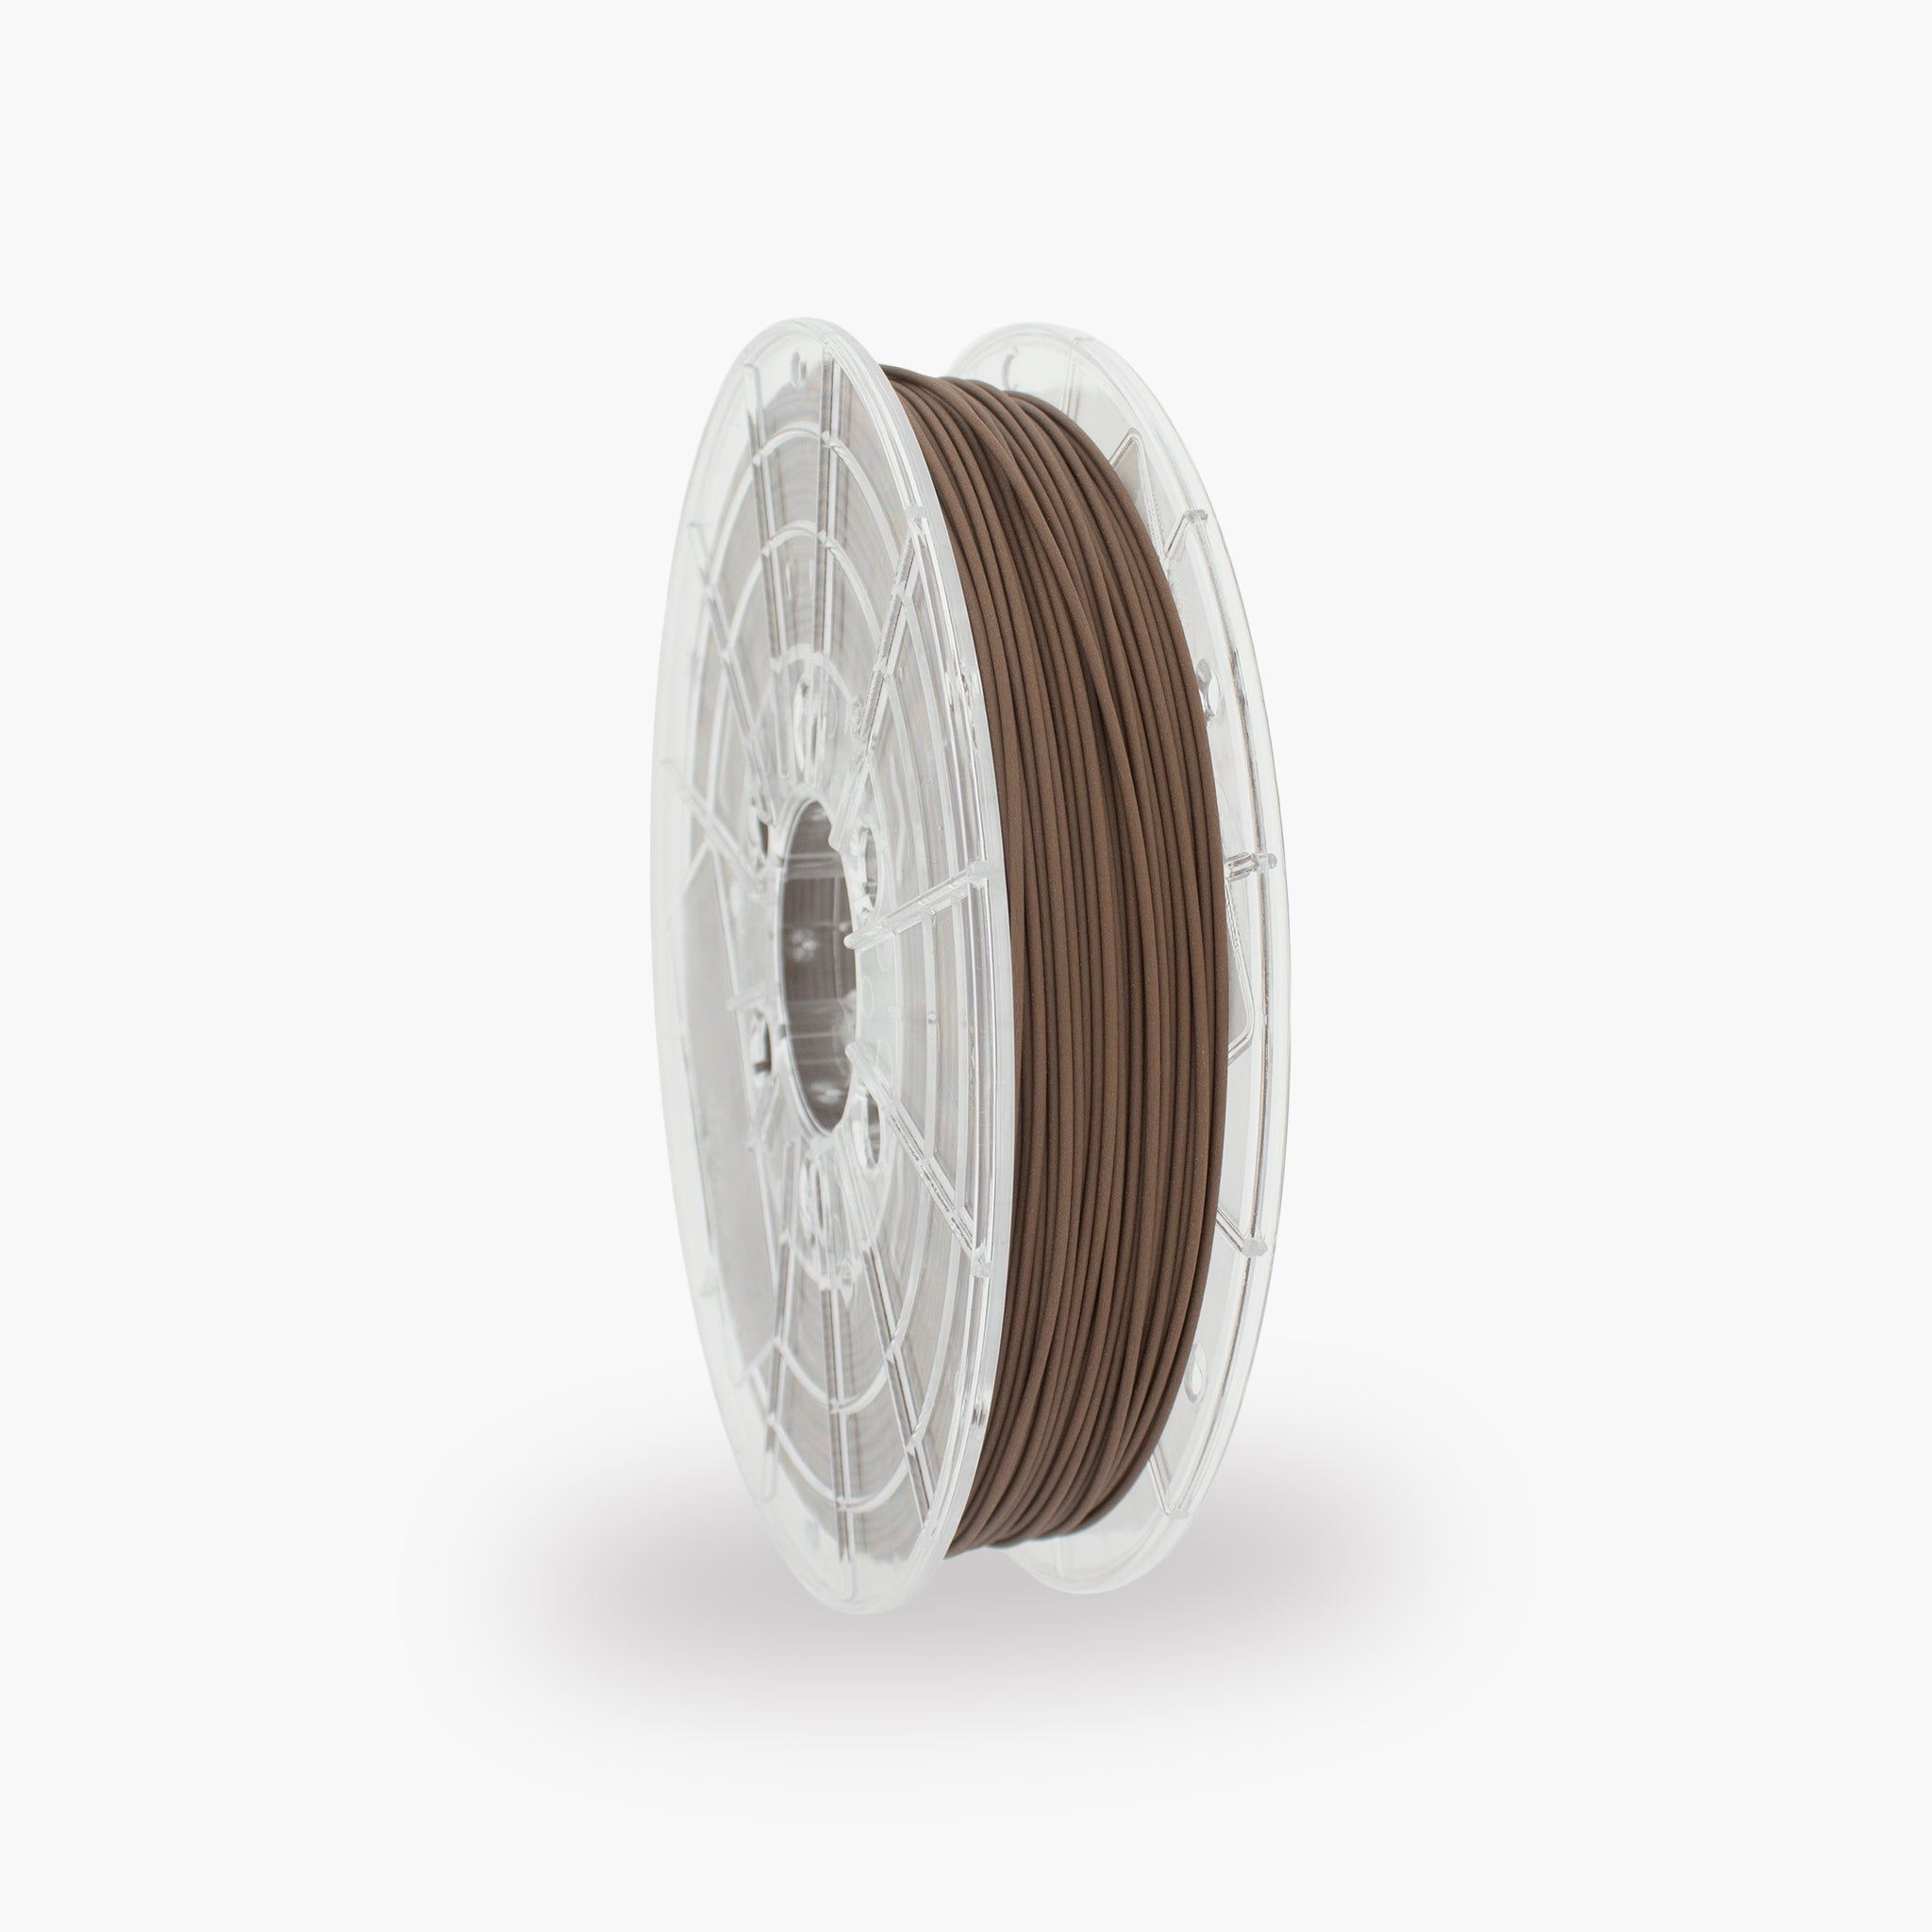
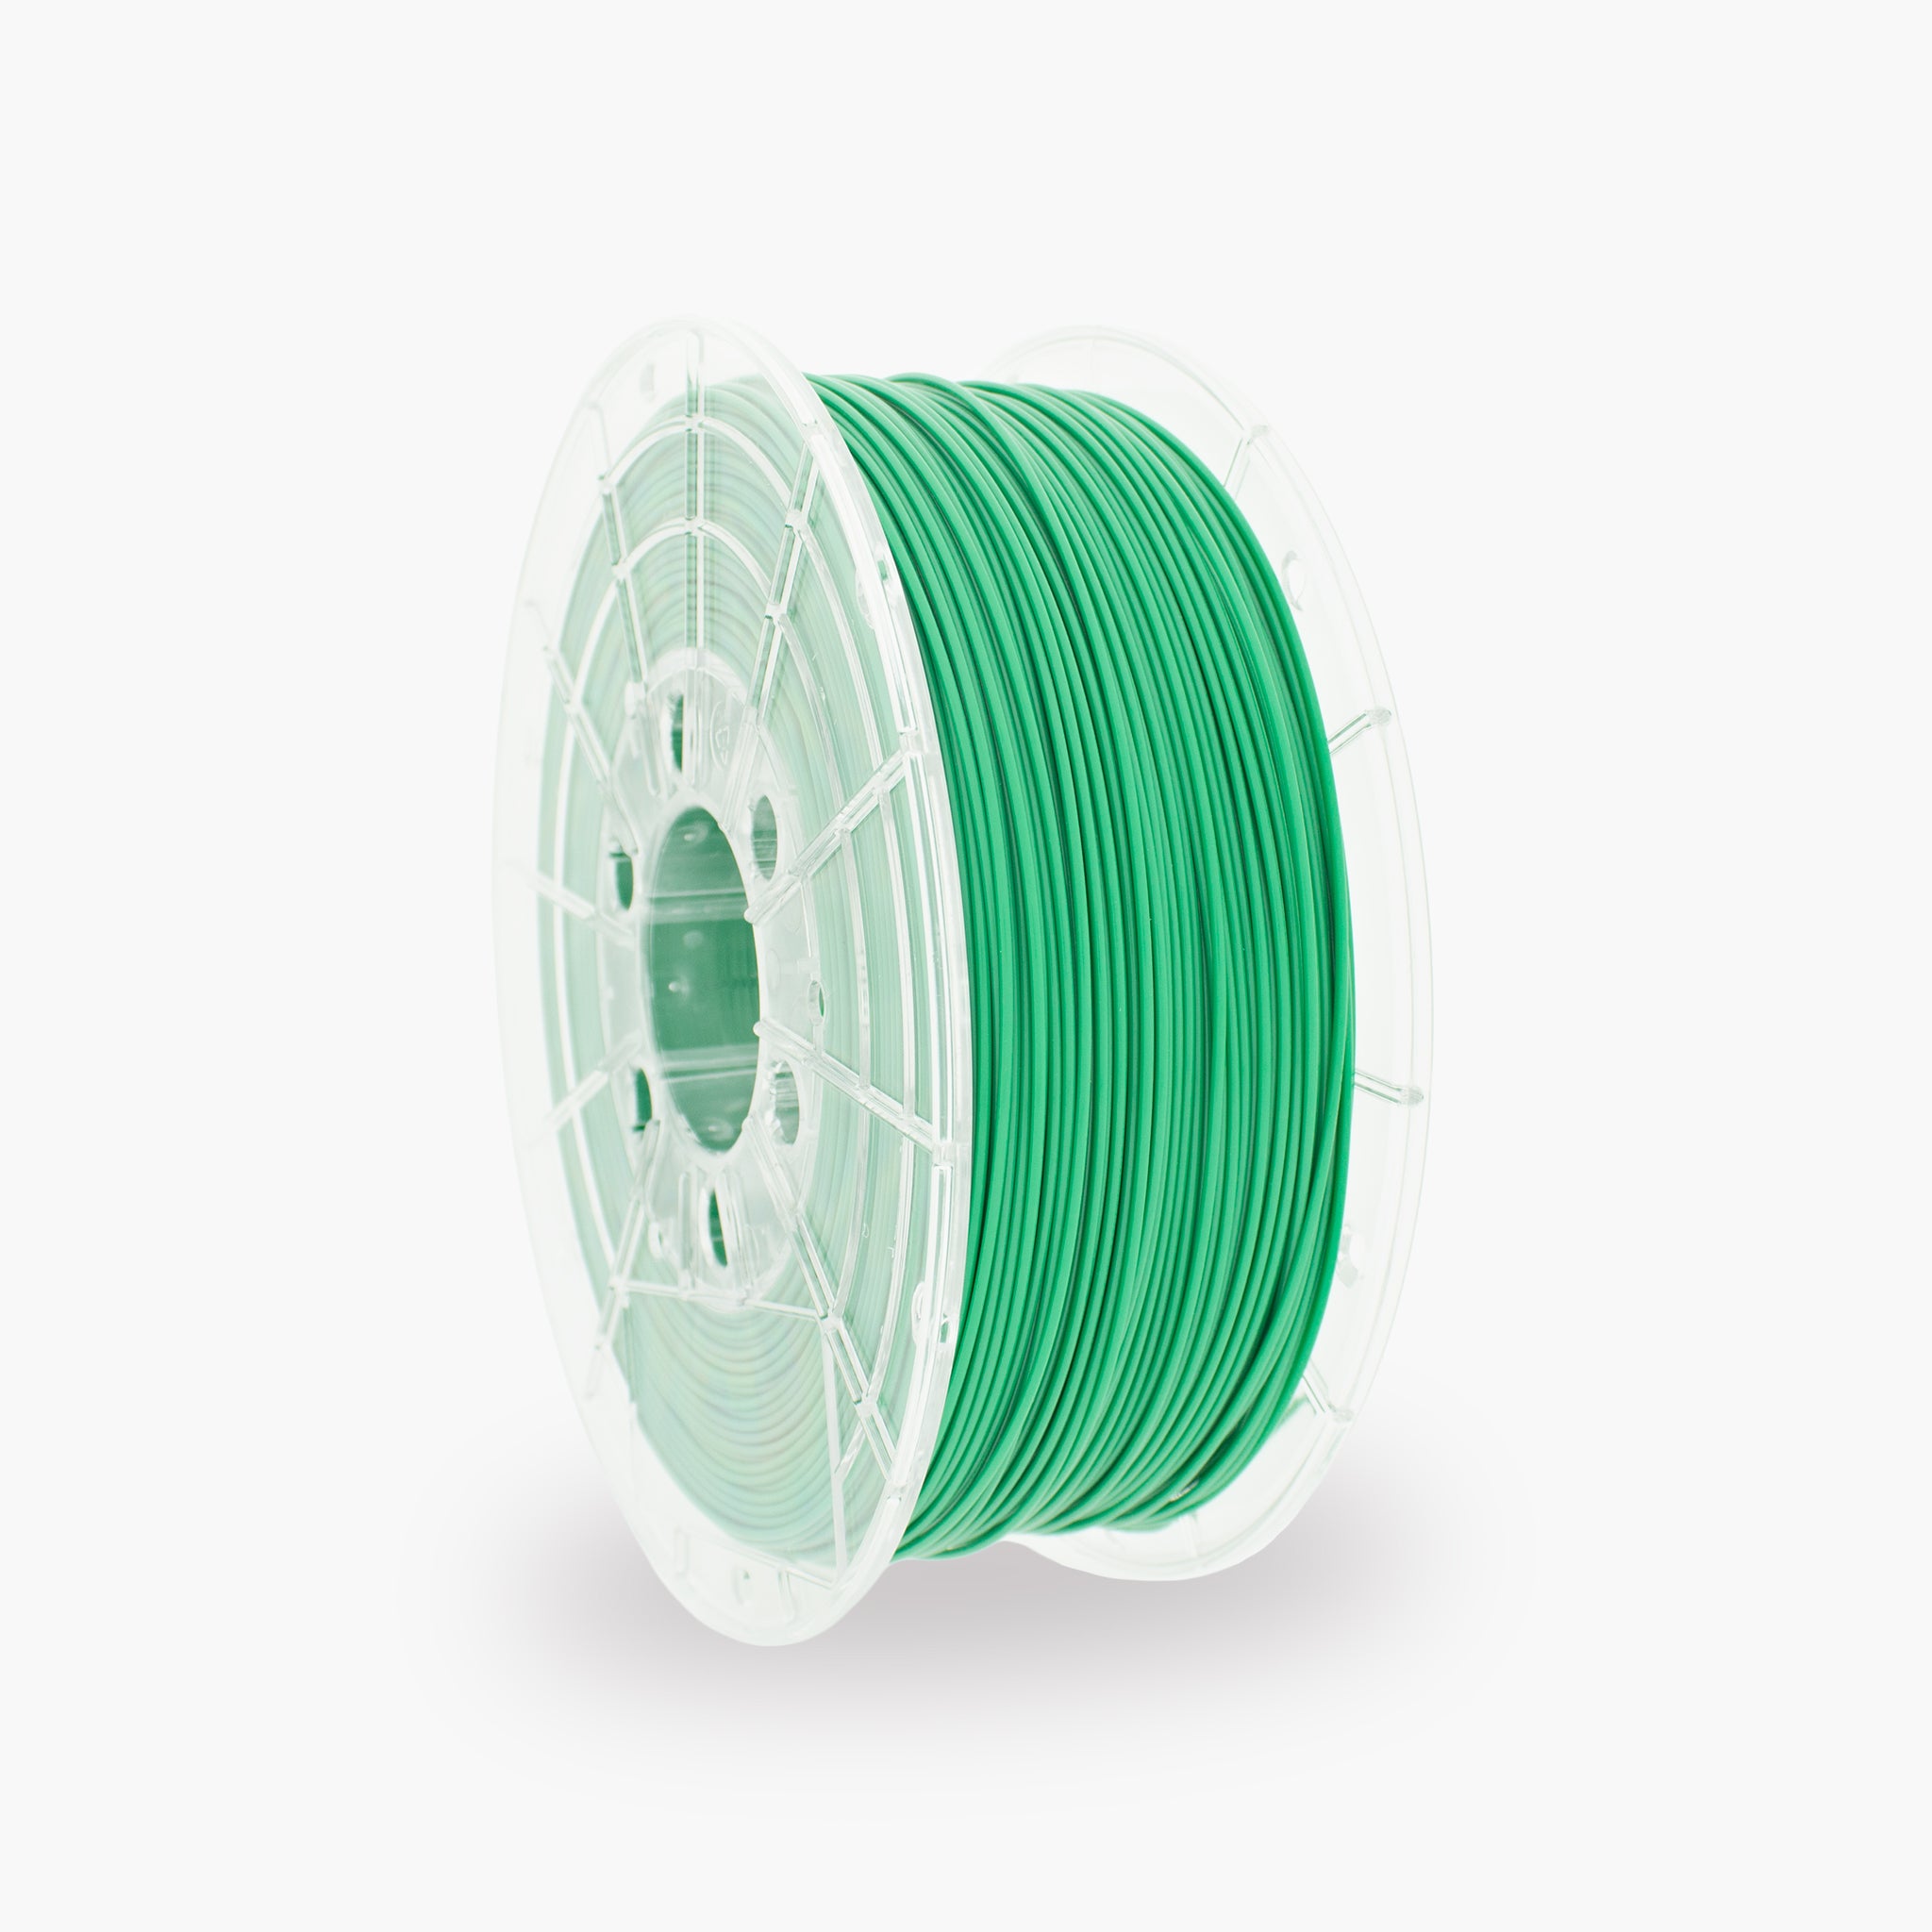

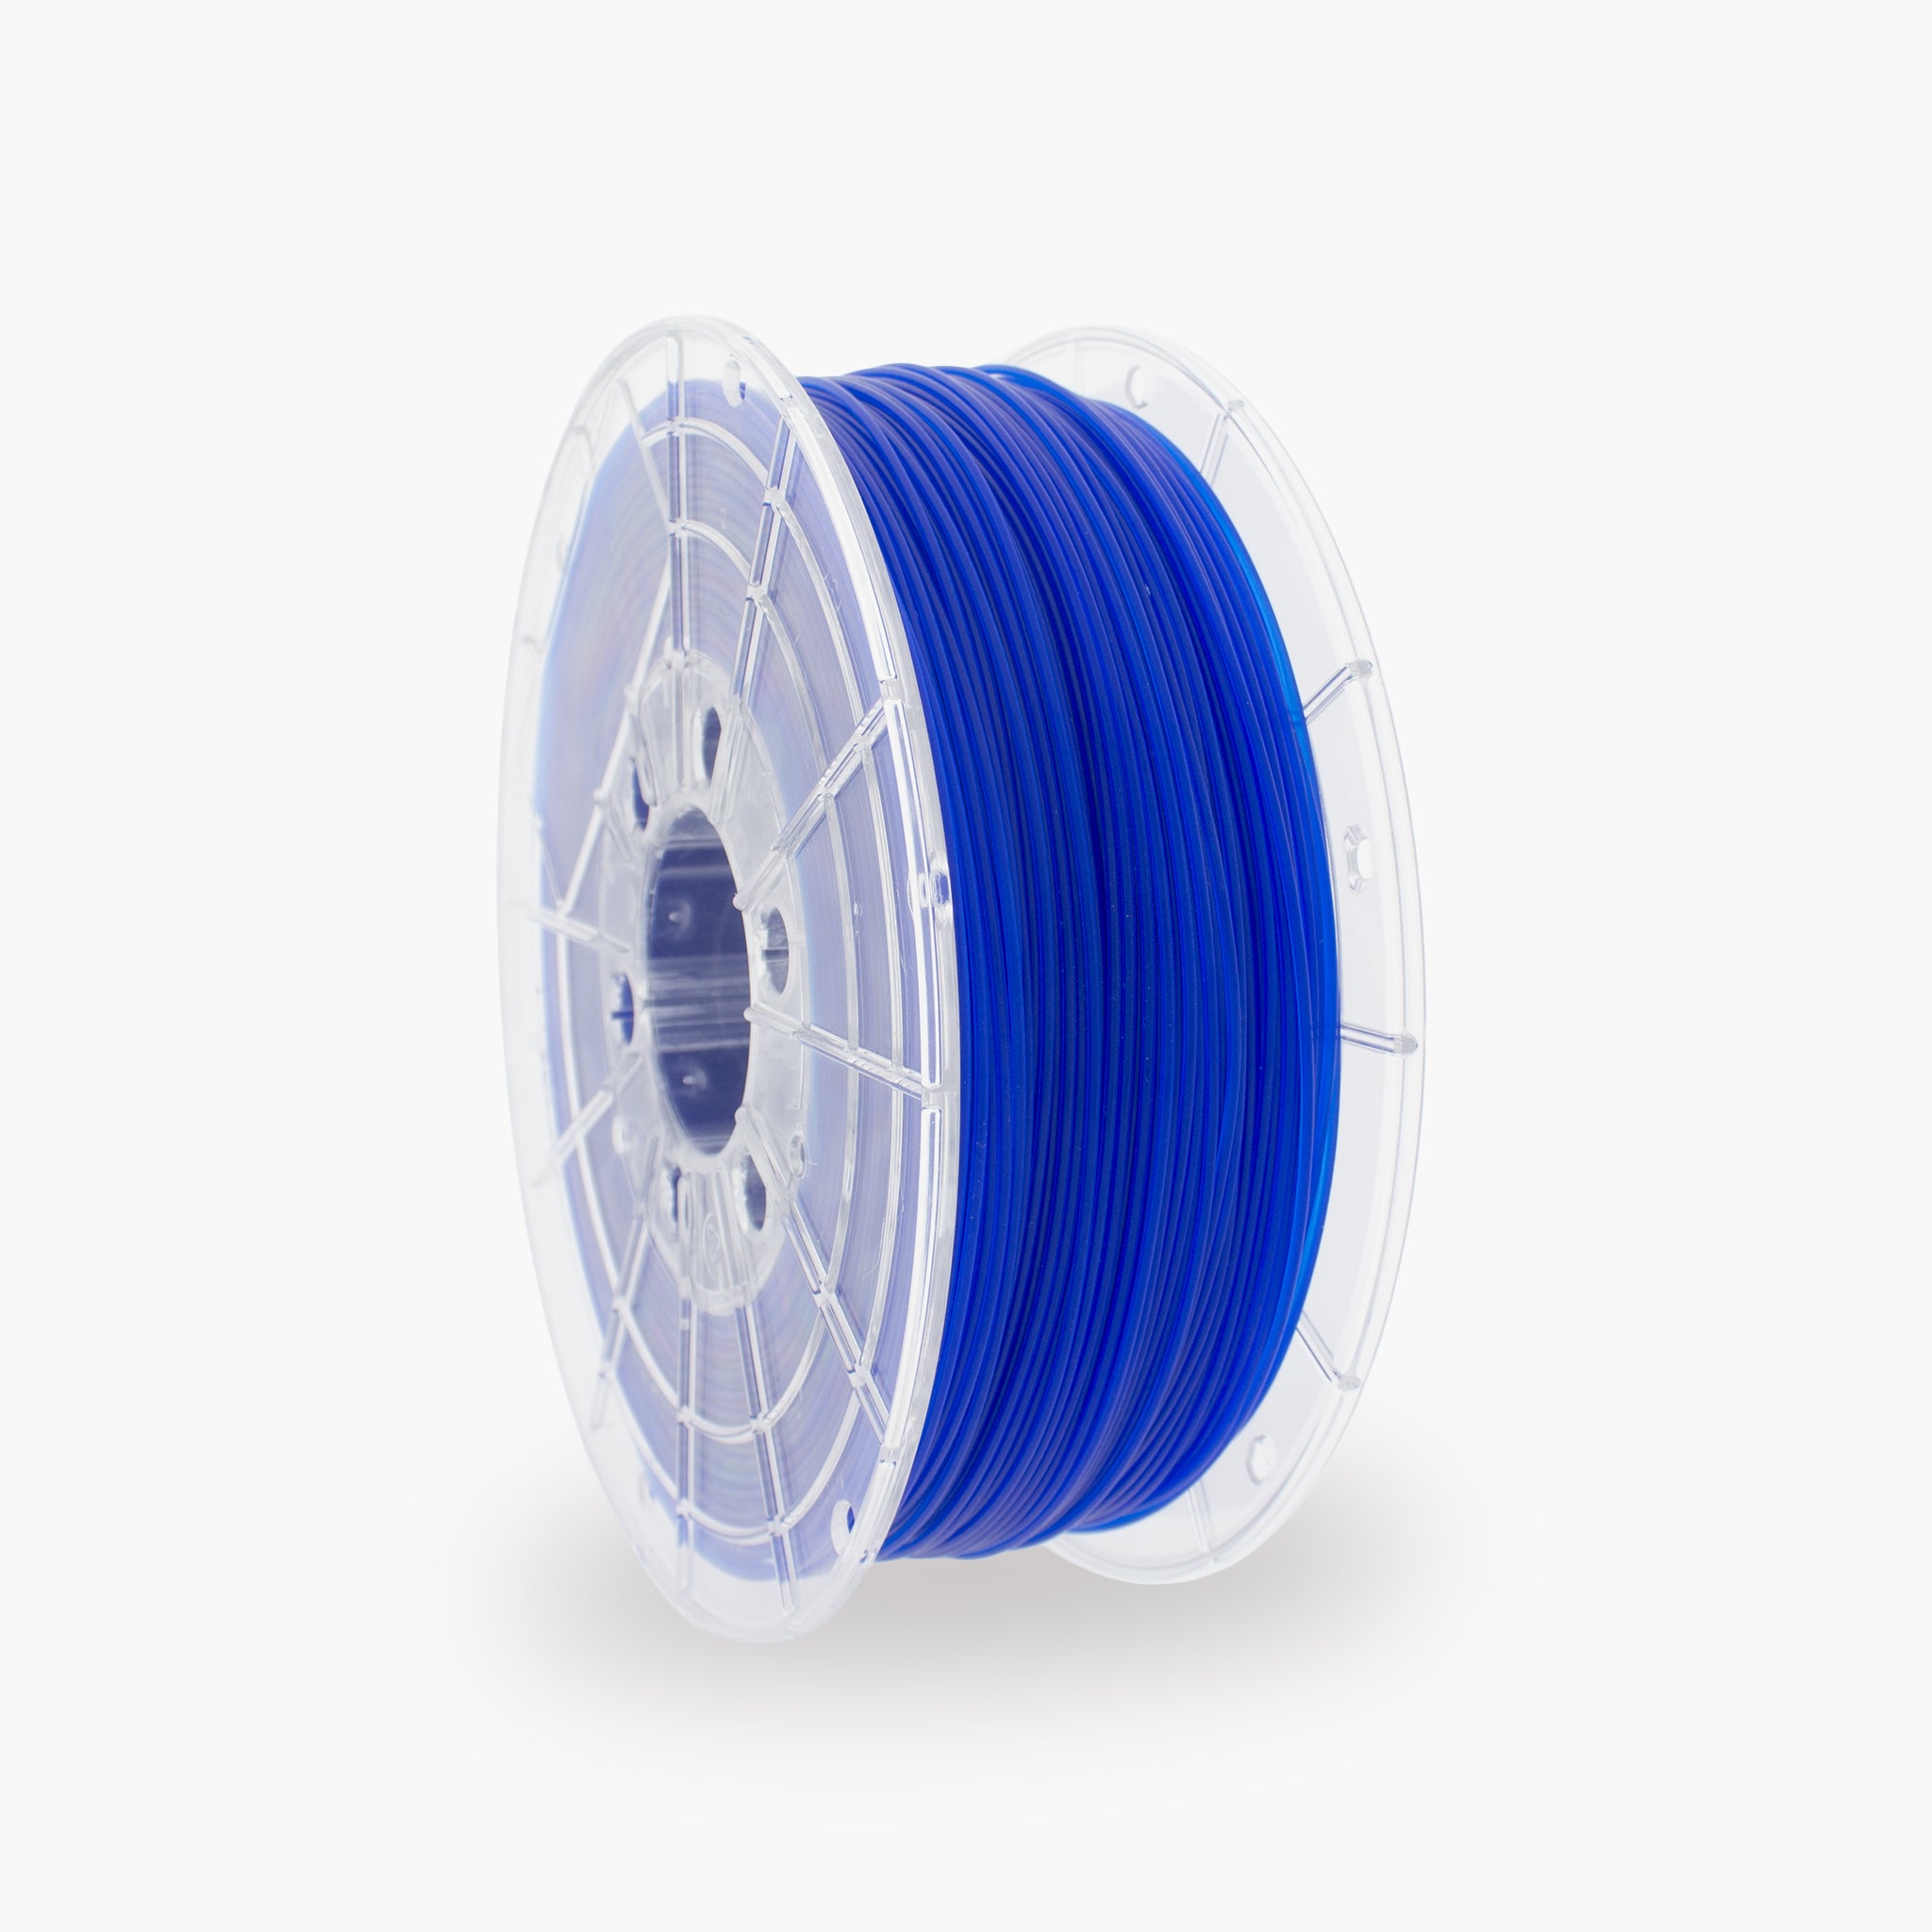
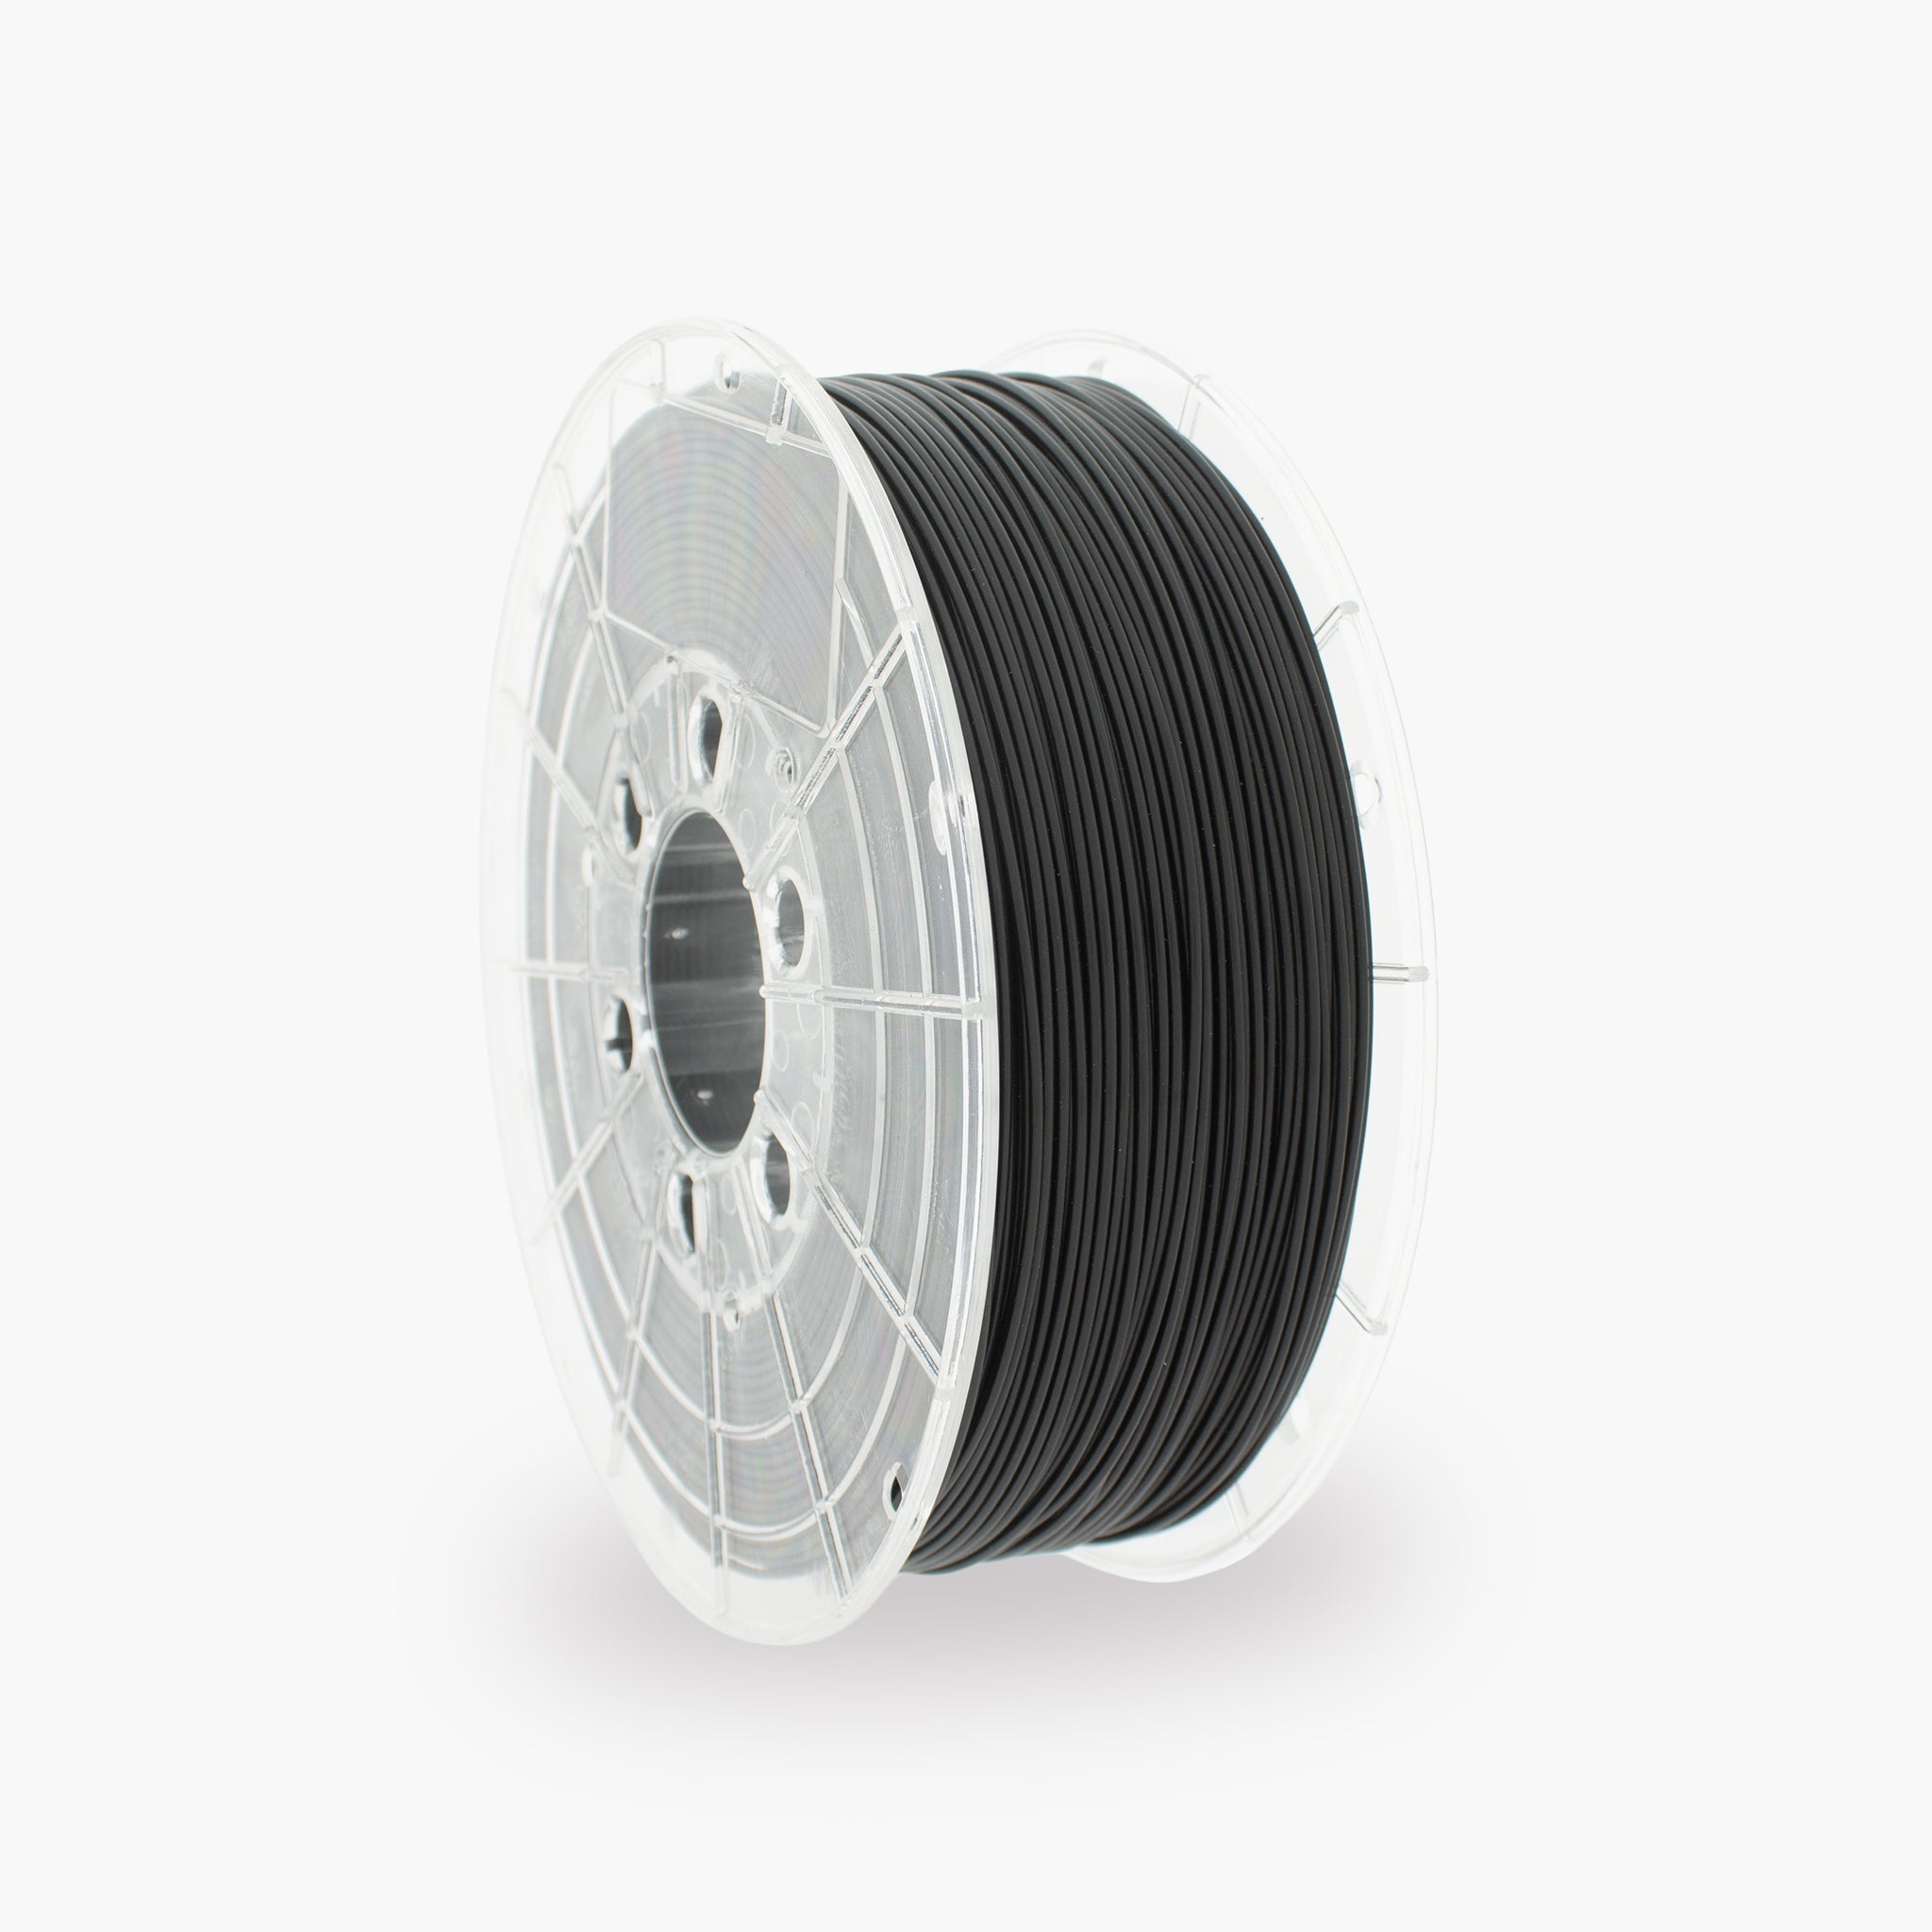
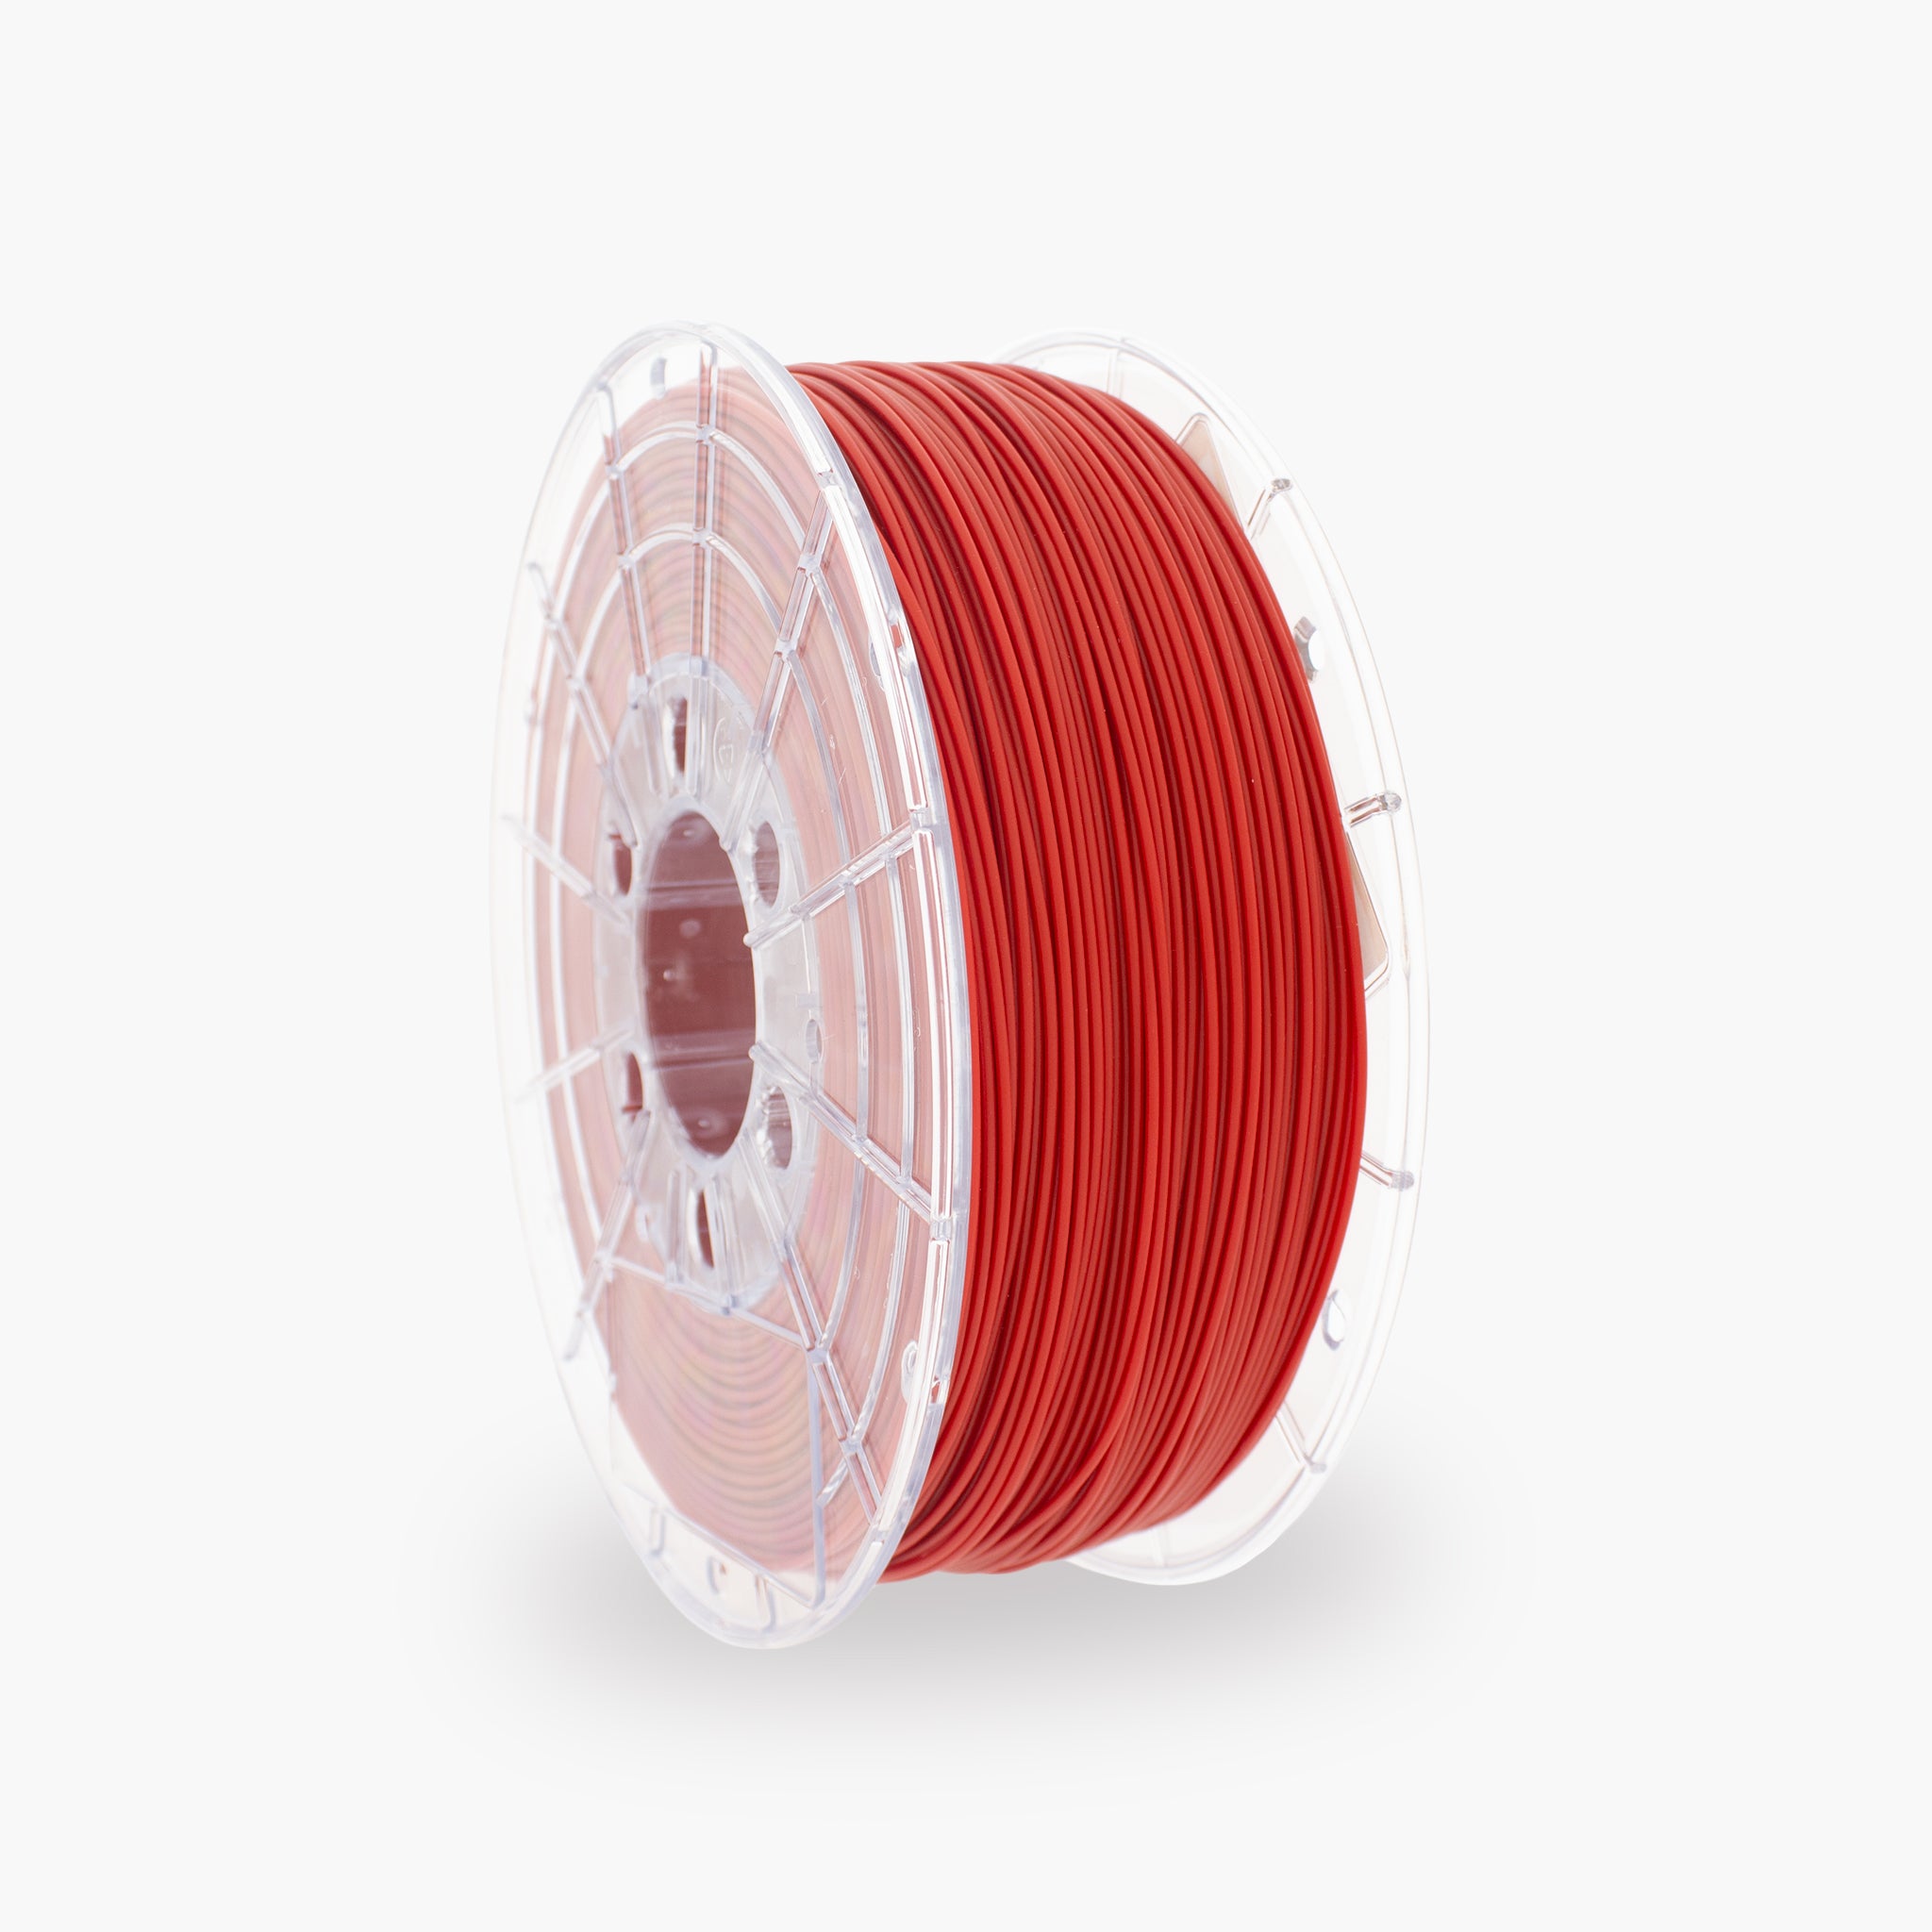
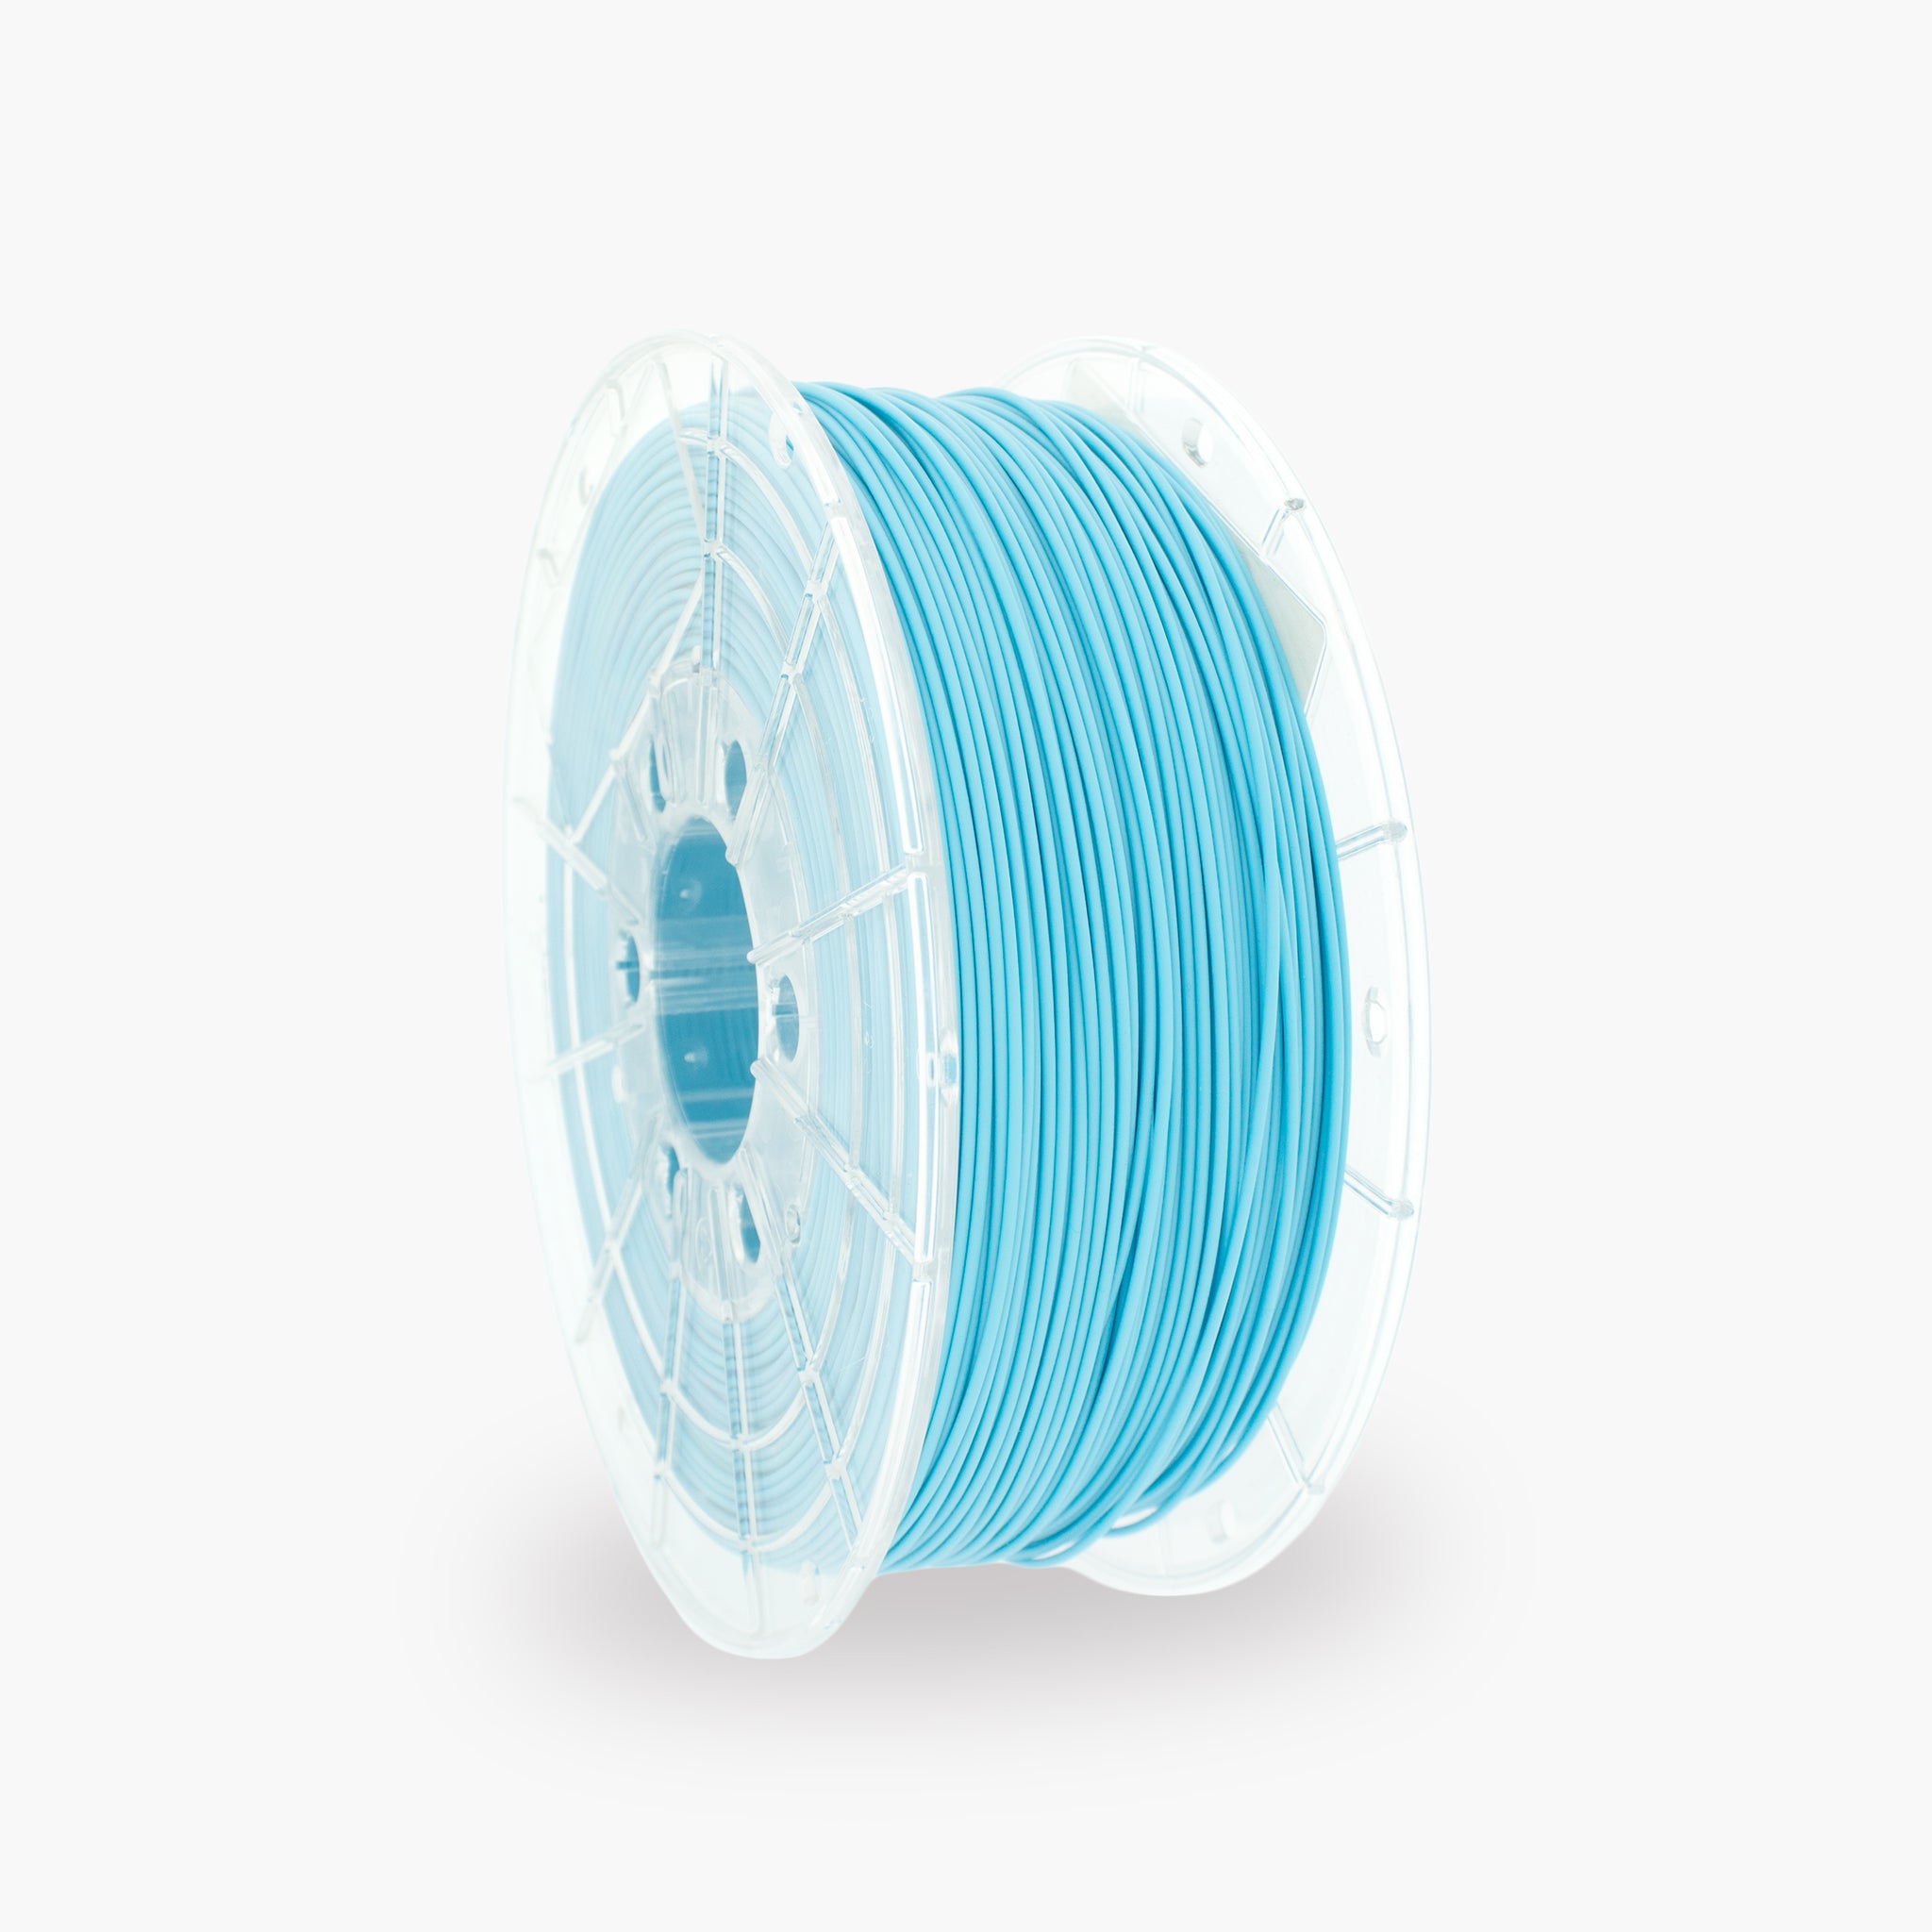
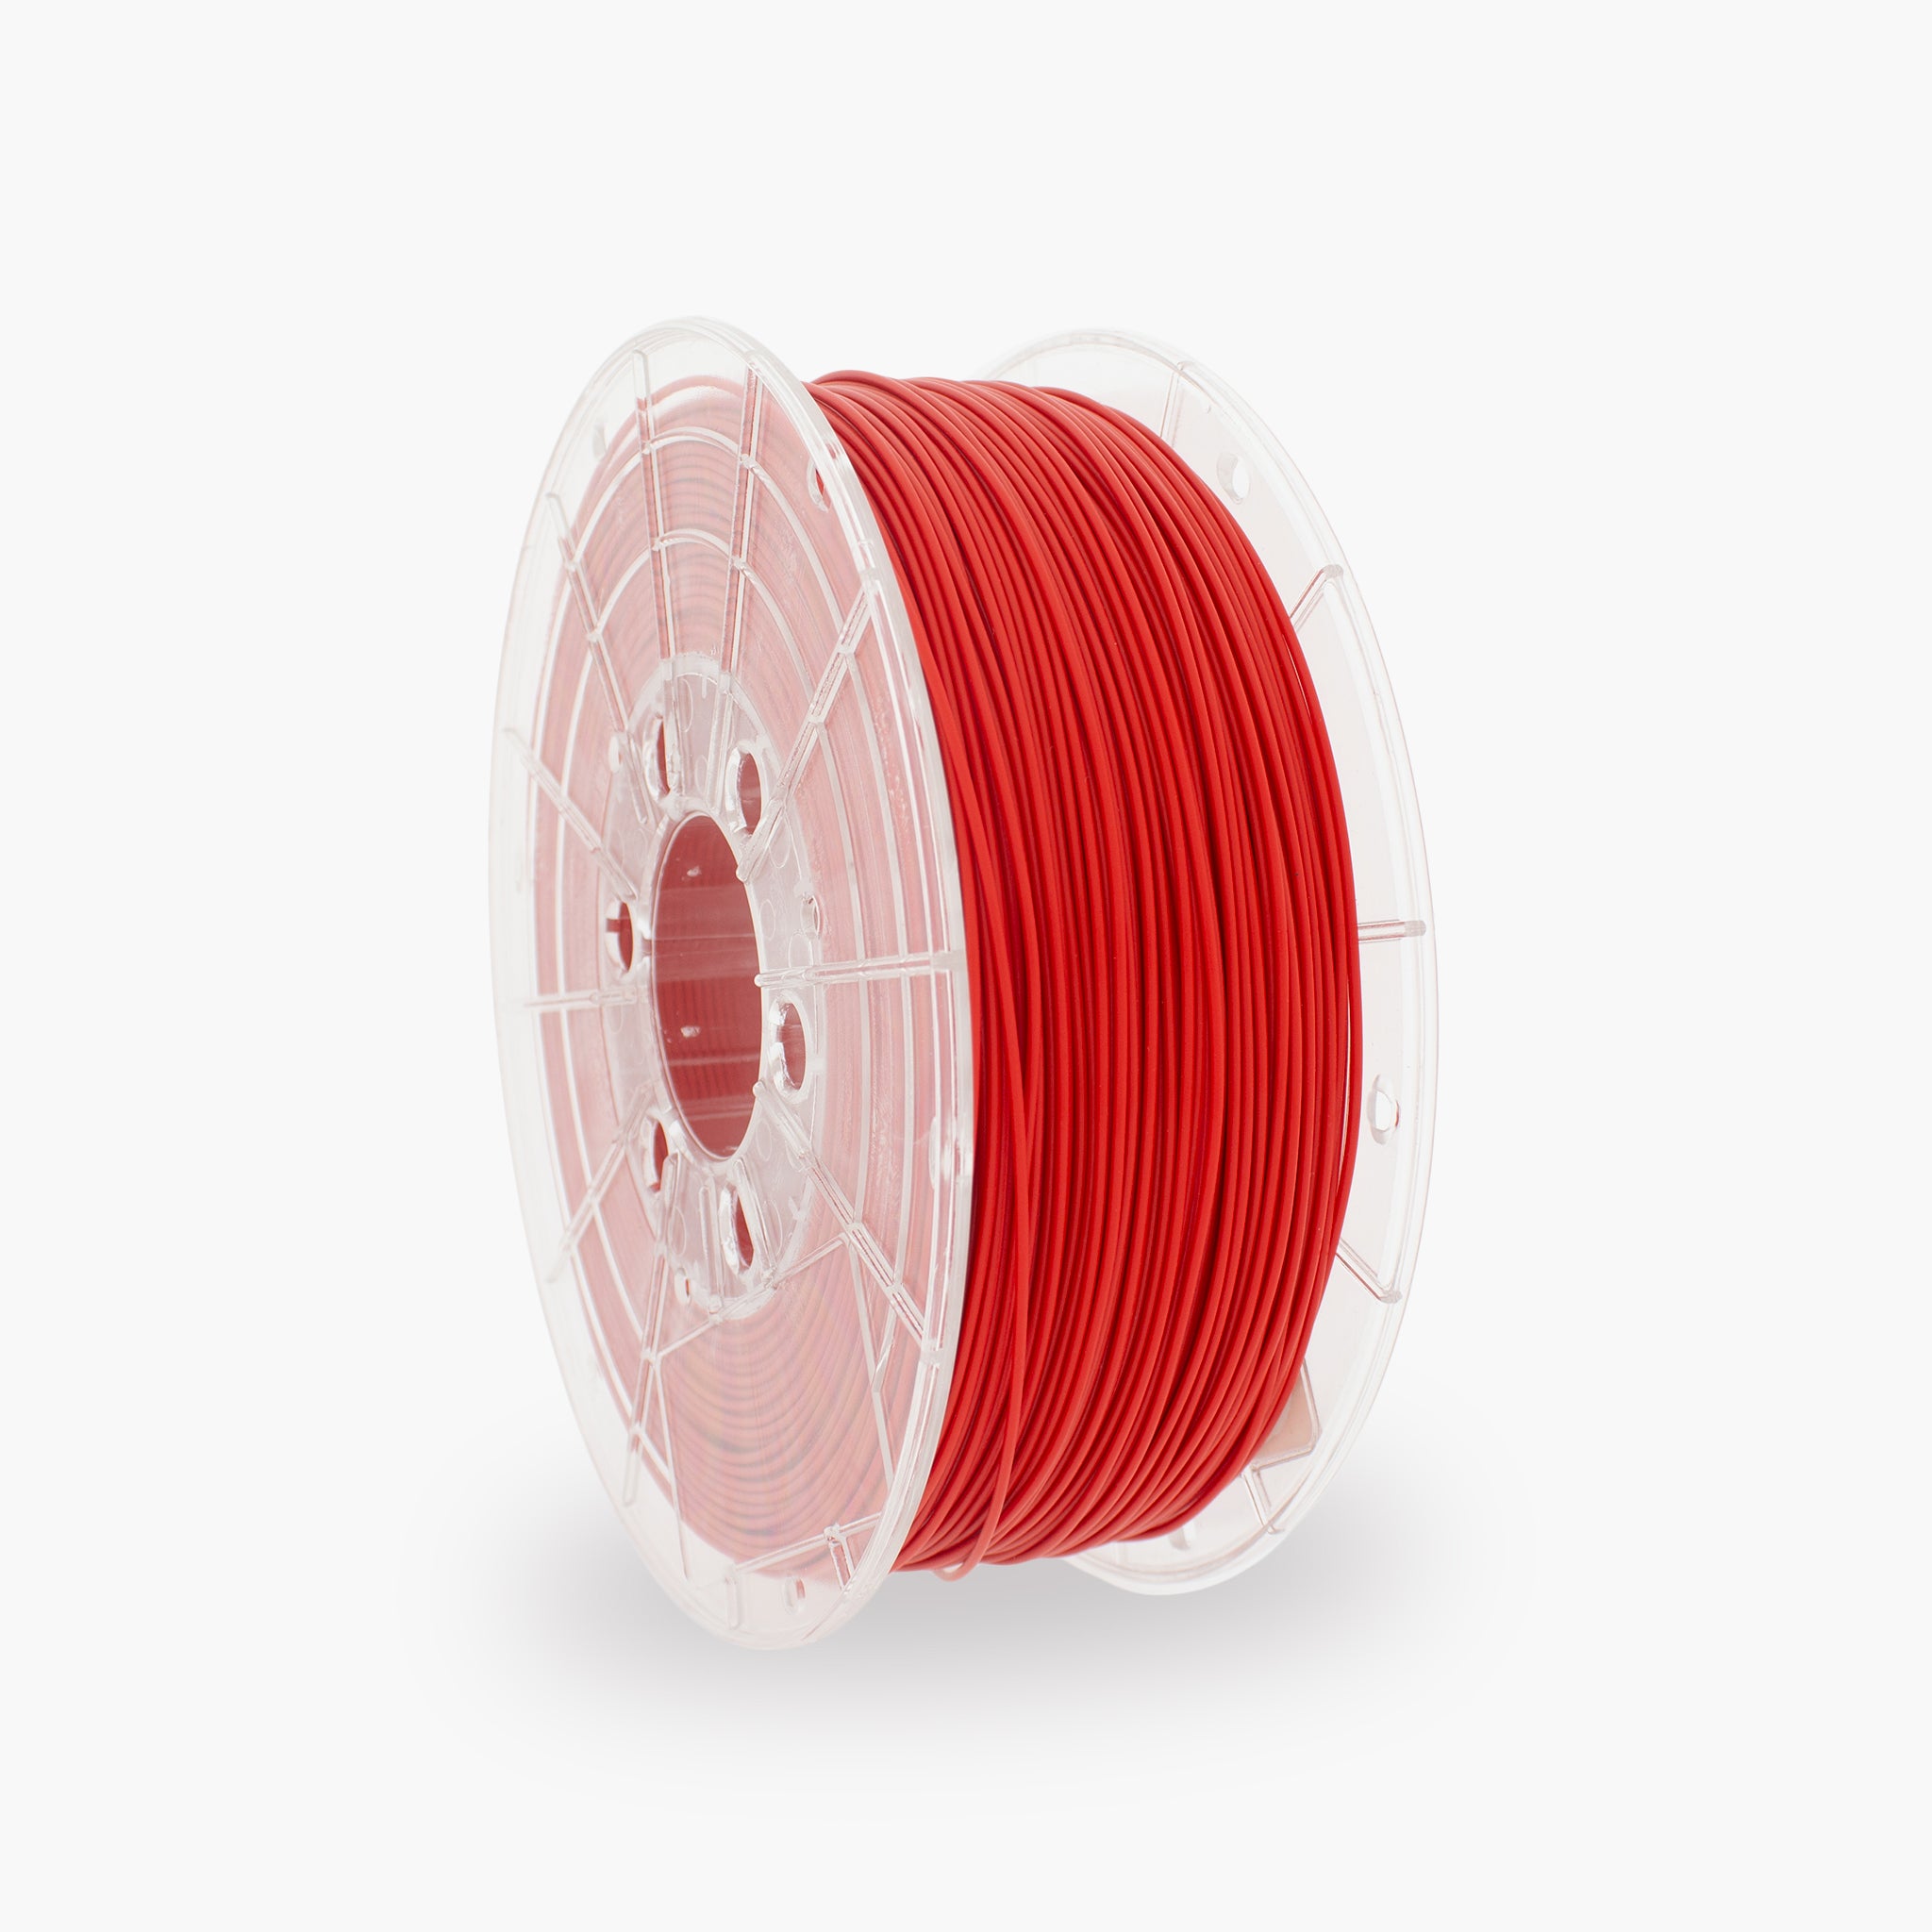
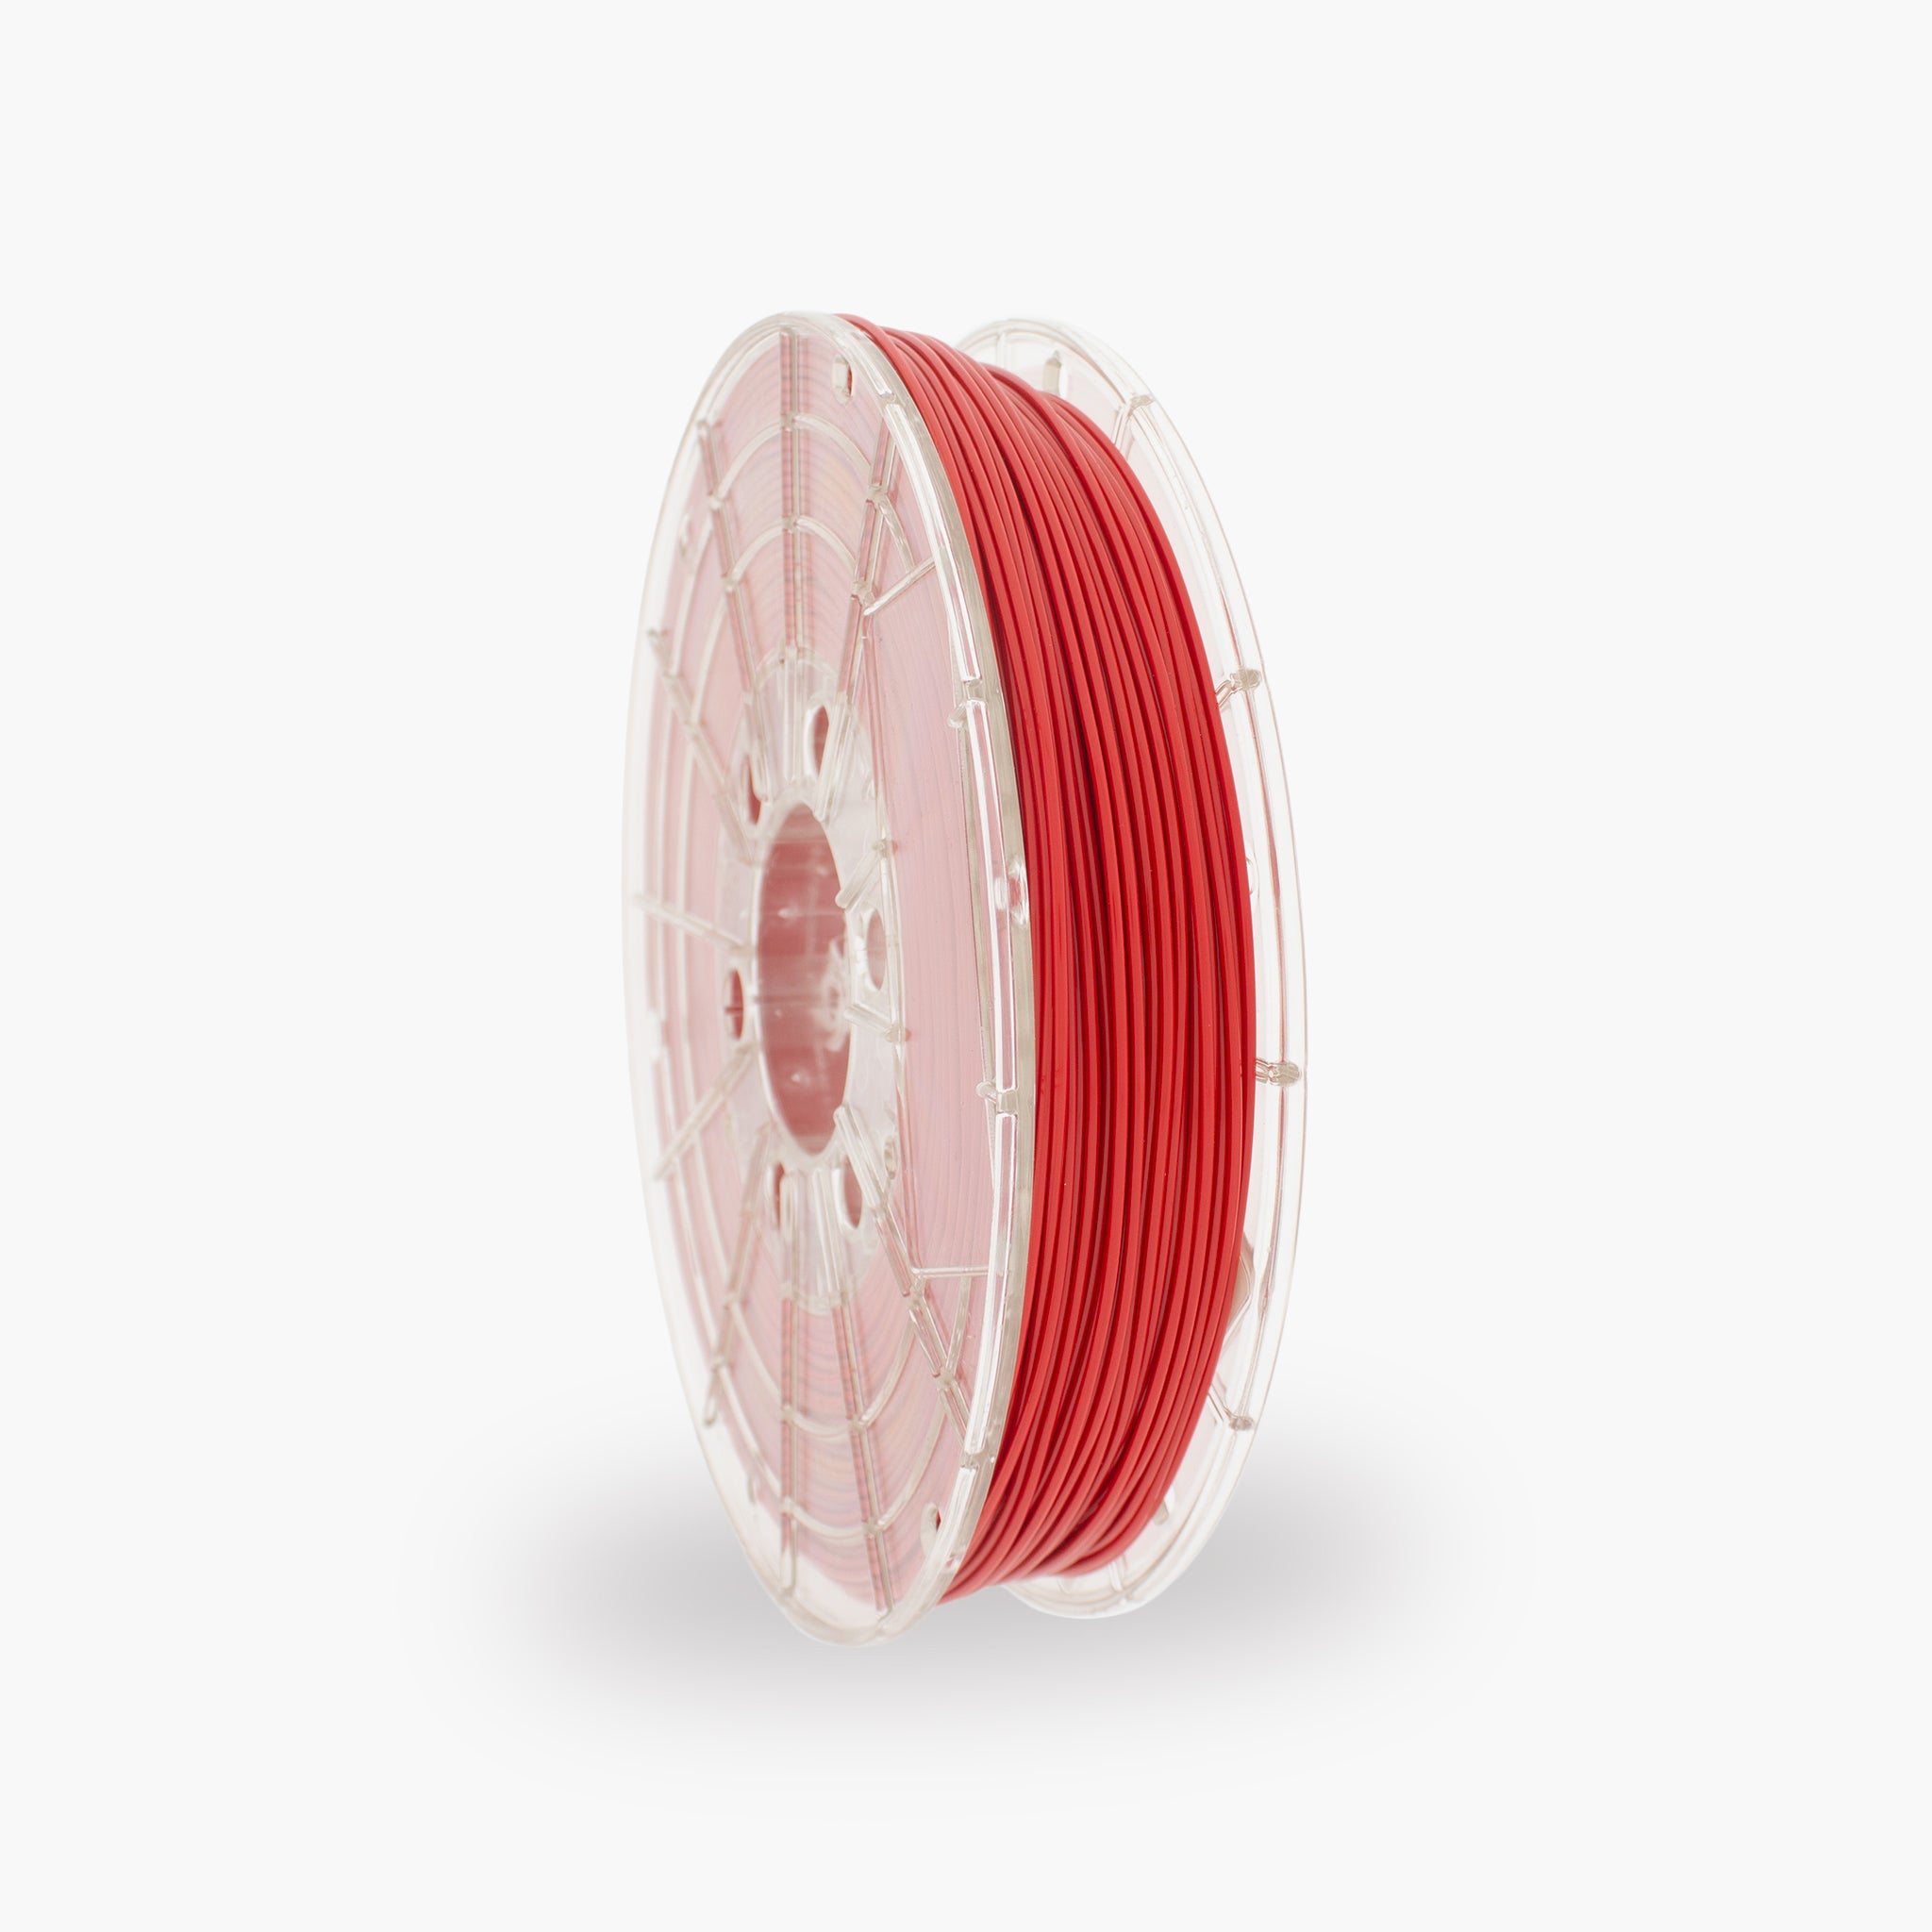
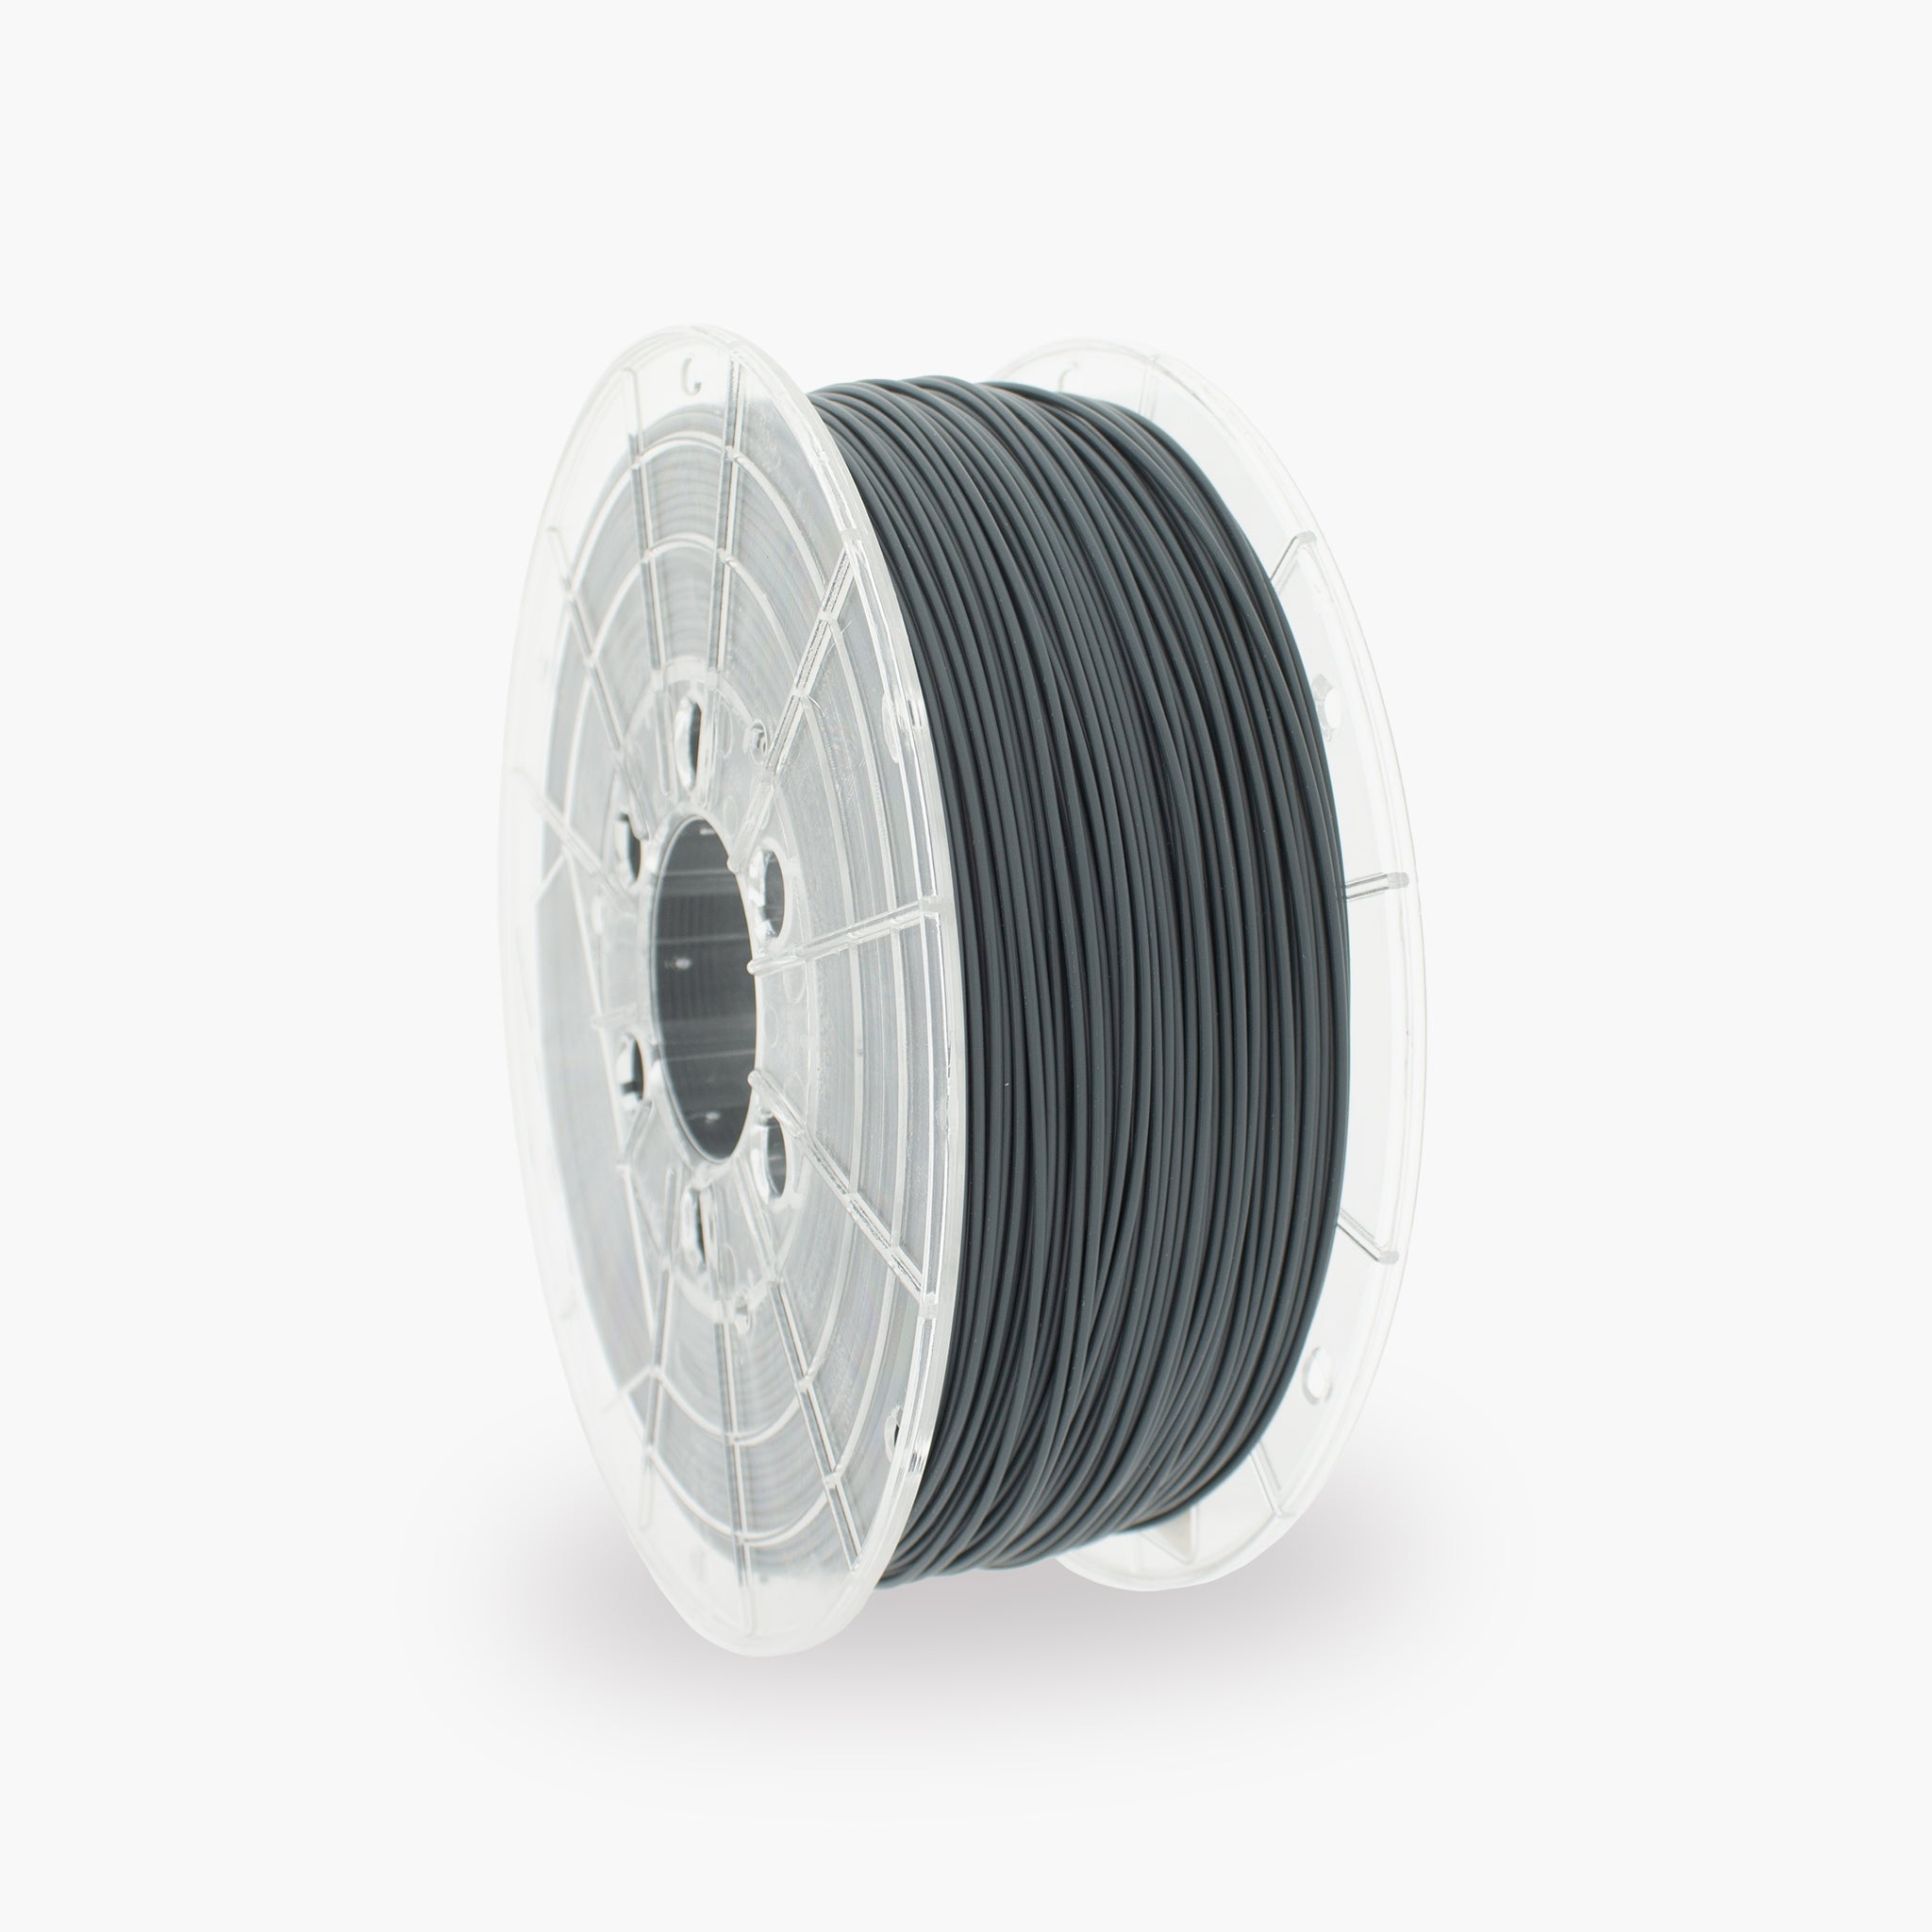
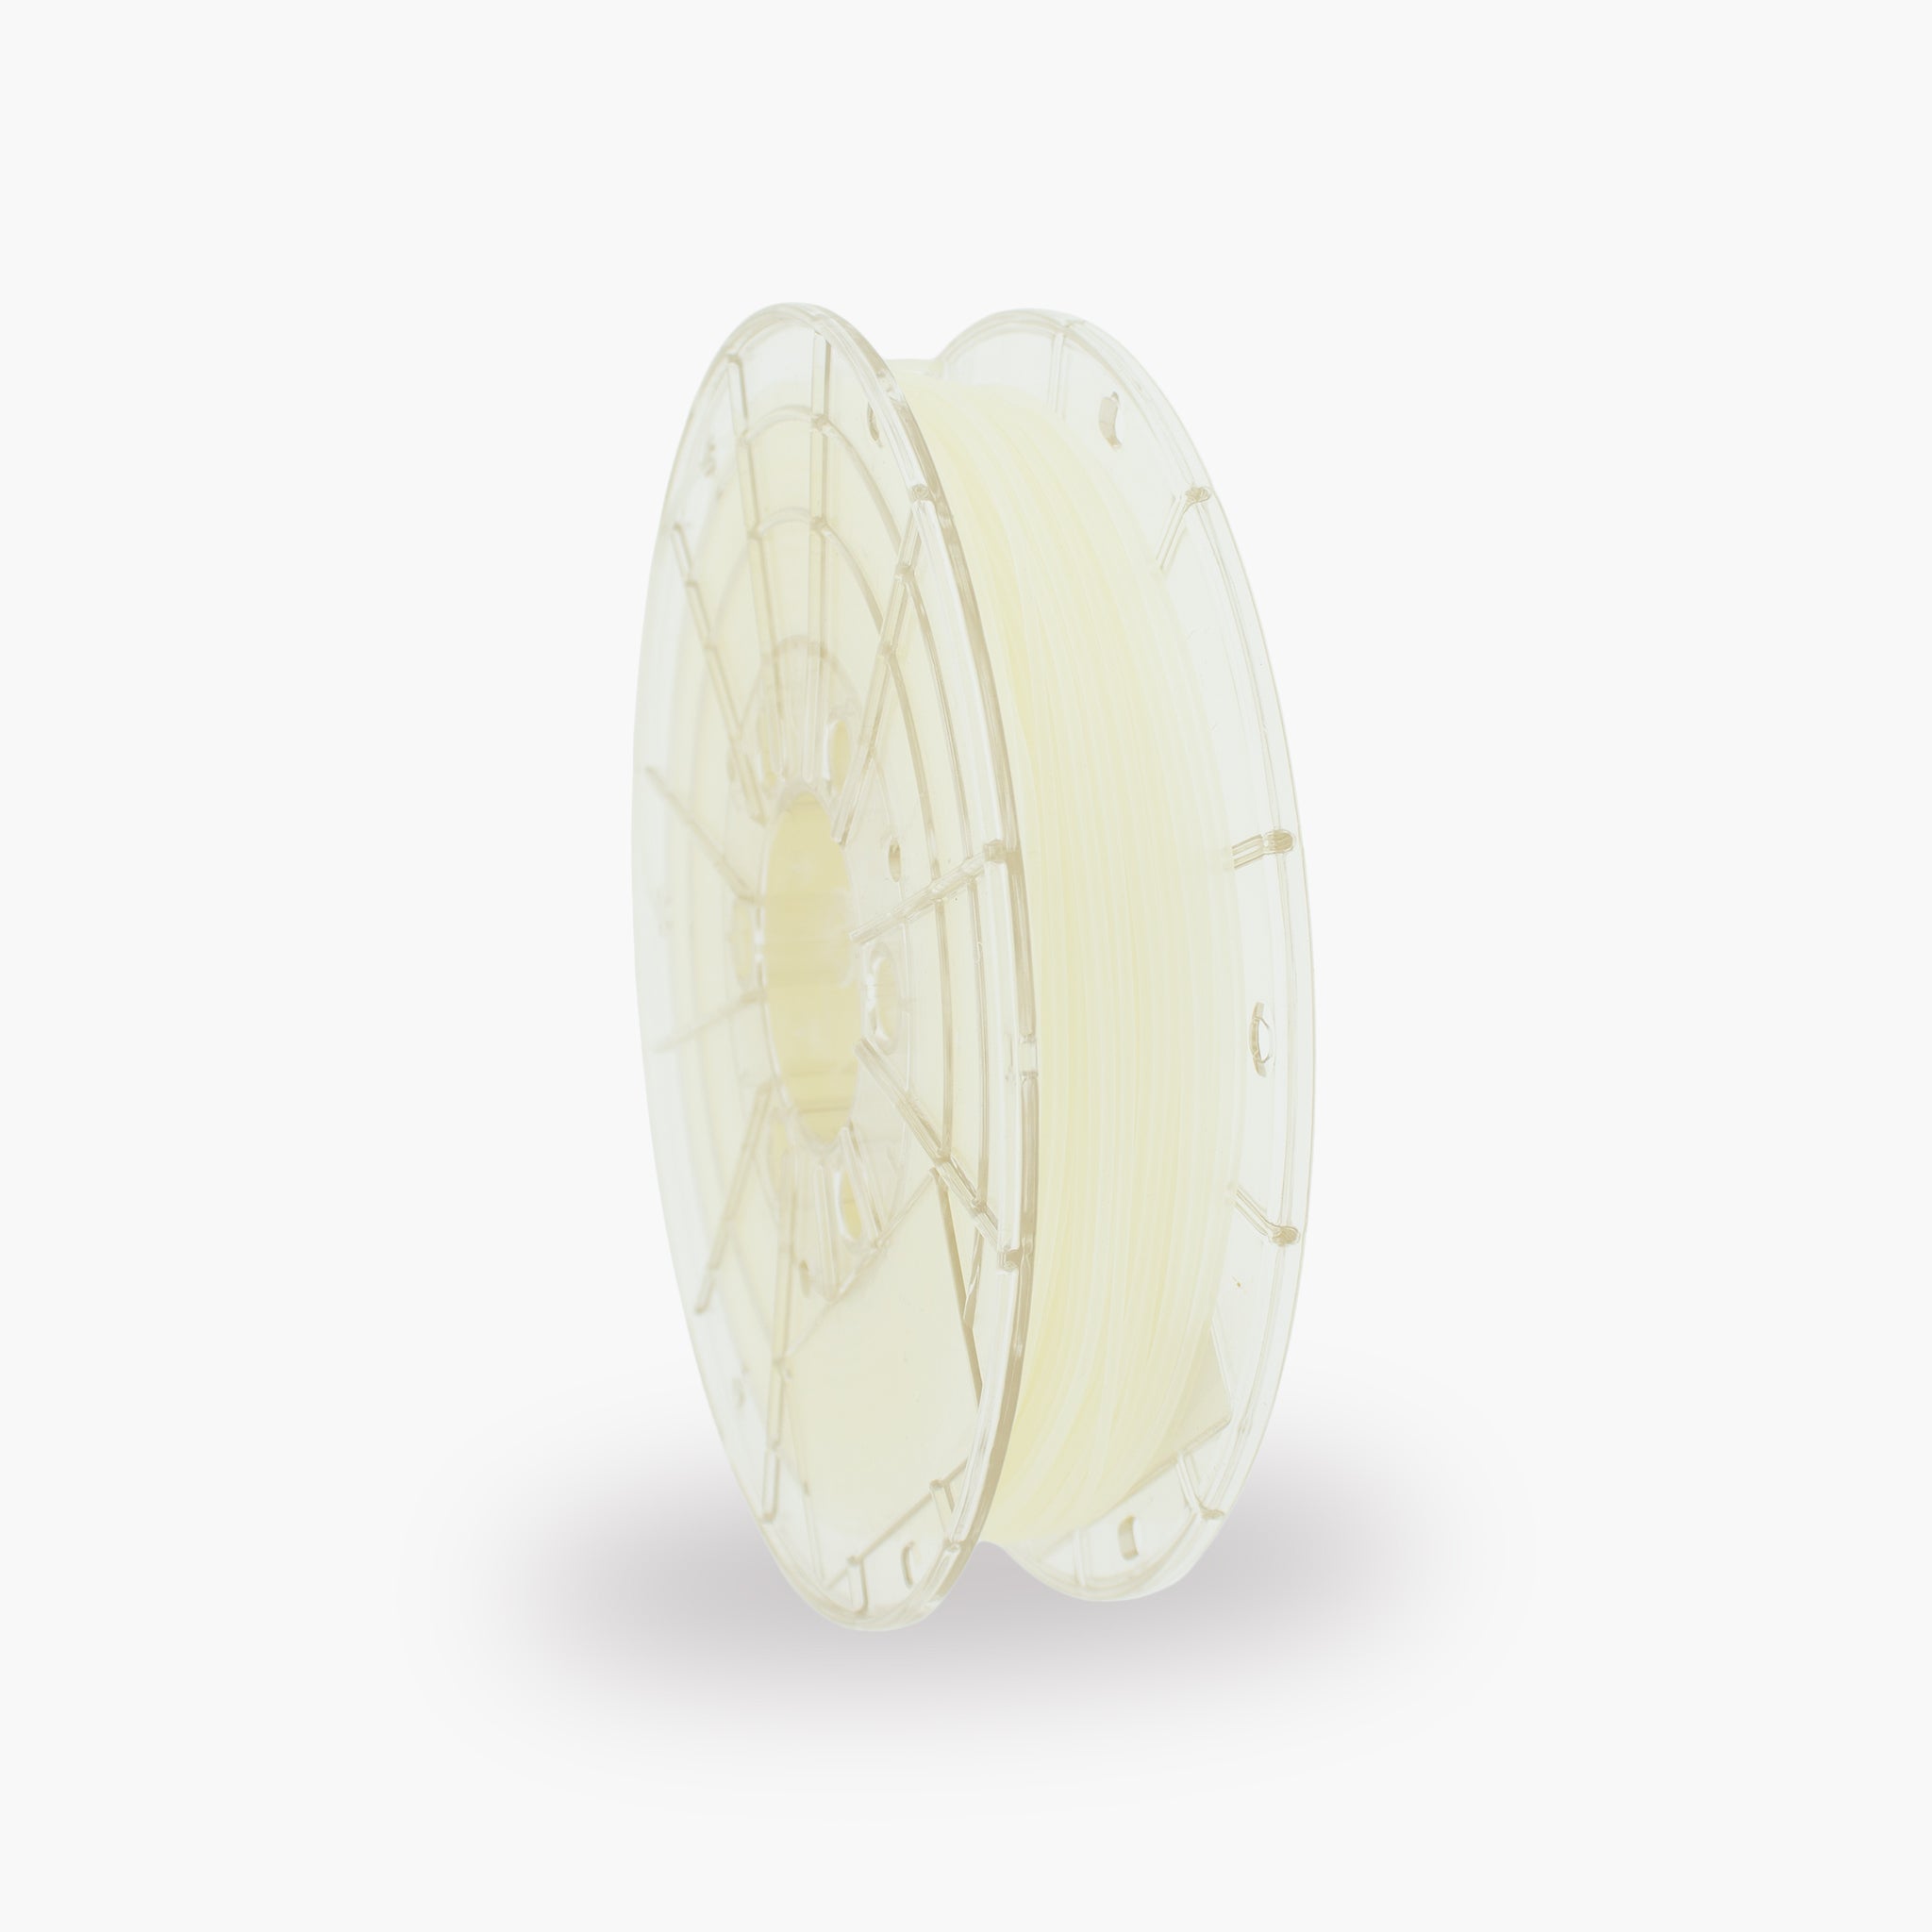

How do you print with TM3D PLA Tough?
PLA Tough combines PLA’s ease of use and neat finish with extra impact resistance and lower brittleness. This makes the material suitable for functional parts that need to be stronger and more durable than parts made from standard PLA.
The most important PLA Tough settings
Use these settings as a starting point. The ideal values may vary slightly depending on the printer, hotend, nozzle, and print speed.
What is PLA Tough?
An improved PLA variant for functional parts that need to withstand greater impact loads.
PLA Tough was developed to be less brittle than standard PLA. The material retains PLA’s relatively simple printing process and good dimensional stability, while handling impacts, drops, and mechanical stress better.
This makes PLA Tough a good choice for users who want to print functional parts without immediately switching to materials such as PETG, ABS, or ASA.
Benefits of PLA Tough
- Less brittle than standard PLA
- Improved impact resistance
- Good adhesion between printed layers
- Relatively easy to print
- Low risk of warping
- No enclosed print chamber required
Suitable applications
- Functional prototypes
- Holders and mounting brackets
- Enclosures and protective covers
- Clips and snap-fit connections
- Tool holders and organizers
- Parts that are handled regularly
Recommended print settings for PLA Tough
Start with the values below, then adjust one setting at a time.
| Setting | Recommended value | Description |
|---|---|---|
| Nozzle temperature | 200–230 °C | Start at around 215 °C. Increase the temperature at high print speeds or when adhesion between the layers is insufficient. |
| Print bed | 50–60 °C | A heated print bed ensures a reliable first layer and helps keep the corners flat. |
| First layer | 15–30 mm/s | A slower first layer improves adhesion to the build plate. |
| Other layers | 40–180 mm/s | The maximum speed depends on the hotend, nozzle, layer height, and the printer’s volumetric capacity. |
| First-layer fan | 0–30% | Limited cooling during the first layer helps ensure good bed adhesion. |
| Fan for other layers | 40–100% | Use sufficient cooling for details and overhangs. Reduce cooling when maximum layer adhesion is more important. |
| Flow | Approximately 0.95–1.00 | Start with the standard profile and calibrate the flow if surfaces are printed too full or too thin. |
| Nozzle | From 0.4 mm | A standard 0.4 mm brass nozzle is suitable for regular, unfilled PLA Tough. |
What is the difference between PLA Tough and standard PLA?
Both materials are easy to print, but are intended for different applications.
| Property | PLA Tough | Standard PLA |
|---|---|---|
| Impact resistance | Higher and less brittle | Lower and more likely to break on hard impact |
| Stiffness | Strong, but can flex a little more | Often very stiff |
| Printability | Easy to print | Easy to print |
| Warping | Low | Low |
| Suitable application | Functional and impact-resistant parts | Visual models and general prints |
| Surface quality | Smooth and even | Smooth and even |
Preparing the printer
Good preparation prevents most printing problems.
How to achieve a good first layer
An even first layer forms the foundation for a strong, dimensionally accurate part.
You can recognize a good first layer by:
- The print lines connect neatly to one another
- The filament adheres across the entire surface
- The lines are slightly flattened
- No open spaces form between the lines
- The nozzle does not drag through the material
Check the following in case of poor adhesion:
- Whether the print bed is clean and free of grease
- Whether the Z-offset is not set too high
- Whether the first layer is printed slowly enough
- Whether the print bed is approximately 50–60 °C
- Whether the fan speed is low during the first layer
Useful slicer settings
The wall thickness, infill, and print orientation have a major impact on the strength of a PLA Tough part.
| Part | Starting value | Effect |
|---|---|---|
| Layer height | 0.20 mm | Good balance between print quality, layer adhesion, and print speed with a 0.4 mm nozzle. |
| Wall lines | 3–5 | More wall lines make functional parts stronger and more impact-resistant. |
| Top and bottom layers | 4–6 | Creates closed and stronger top and bottom surfaces. |
| General infill | 15–30% | Suitable for most functional parts and prototypes. |
| Infill for heavily loaded parts | 30–50% | Use more infill when the part is subjected to heavier loads. |
| Brim | Only if needed | Use a brim for small contact areas or long, narrow models. |
| Fan | 40–100% | Use less cooling for maximum layer adhesion and more cooling for sharp details and overhangs. |
| Print speed | 40–180 mm/s | Adjust the speed to the hotend's maximum material flow. |
How to print stronger PLA Tough parts
The final strength is determined not only by the material, but also by the design and print orientation.
Recommended settings
- Use at least three wall lines
- Use enough top and bottom layers
- Reduce the fan speed for better layer adhesion
- Slightly increase the nozzle temperature
- Do not print faster than the hotend can handle
- Use dry filament
Recommended design choices
- Use rounded inside corners
- Avoid very thin connections
- Add ribs to large flat sections
- Reinforce screw holes and mounting points
- Align the print orientation with the load
- Avoid loads directly between the print layers
Adjusting the nozzle temperature
The best temperature depends on the printer, nozzle, print speed, and desired layer adhesion.
Temperature may be too low
- Poor adhesion between the layers
- A rough or matte extrusion
- The extruder clicks or skips steps
- The part breaks between the layers
- The material flows irregularly
Temperature may be too high
- A lot of stringing or fine threads
- Sagging overhangs and bridges
- Details blend into each other
- Material leaks from the nozzle during moves
- The surface becomes unnecessarily glossy
Solving common PLA Tough problems
Click a problem to view the possible causes and solutions.
The print does not adhere to the print bed
- Thoroughly clean and degrease the print bed.
- Check the bed leveling and Z offset.
- Reduce the first-layer speed.
- Use a bed temperature of approximately 50–60 °C.
- Reduce the fan speed during the first layer.
- Use a brim for a small contact area.
The part breaks between the layers
- Increase the nozzle temperature by 5–10 °C.
- Reduce the print speed.
- Reduce the fan speed.
- Use more wall lines.
- Check that the filament is dry.
- Adjust the print orientation to the load.
The part is more brittle than expected
- Check that the correct material profile is selected.
- Slightly increase the nozzle temperature.
- Reduce the fan speed.
- Use more wall lines.
- Check the print orientation.
- Check that the filament has not been exposed to moisture for a prolonged period.
Many strings form between parts
- First check that the filament is dry.
- Reduce the nozzle temperature in 5 °C increments.
- Calibrate the retraction settings.
- Increase the travel speed if necessary.
- Limit unnecessary movements across open spaces.
The extruder clicks or skips steps
- Check whether the nozzle is partially clogged.
- Slightly increase the nozzle temperature.
- Reduce the print speed or material flow.
- Check the tension of the extruder gear.
- Check that the spool can unwind freely.
The surface is rough or contains small holes
- Check whether the filament has absorbed moisture.
- Dry the filament if necessary.
- Calibrate the flow or extrusion multiplier.
- Reduce the print speed.
- Check the nozzle for contamination.
Overhangs and bridges sag
- Increase the fan speed.
- Slightly lower the nozzle temperature.
- Reduce the speed of bridges and overhangs.
- Use supports for heavy overhangs.
- If necessary, reduce the layer height.
The model’s corners lift up
- Clean the print bed again.
- Check the Z offset.
- Use a brim for a large model.
- Slightly increase the bed temperature.
- Avoid cold drafts around the printer.
- Reduce cooling during the first layers.
The part dimensions are incorrect
- Calibrate the flow and check for over-extrusion.
- Check the dimensions of the 3D model.
- Check the belt tension and motion axes.
- Use dimensional compensation in the slicer.
- First print a dimensionally accurate calibration model.
Clips or snap-fit connections break
- Use rounded transitions in the design.
- Make the bending zone slightly longer or thinner.
- Increase the nozzle temperature for better layer adhesion.
- Adjust the print orientation.
- Avoid sharp corners at the beginning of the clip.
- First print a test version of the connection.
Storing and drying PLA Tough
PLA Tough can also absorb moisture from the air. Damp filament can cause stringing, holes, and an irregular surface.
Storing PLA Tough properly
- Store the spool in a sealed bag or dry box
- Add sufficient desiccant
- Store the filament in a dry place
- Do not leave the spool open unnecessarily long
- Reseal the packaging immediately after use
Signs of damp filament
- Crackling or popping sounds
- Small holes in the print surface
- More stringing than normal
- Rough or inconsistent extrusion
- An irregular material flow
Material properties of TM3D PLA Tough
The data below provides a general overview of the material.
| Material | Impact-resistant PLA variant |
|---|---|
| Filament diameter | Depending on the selected TM3D version |
| Key properties | Less brittle, more impact-resistant, and better suited to functional parts than standard PLA |
| Recommended nozzle temperature | Approximately 200–230 °C |
| Recommended print bed temperature | Approximately 50–60 °C |
| Recommended fan speed | Approximately 40–100%, depending on the desired layer adhesion |
| Recommended print speed | Approximately 40–180 mm/s, depending on the printer |
| Enclosed print chamber | Not necessary |
| Suitable nozzle | Standard brass nozzle for normal, unfilled PLA Tough |
| Use | Functional prototypes, holders, clips, housings, snap-fit connections, and impact-resistant parts |
The exact properties and recommended settings may vary by color, product variant, printer, and test method. For technical applications, always consult the current technical data sheet.
Safe printing with PLA Tough
Always ensure a safe and properly equipped workspace during 3D printing.
- Ensure adequate ventilation in the printing area.
- Do not touch the hot nozzle or heated print bed.
- Do not leave a printer unattended unnecessarily.
- Keep the printer away from flammable materials.
- Do not automatically use printed parts for food contact, medical applications, or safety-critical applications.
- Test functional parts under the actual load before using them permanently.
- Refer to the safety data sheet for additional product information.
Frequently asked questions about PLA Tough
Can I print PLA Tough using a standard PLA profile?
Yes. Use a Generic PLA or standard PLA profile as a starting point. Then adjust the nozzle temperature, flow, and cooling for the desired layer adhesion and strength.
Is PLA Tough stronger than standard PLA?
PLA Tough is primarily less brittle and more resistant to shocks and impact. Actual strength also depends on the design, wall thickness, infill, layer adhesion, and print orientation.
What is the difference between PLA Tough and PETG?
PLA Tough generally prints similarly to PLA and produces a clean, dimensionally accurate print. PETG often has higher temperature resistance and is more moisture-resistant, but may cause more stringing.
Do I need an enclosed printer?
No. PLA Tough can generally be printed well on an open printer. However, avoid strong cold drafts blowing directly across the print bed.
Can I print quickly with PLA Tough?
Yes, provided the hotend can melt enough material. At high print speeds, you may need to increase the nozzle temperature and check that layer adhesion remains good.
How can I make a PLA Tough part stronger?
Use more wall lines, sufficient top and bottom layers, a suitable print orientation, and slightly less cooling. If necessary, increase the nozzle temperature for better layer adhesion.
Can I use PLA Tough for clips?
Yes. PLA Tough is suitable for many clips and snap-fit connections. Use rounded transitions, avoid sharp corners, and print the clip in an orientation that does not directly pull the layer bonds apart.
Is PLA Tough heat-resistant?
PLA Tough remains a PLA-based material and is therefore not the best choice for prolonged exposure to high temperatures. For hotter applications, PETG, ABS, ASA, or PC may be more suitable.
Can PLA Tough be used outdoors?
The material may be suitable for temporary outdoor applications. For prolonged exposure to sunlight, heat, and weather, ASA is generally a better choice.
Which nozzle can I use?
For standard, unfilled PLA Tough, a standard 0.4 mm brass nozzle is suitable. A 0.6 mm nozzle can be used for higher material flow rates and stronger, thicker print lines.
Why does stringing occur?
Stringing can be caused by moisture, a nozzle temperature that is too high, or incorrect retraction settings. First, check that the filament is dry, then adjust the temperature and retraction.
Ready to print stronger parts with PLA Tough?
Discover TM3D PLA Tough Filament for impact-resistant prototypes, functional parts, strong clips, and durable 3D prints with the ease of use of PLA.
View PLA Tough Filament