

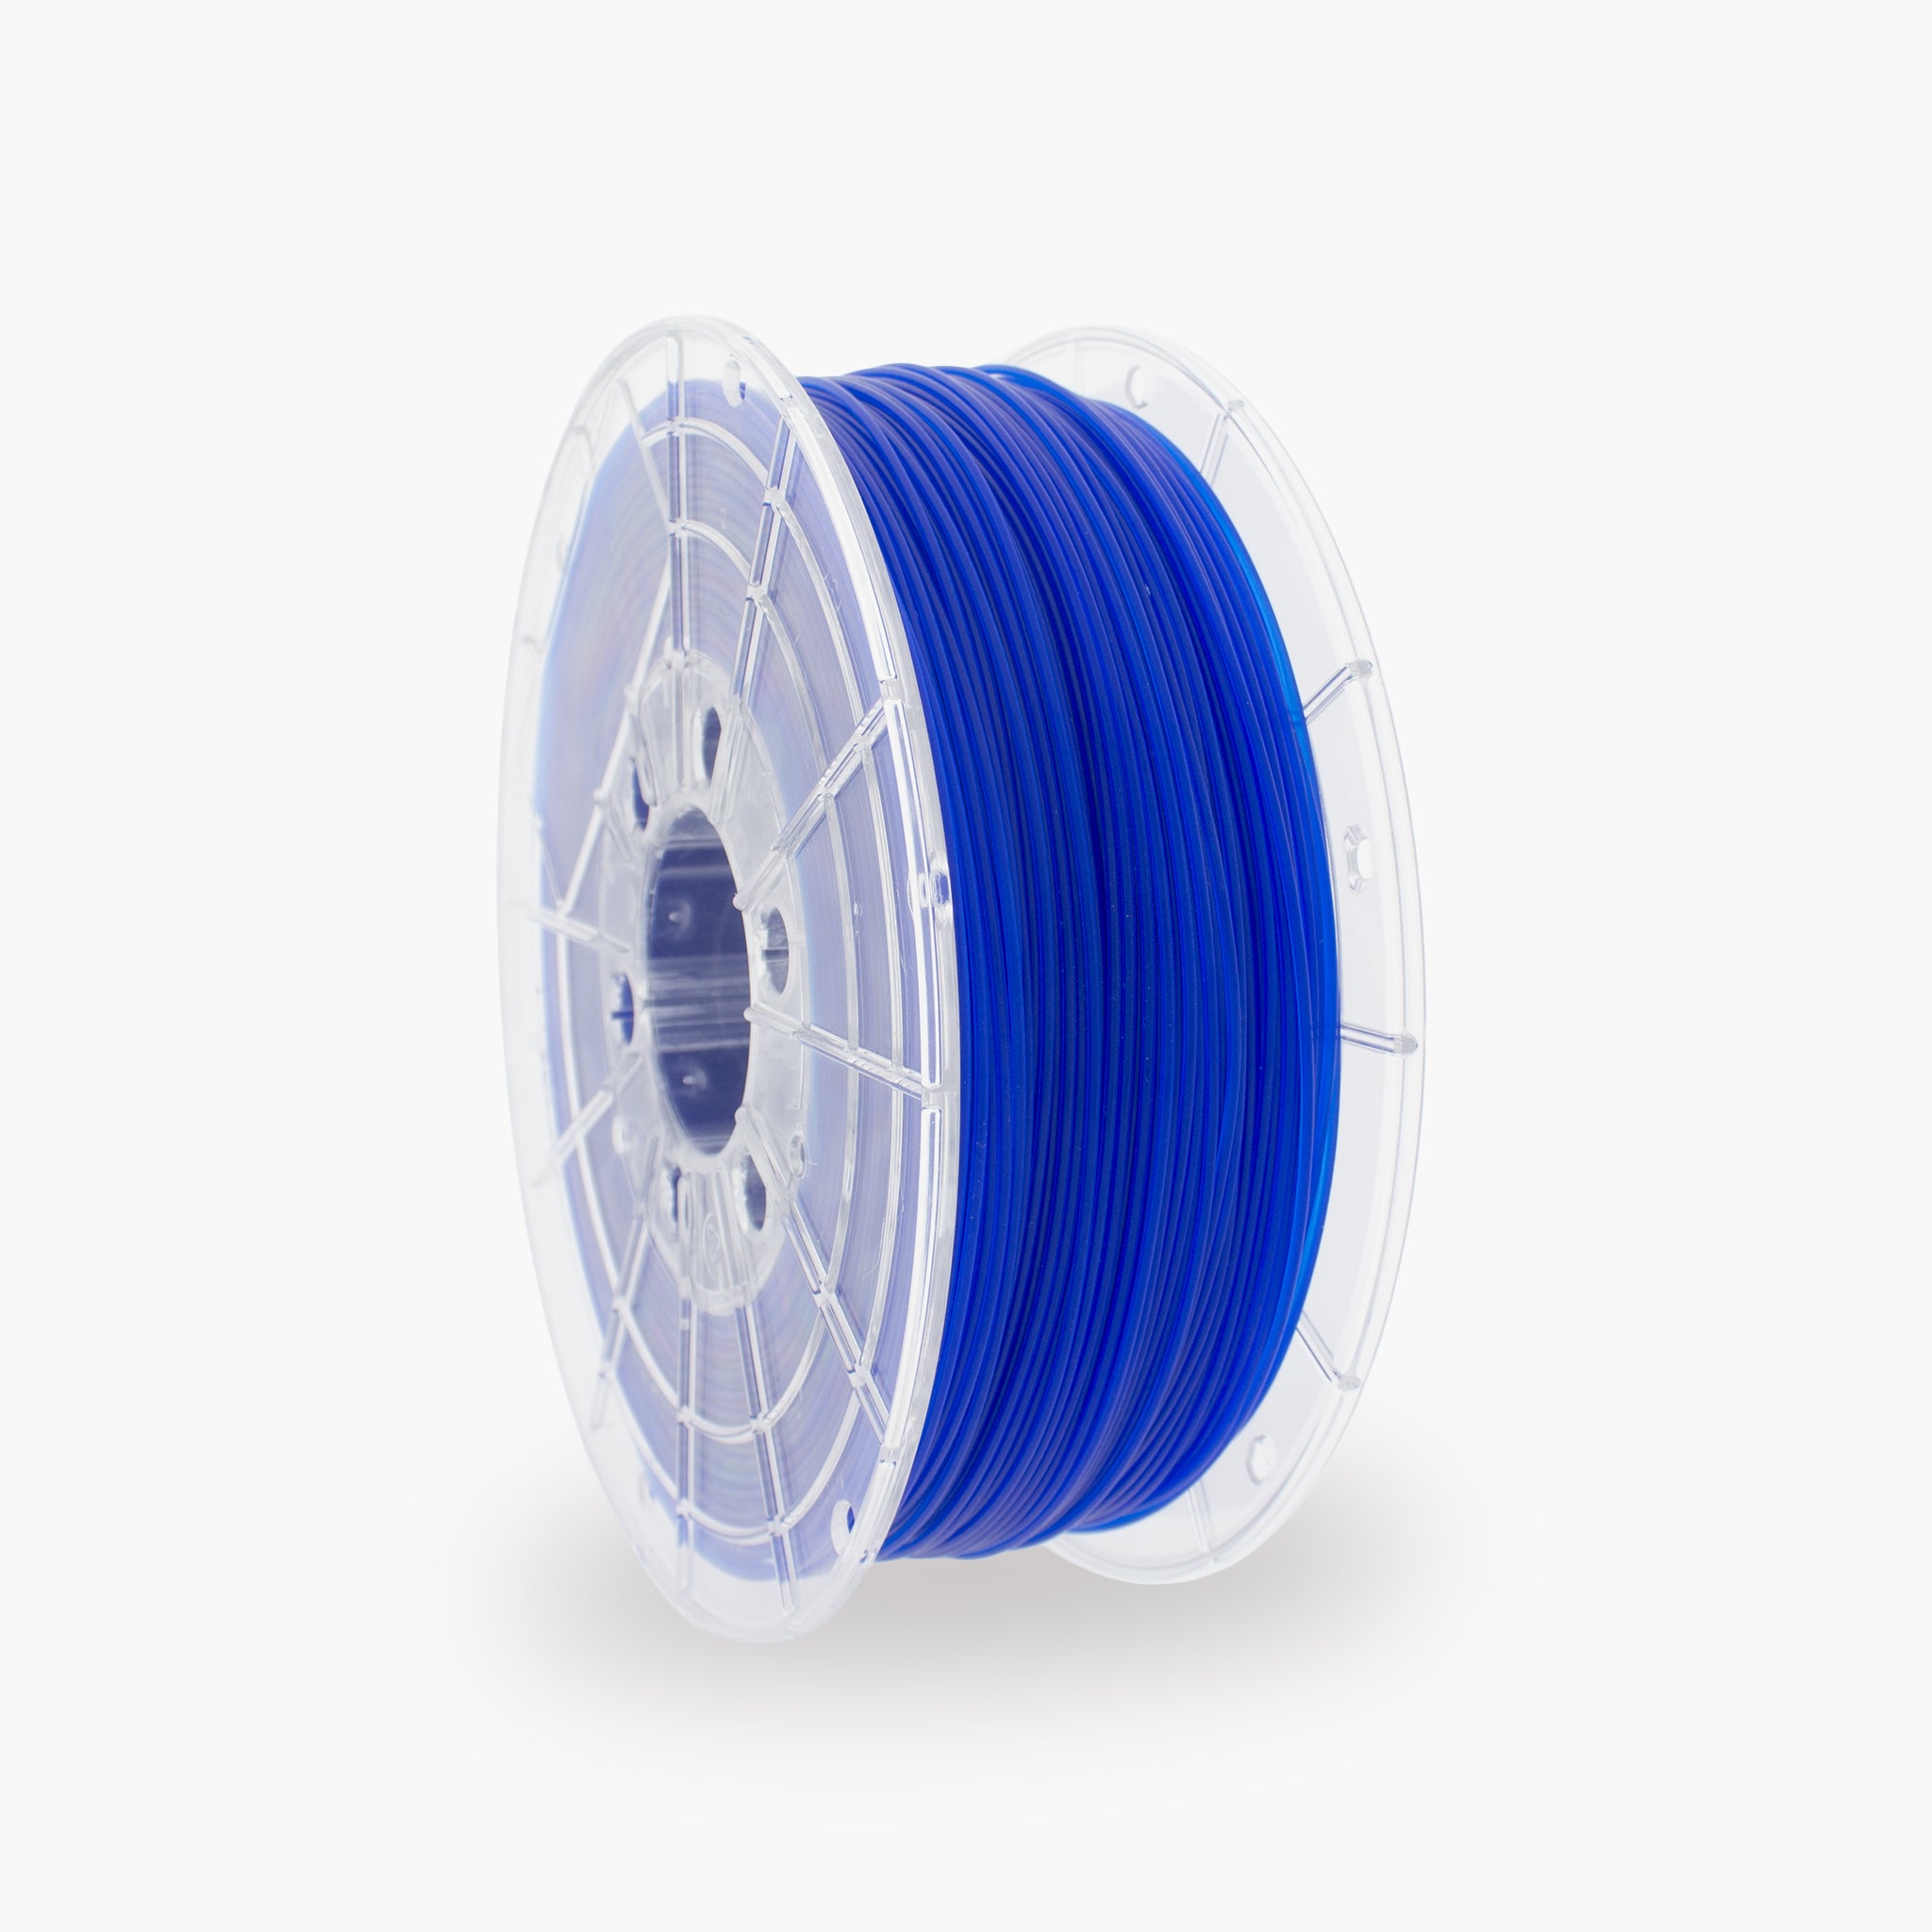
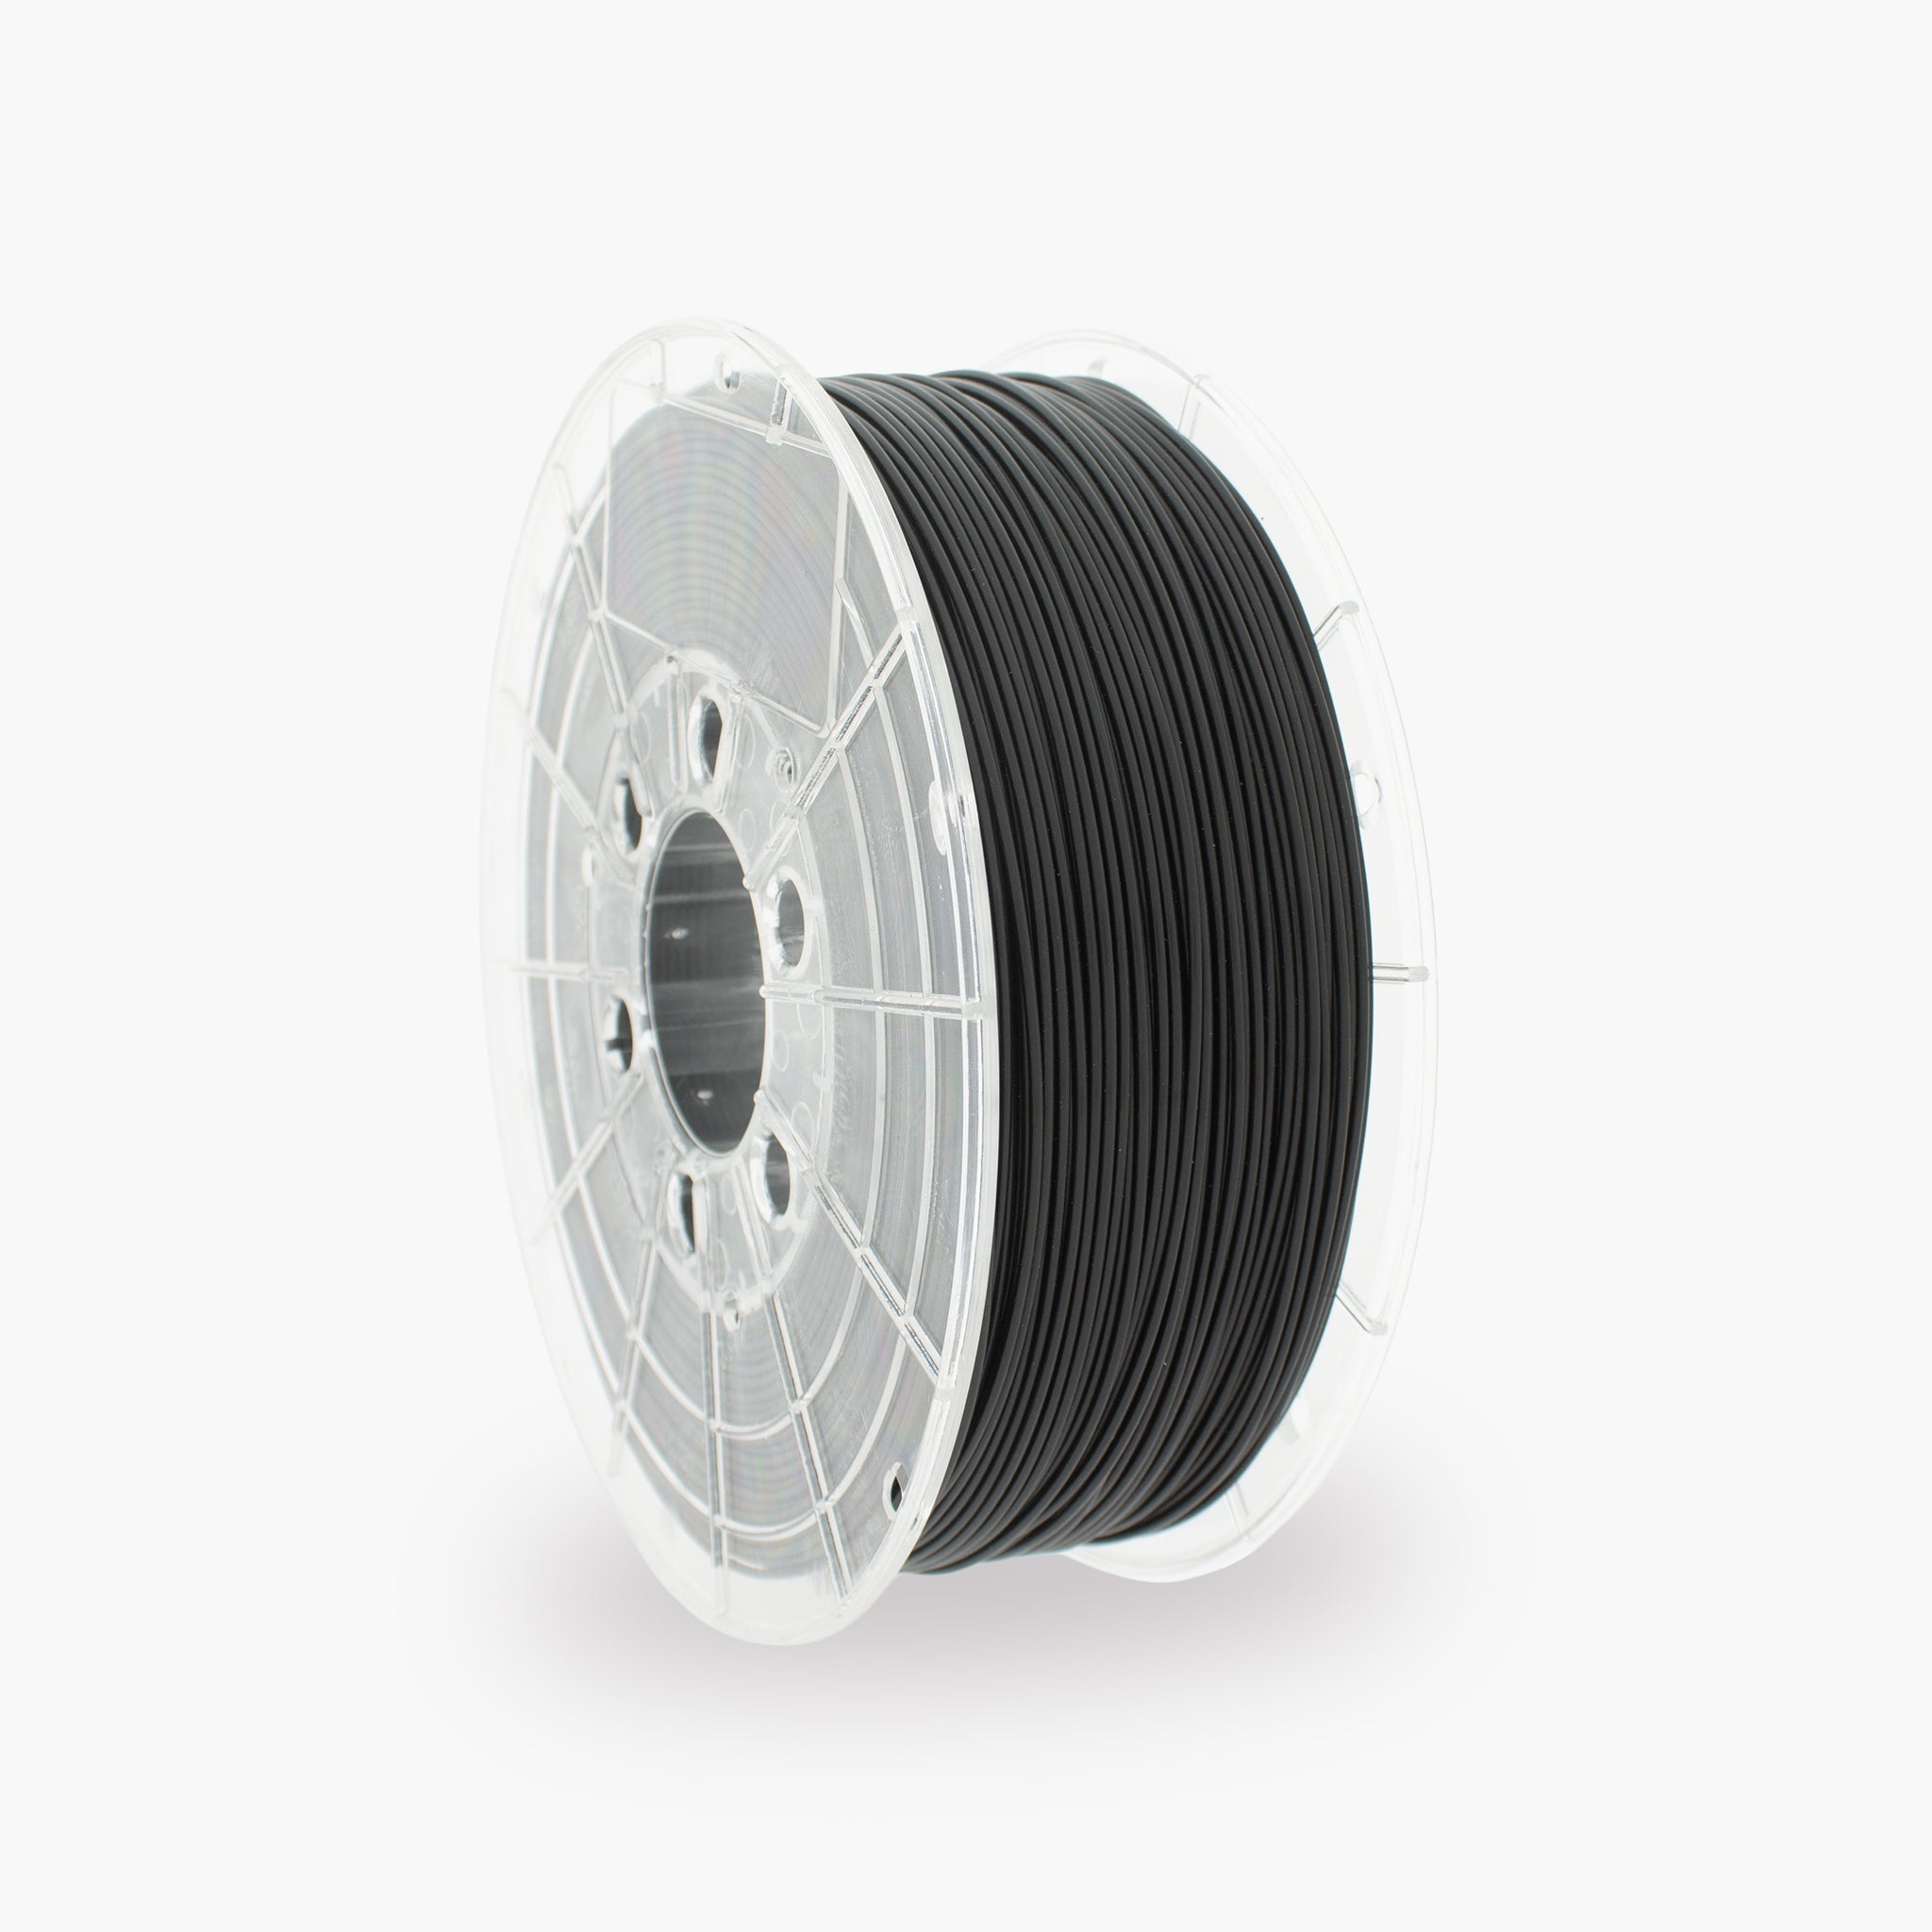
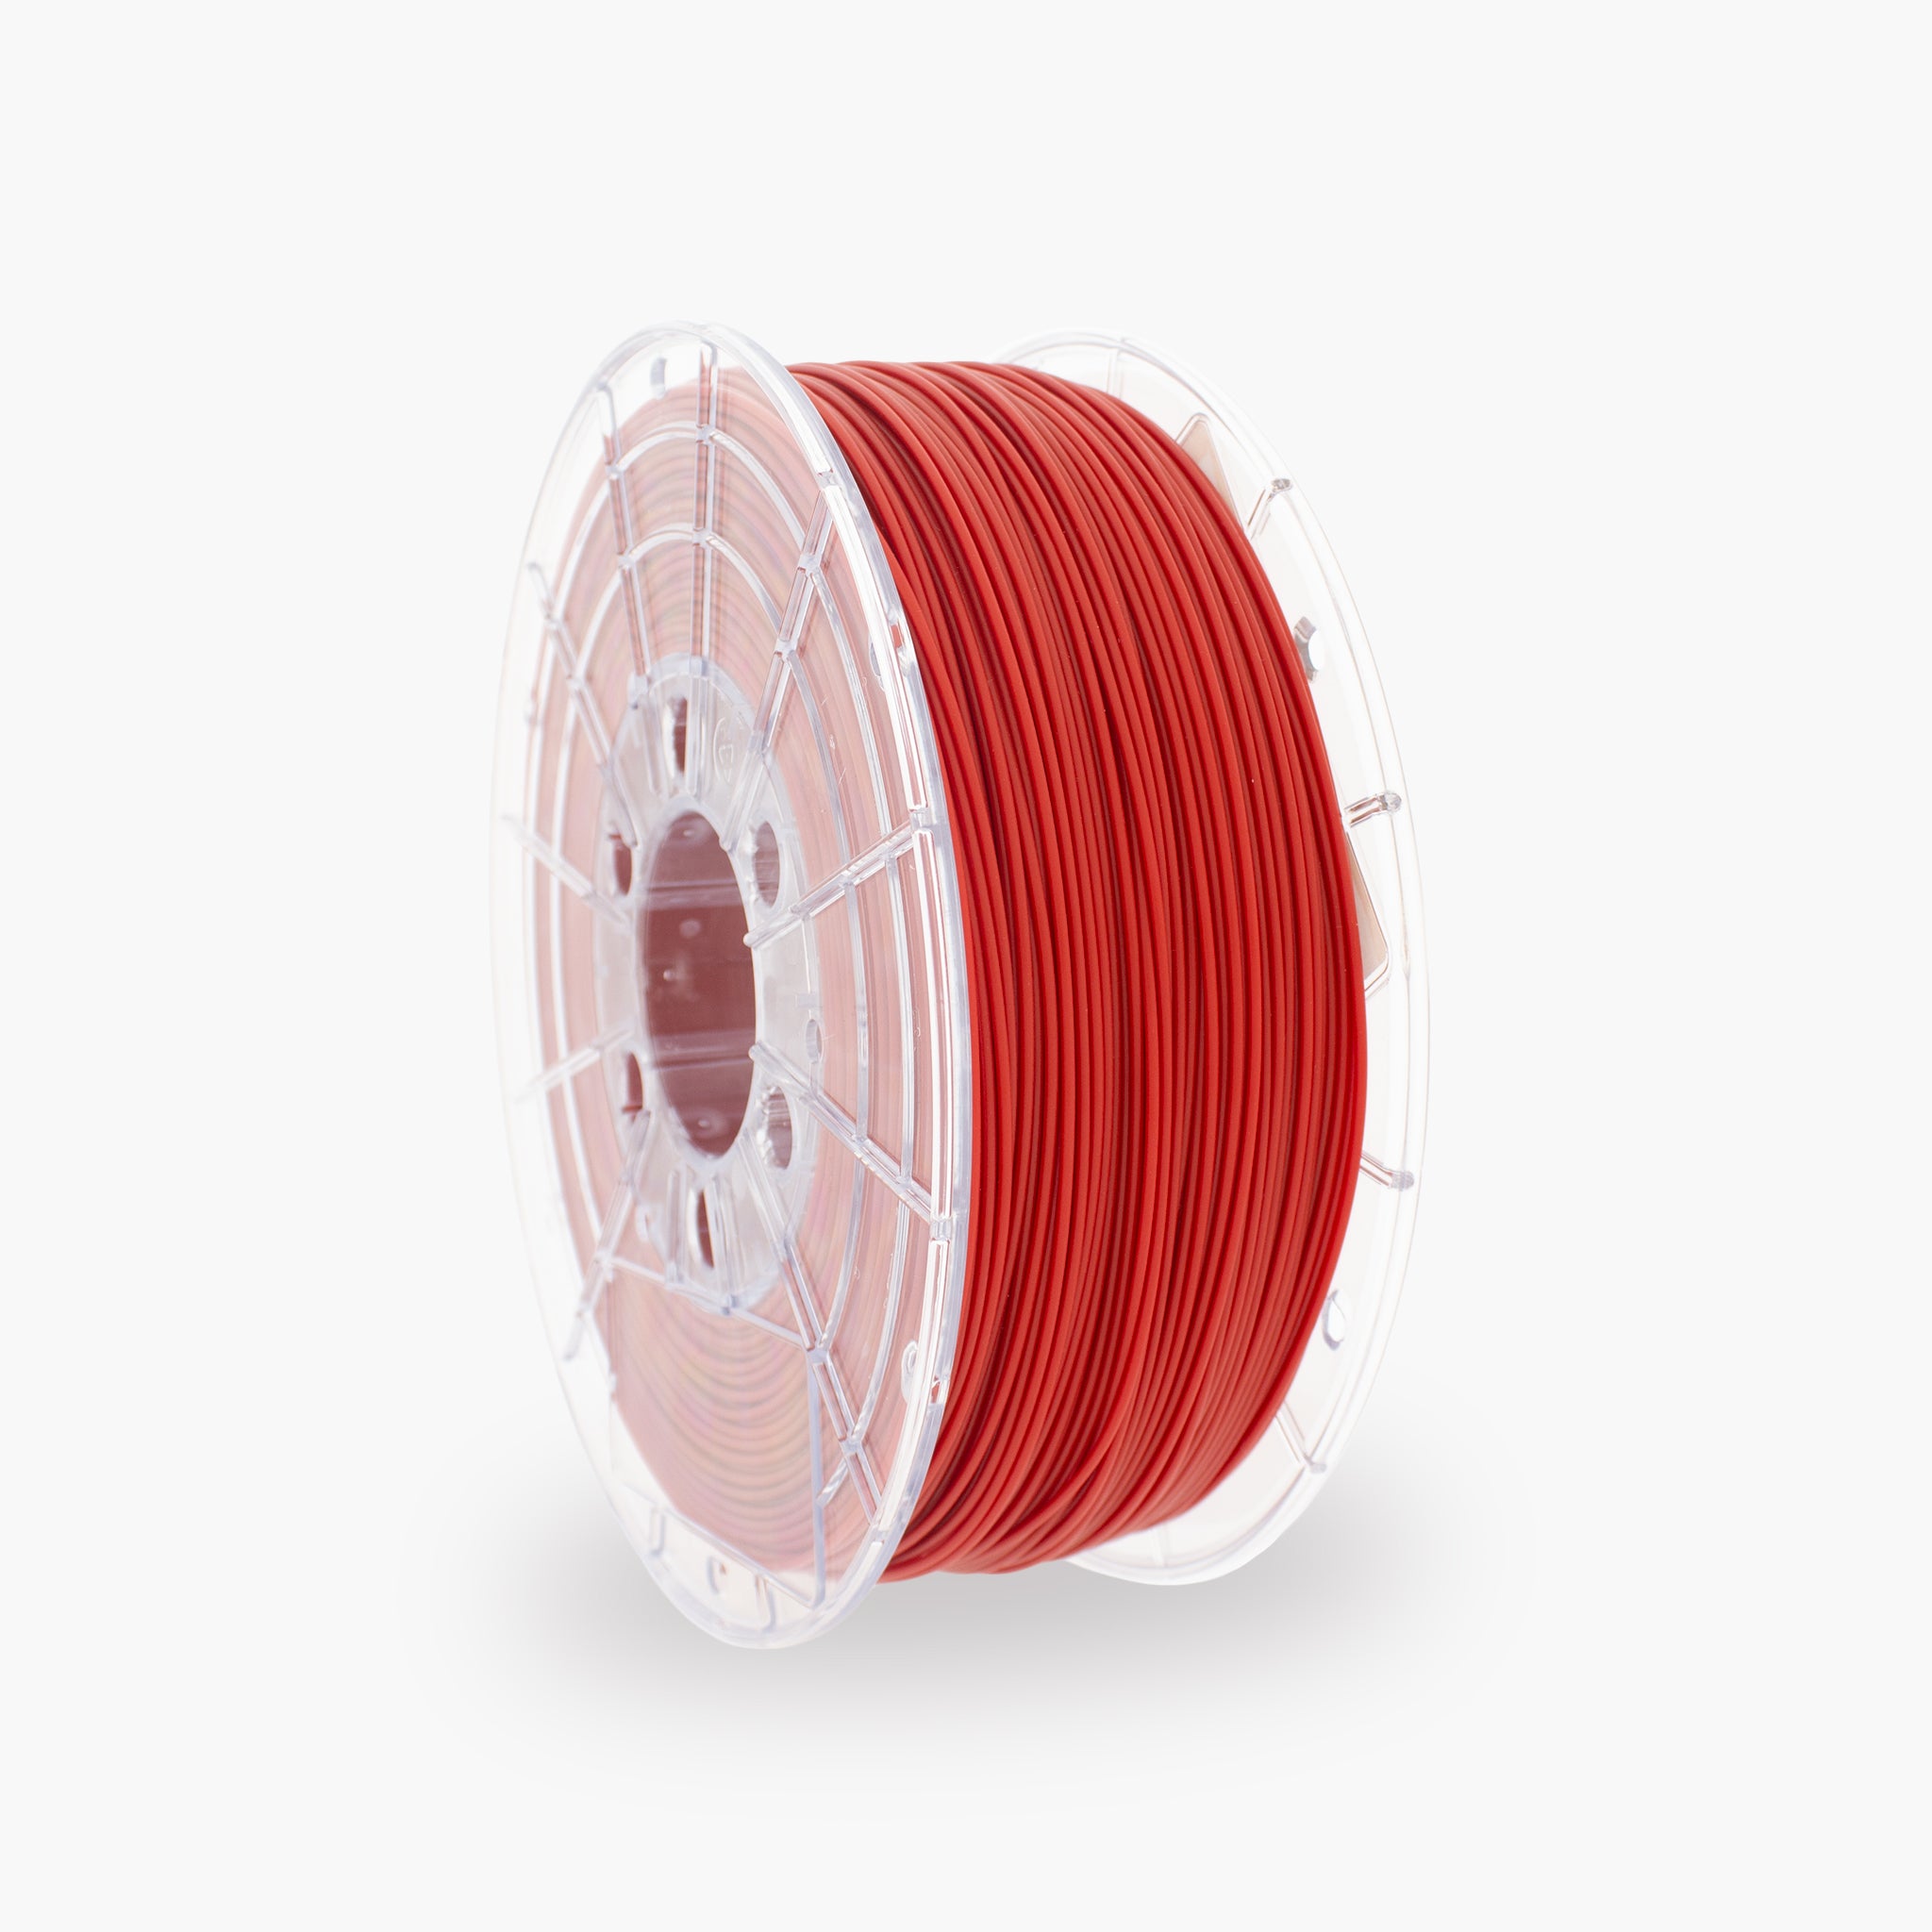
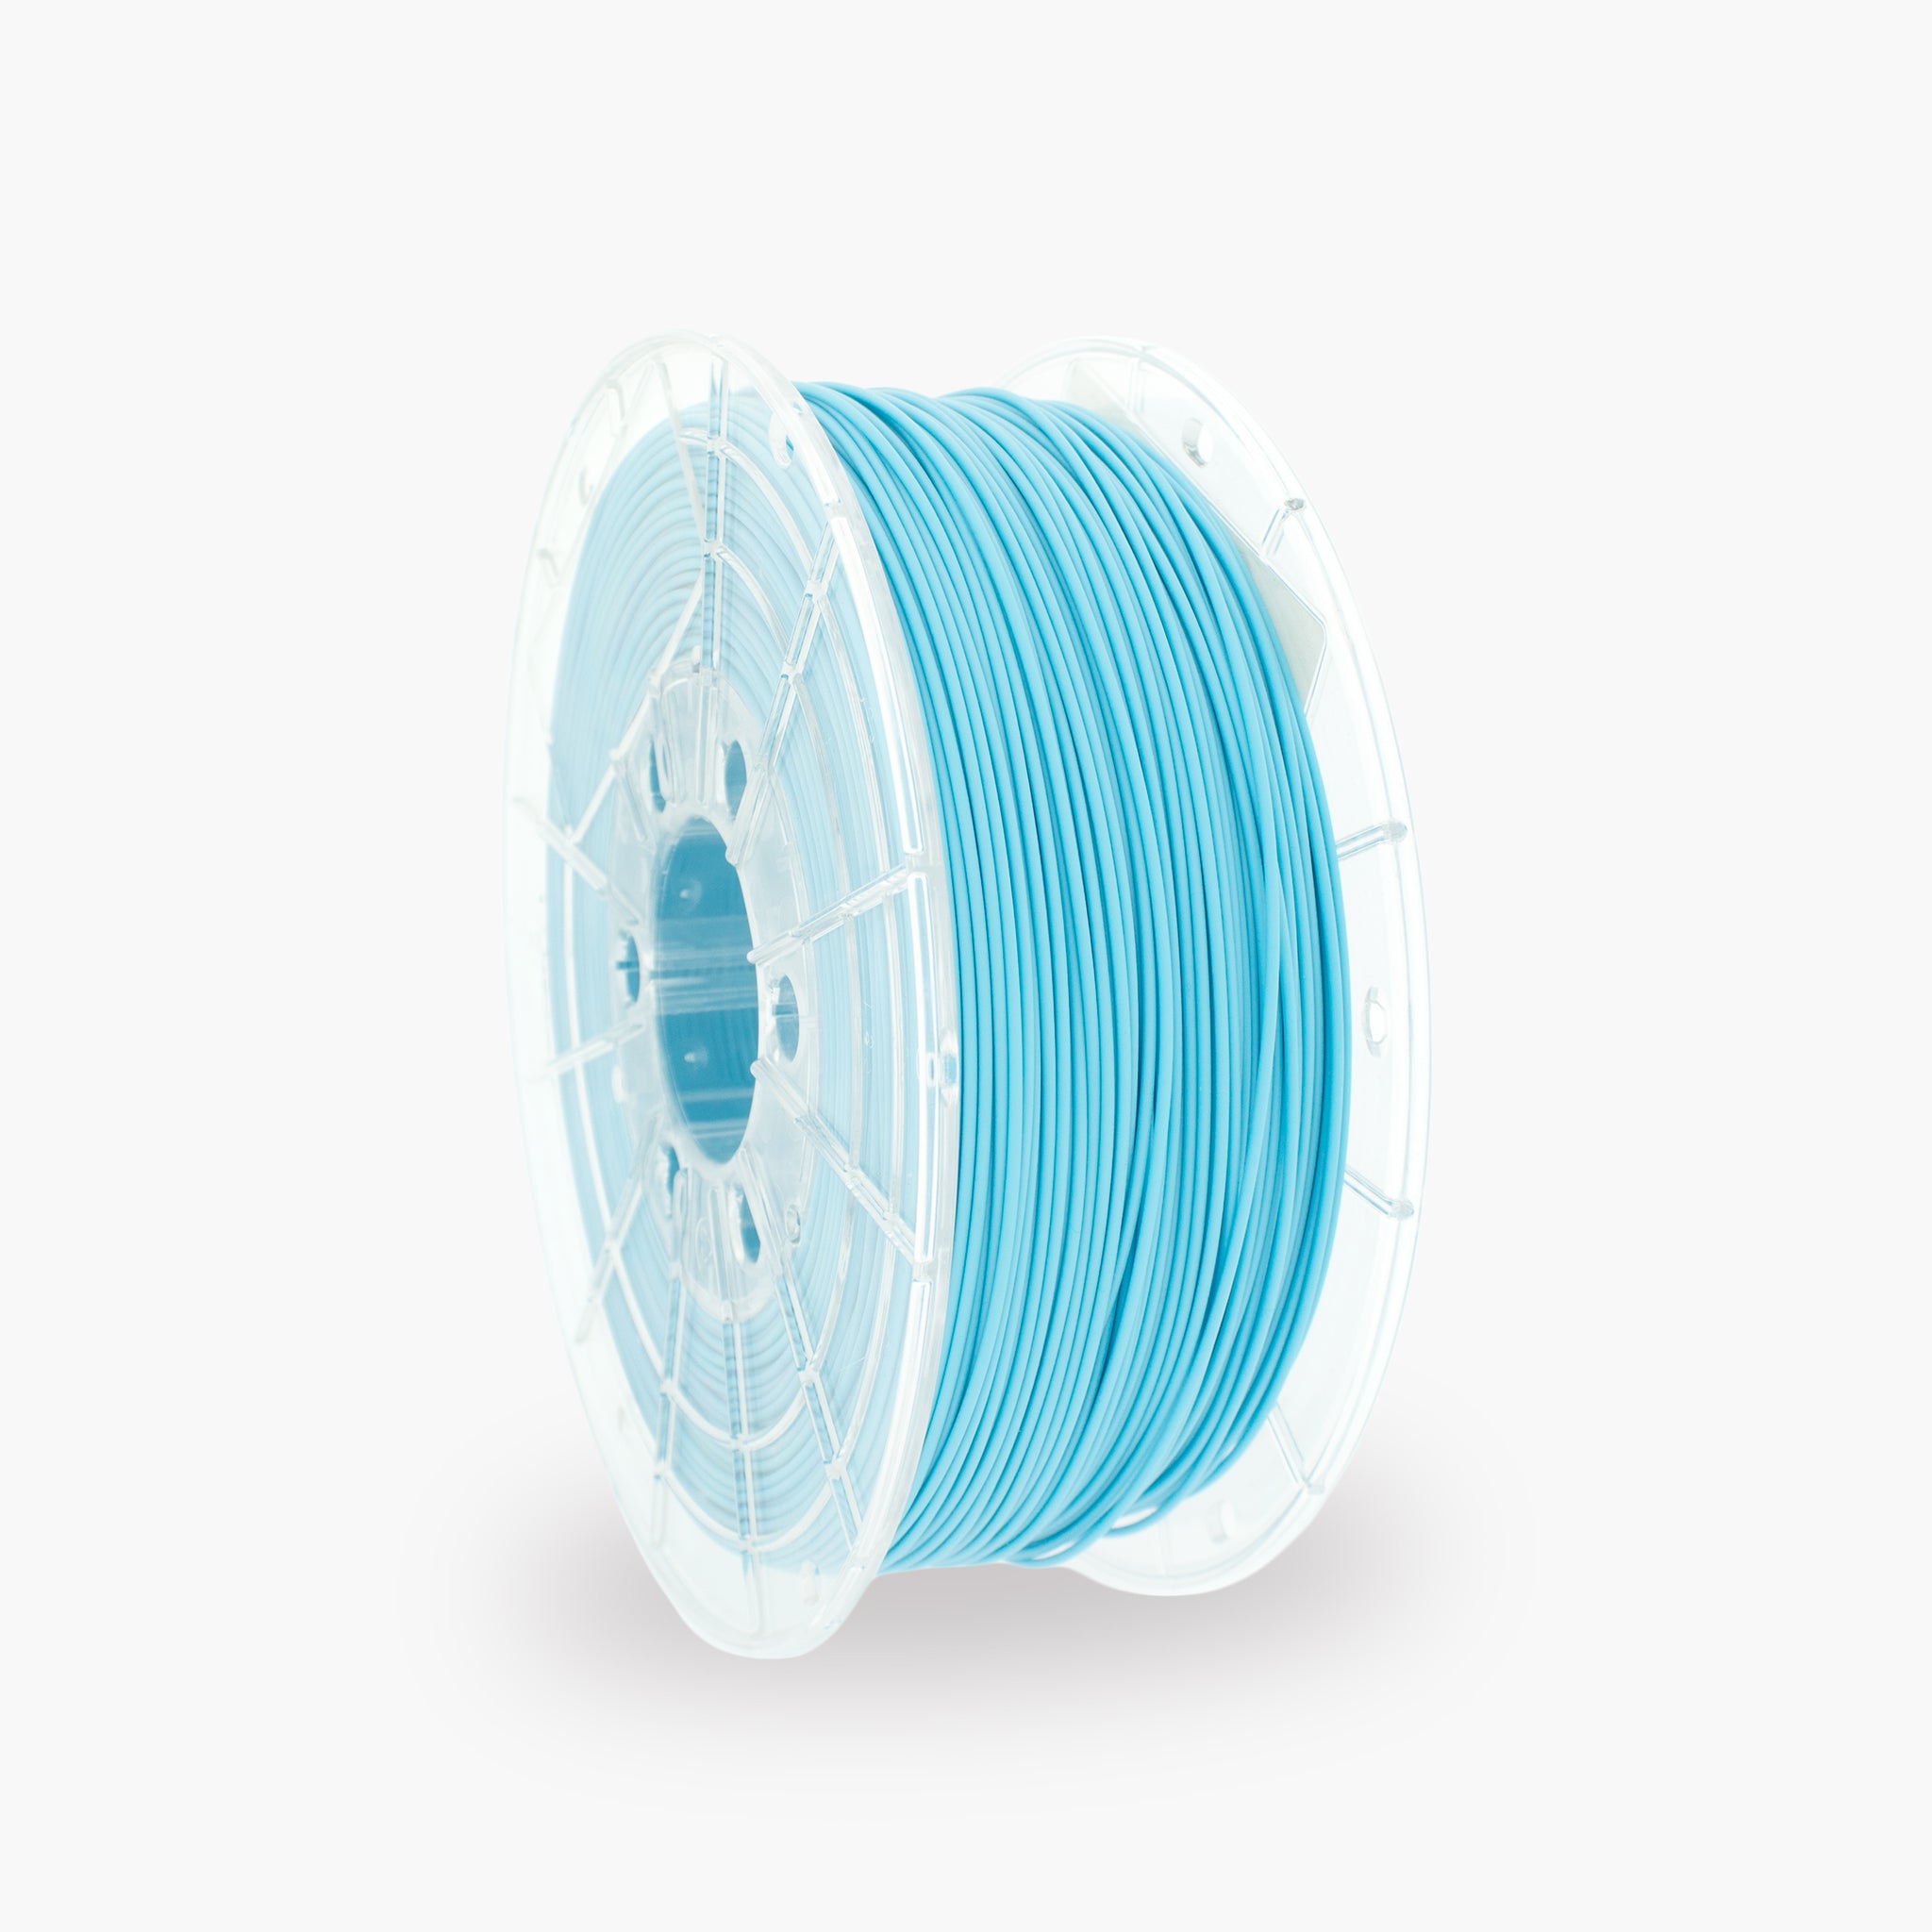
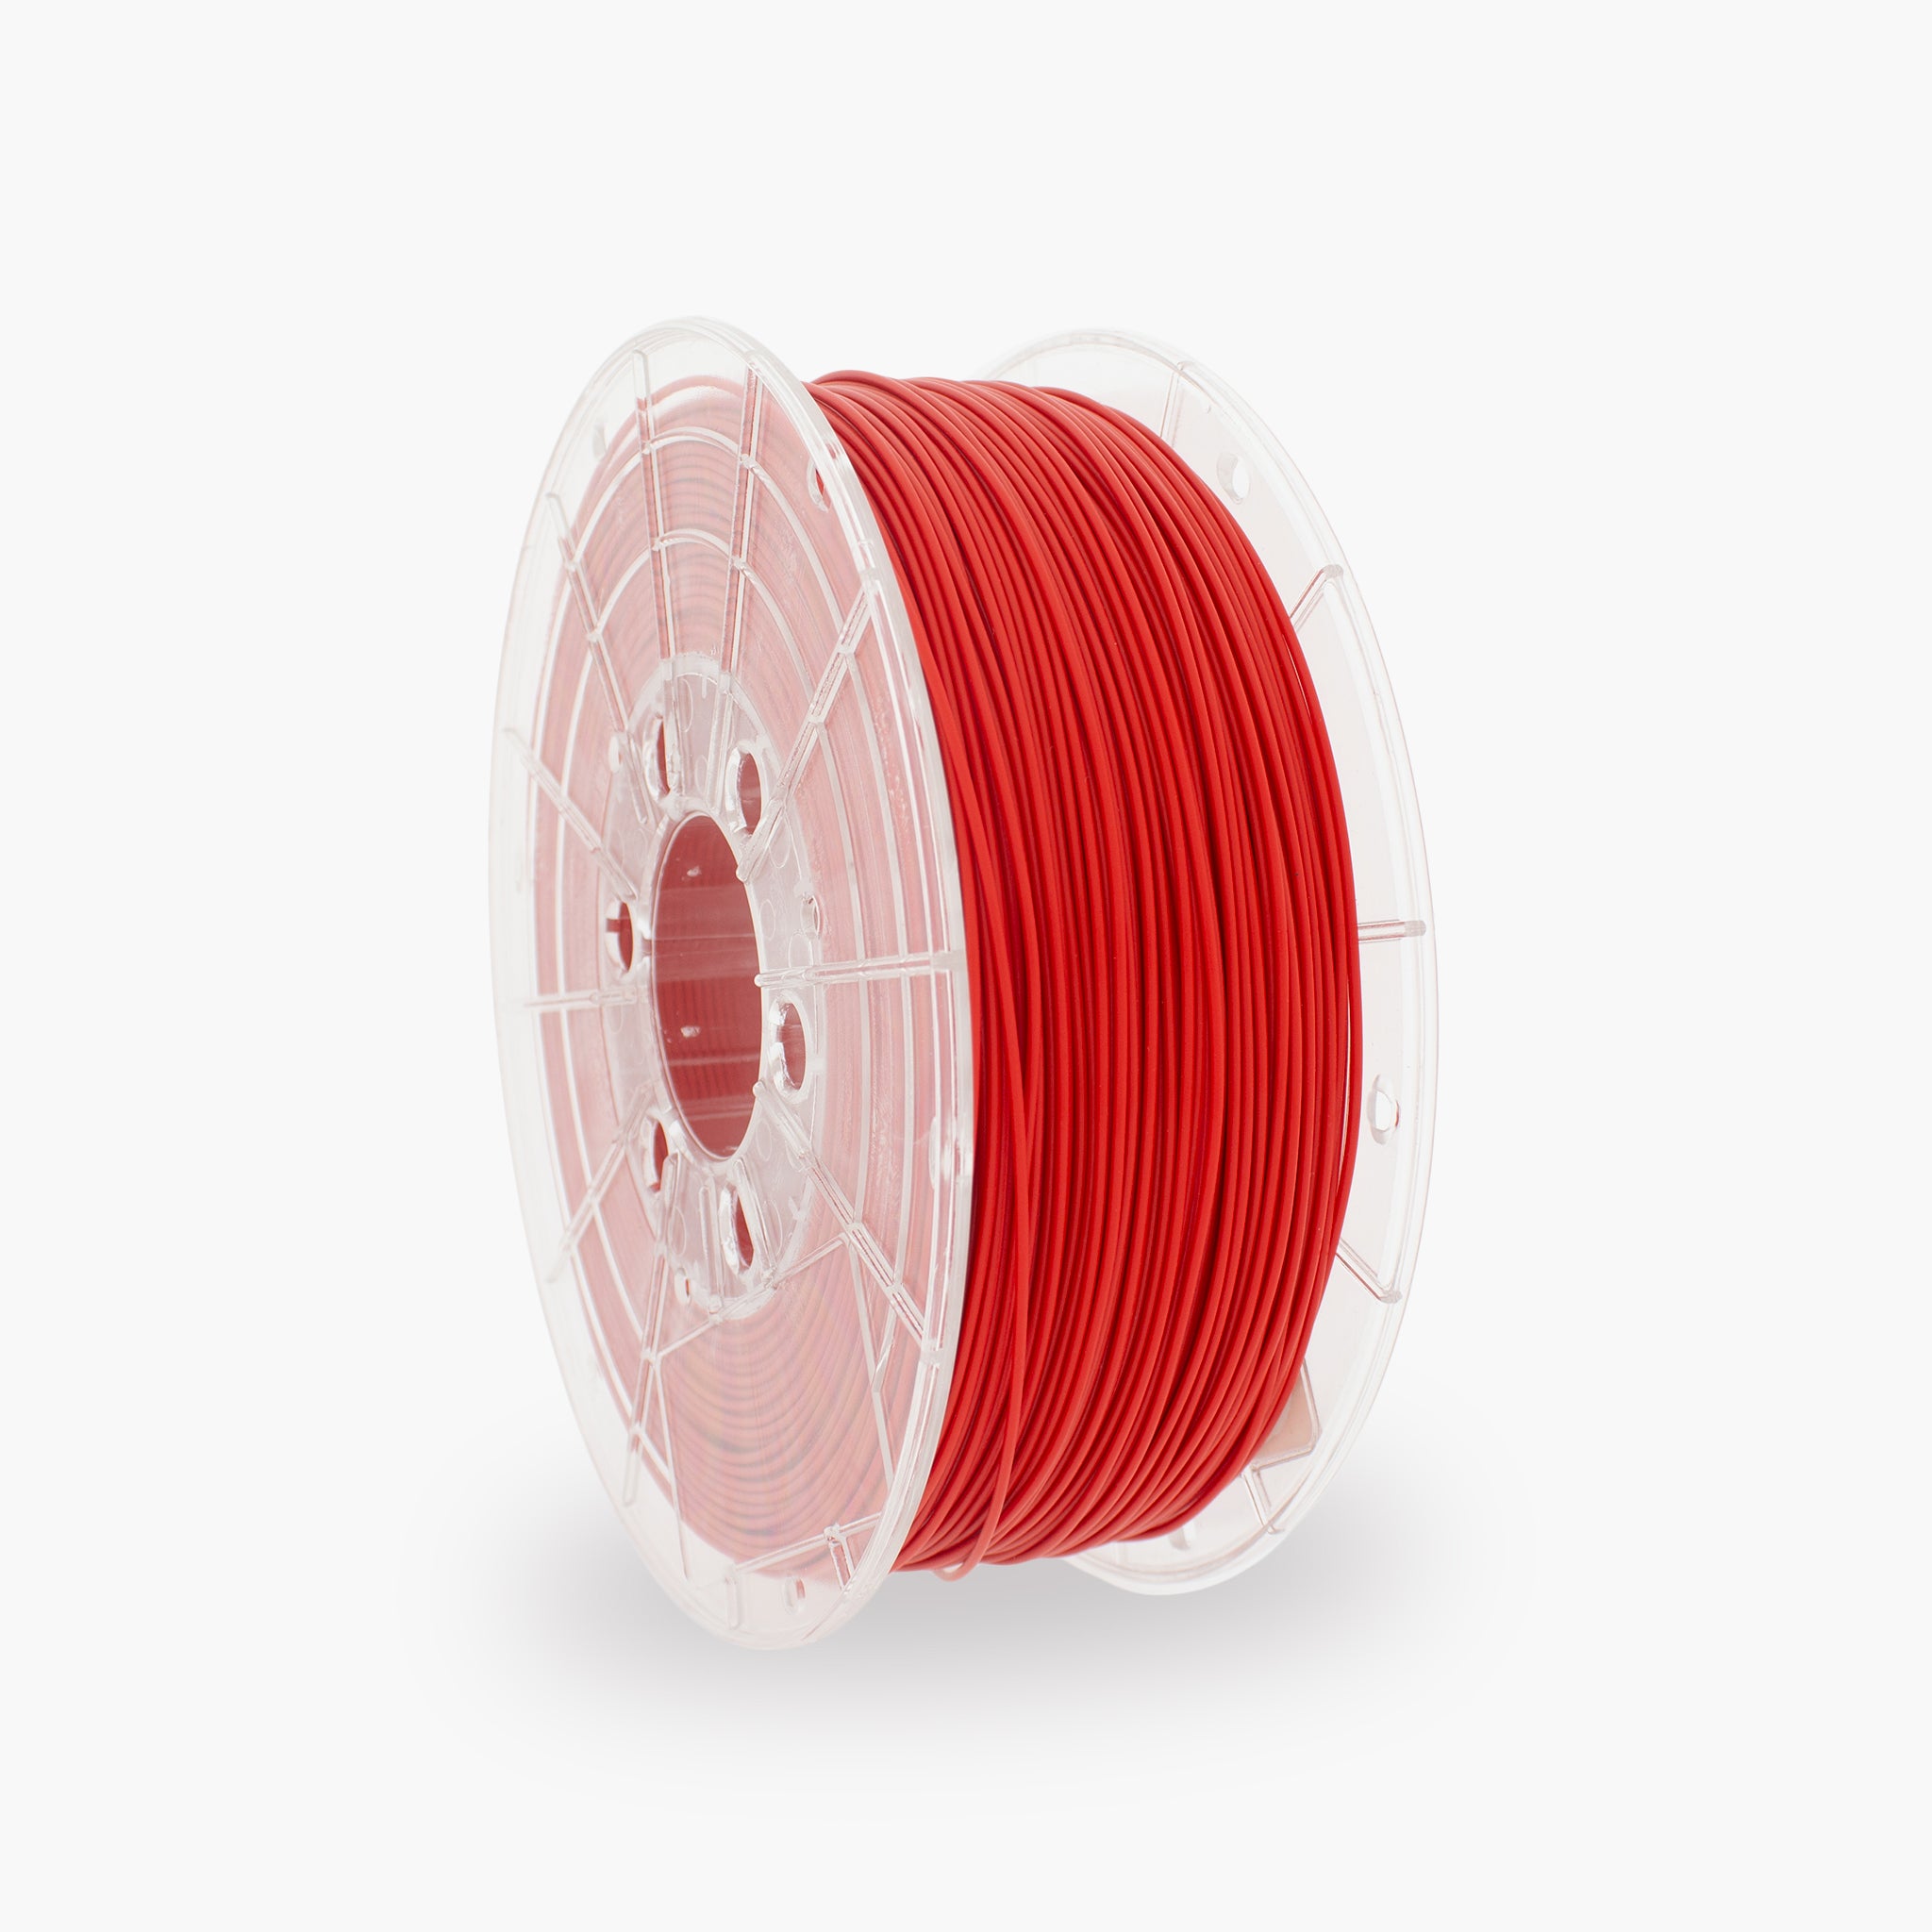
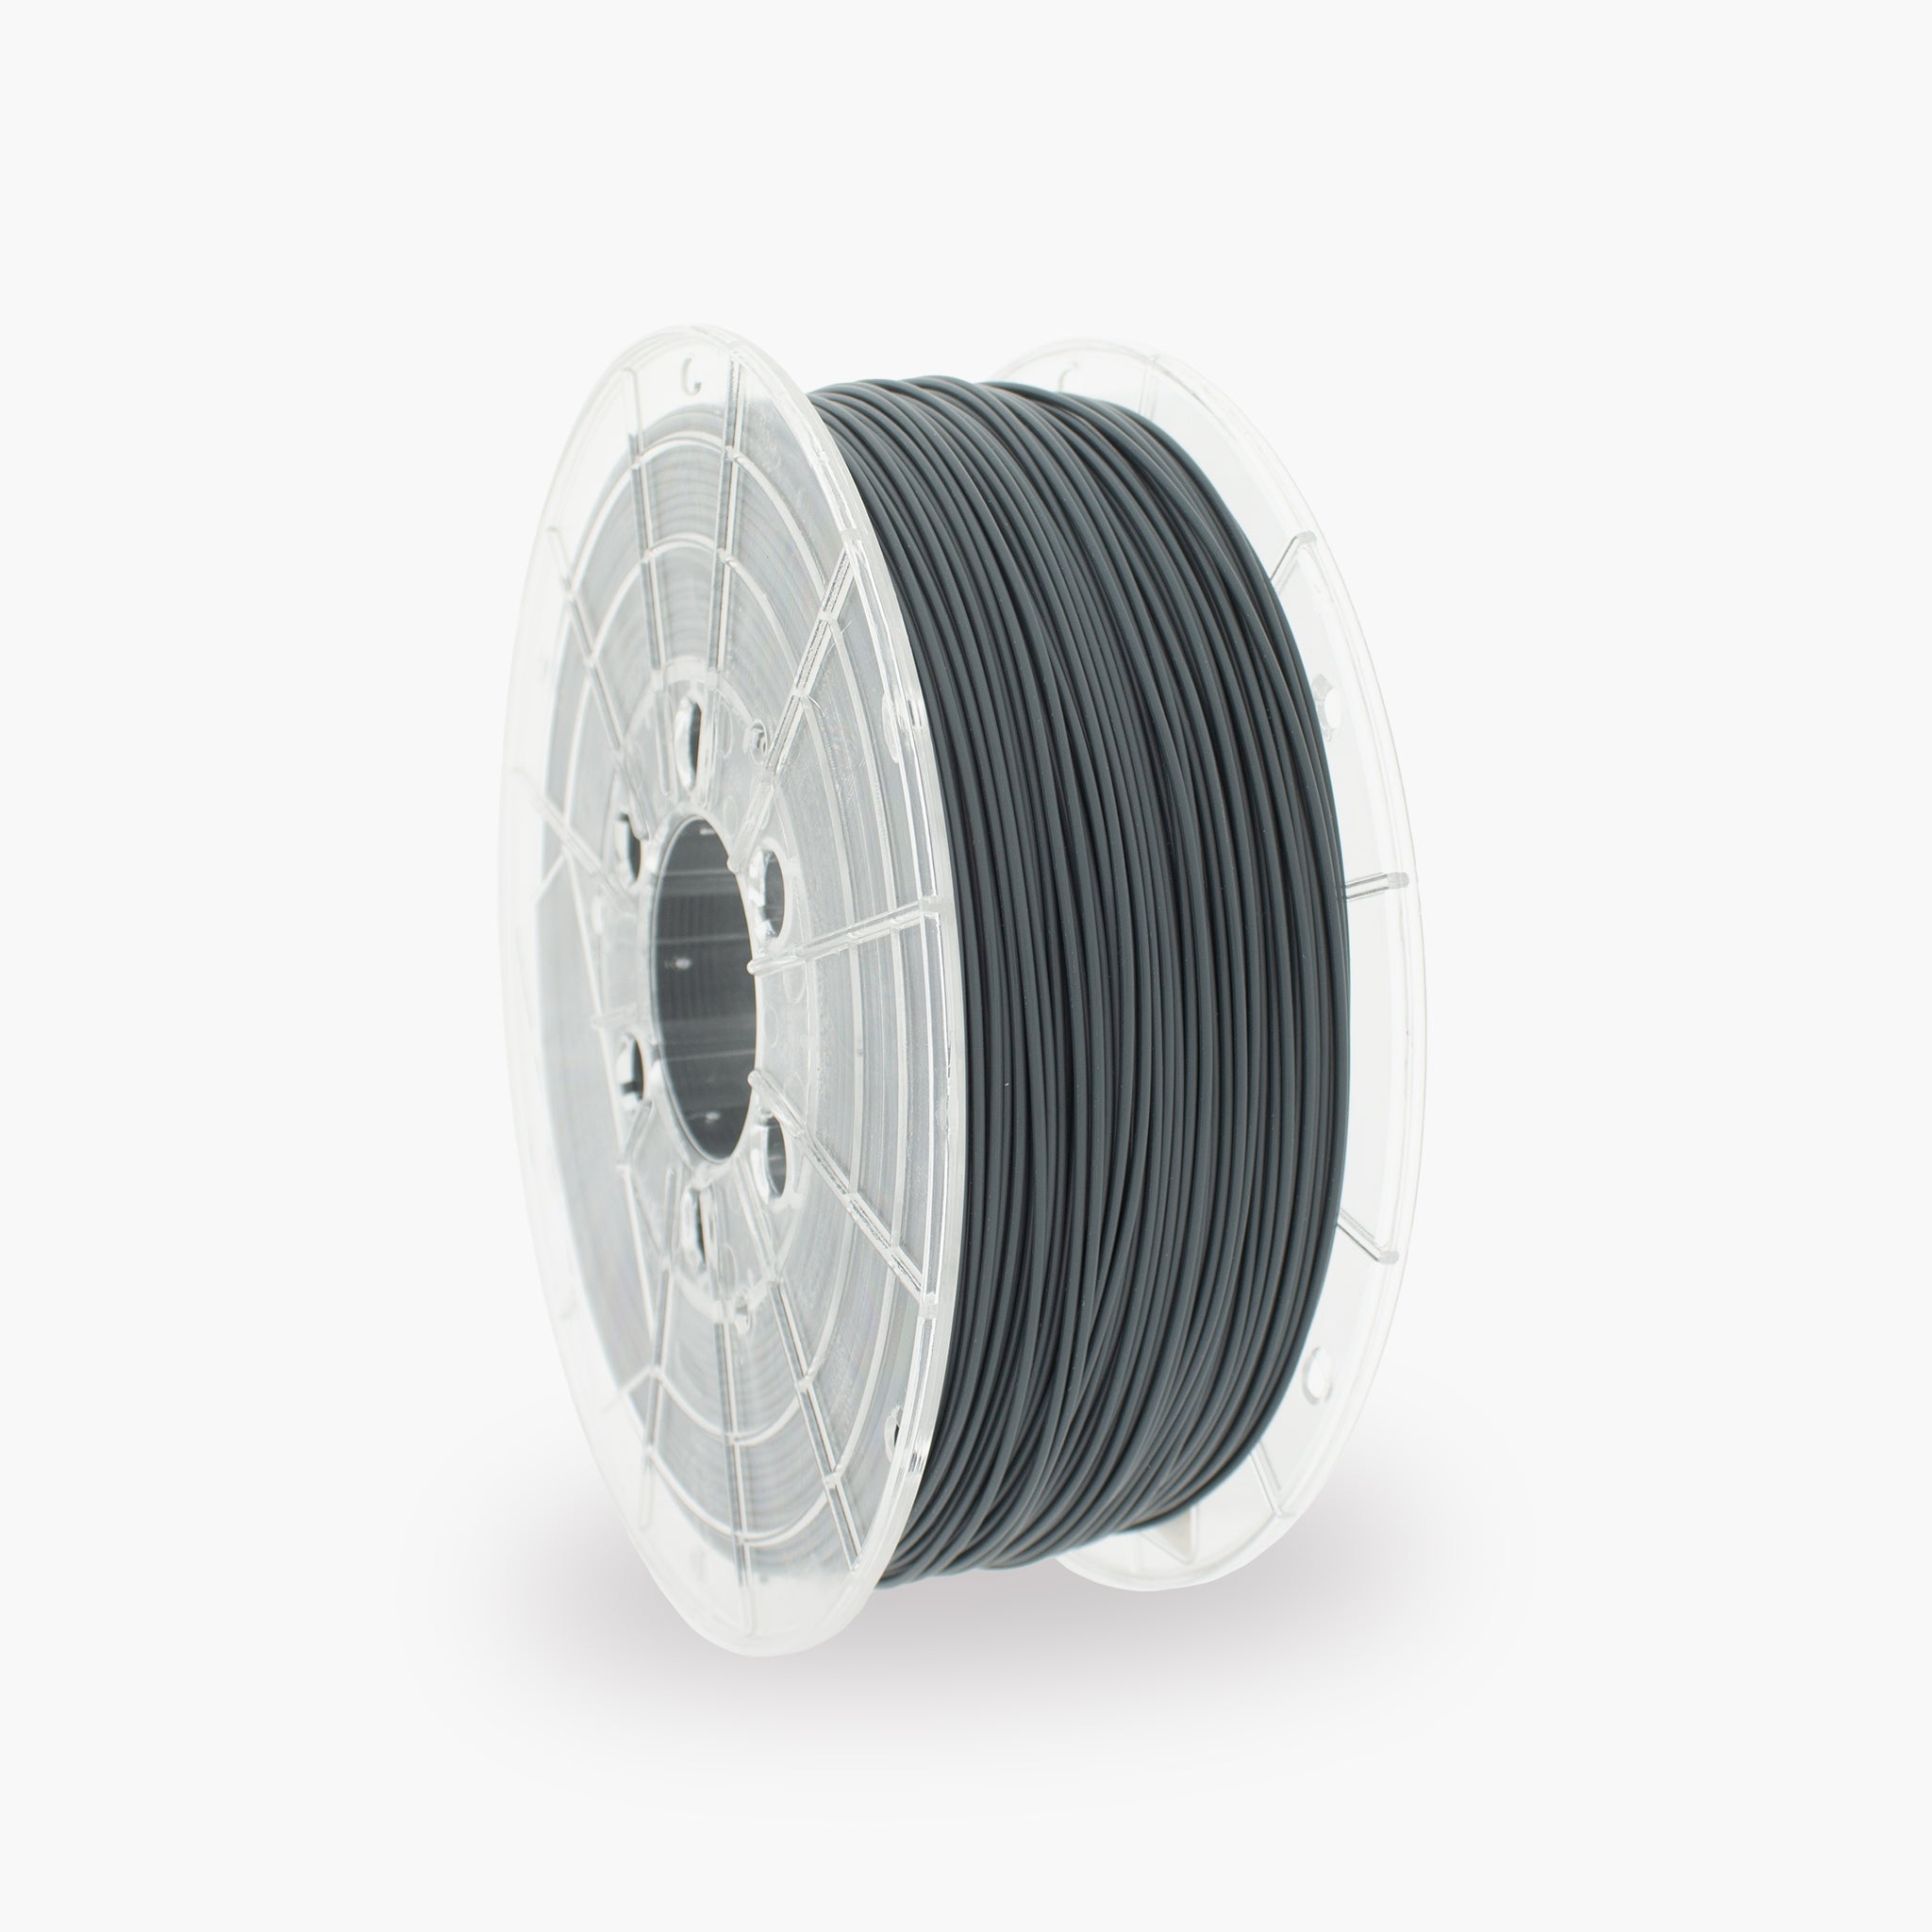

How do you print with TM3D PEI?
PEI, also known as polyetherimide, is a high-performance engineering filament for parts that must withstand high temperatures and heavy mechanical loads for extended periods. This guide provides general settings, printer requirements, and solutions to common PEI printing problems.
Key PEI settings
PEI grades may require different settings. Therefore, always check the technical data sheet for the selected TM3D PEI variant.
What is PEI?
A high-performance amorphous thermoplastic for demanding technical and industrial applications.
PEI stands for polyetherimide. The material is used for parts that require a combination of mechanical strength, dimensional stability, heat resistance, and chemical resistance.
PEI is primarily intended for professional and industrial 3D printers. The required temperatures are considerably higher than for materials such as PLA, PETG, ABS, ASA, and PC.
Advantages of PEI
- Suitable for high operating temperatures
- Good mechanical strength
- High stiffness and dimensional stability
- Good creep resistance
- Suitable for technical and industrial use
- Good properties at elevated temperatures
Suitable applications
- Industrial tools and fixtures
- Machine and structural components
- High-temperature enclosures
- Functional engineering prototypes
- Electrical and electronic components
- Parts for demanding production environments
General print settings for PEI
The settings below are a general starting point. The correct values depend on the specific PEI grade and printer.
| Setting | General range | Explanation |
|---|---|---|
| Nozzle temperature | 350–400 °C | Select the temperature based on the PEI grade, nozzle, hotend, and desired layer adhesion. |
| Print bed | 120–160 °C | A very hot print bed helps the first layer adhere and limits thermal shrinkage. |
| Heated print chamber | Grade-dependent | An actively heated chamber is essential. The required chamber temperature can vary significantly depending on the PEI grade. |
| First layer | 10–25 mm/s | A slow first layer gives the material time to adhere evenly to the print surface. |
| Other layers | 20–60 mm/s | Start slowly and increase the speed only when extrusion and layer adhesion remain reliable. |
| Fan | 0% | Normal part cooling increases the risk of thermal stress, warping, and delamination. |
| Brim | 10–20 mm | A wide brim increases the contact area and helps keep the corners flat. |
| Nozzle | From 0.4 mm | Use a nozzle and hotend demonstrably suitable for the required temperature. |
Which printer is suitable for PEI?
PEI requires an industrial high-temperature printer with controlled process conditions.
Minimum printer requirements
- High-temperature hotend
- Fully metal filament path
- Print bed suitable for very high temperatures
- Actively heated and insulated build chamber
- High-temperature-resistant sensors and wiring
- Suitable technical print surface
Check before printing
- The maximum safe hotend temperature
- The maximum safe bed temperature
- The maximum chamber temperature
- The temperature resistance of the motors and electronics
- The permitted spool temperature
- The machine’s ventilation and filtration
Preparing the printer
Controlled preparation is essential for reliable PEI printing.
How to achieve a good first layer
A stable first layer is important to prevent warping and corners coming loose during the rest of the print.
You can recognize a good first layer by:
- The print lines join together evenly
- The material adheres across the entire surface
- Extrusion is consistent and free of gaps
- The lines are lightly and evenly pressed flat
- The edges remain completely flat
Check the following in case of poor adhesion:
- Whether the filament is completely dry
- Whether the print surface is clean
- Whether the bed is at the correct temperature
- Whether the build chamber has been sufficiently preheated
- Whether the Z-offset is set correctly
- Whether the first layer is printed slowly enough
Why an actively heated print chamber is necessary
For PEI, an enclosed enclosure alone is usually insufficient. The build chamber must be actively and evenly heated.
Benefits of a heated chamber
- Smaller temperature differences in the model
- Lower risk of warping
- Better adhesion between the layers
- Lower risk of delamination
- Better dimensional accuracy
- More reliable printing of large parts
Avoid during printing:
- Opening the build chamber
- Sudden temperature drops
- Uncontrolled air currents
- An unevenly heated build space
- Removing a hot print immediately
- Rapid forced cooling
Useful slicer settings
Start conservatively and increase the speed only once the entire process is stable.
| Part | Starting value | Effect |
|---|---|---|
| Layer height | 0.20 mm | A practical starting point with a 0.4 mm nozzle. |
| Wall lines | 4–6 | More wall lines improve strength and make functional parts more robust. |
| Top and bottom layers | 5–8 | Creates closed and stronger surfaces. |
| Infill | 20–40% | Suitable as a starting point for many technical parts. |
| Heavily loaded part | 40–60% | Adjust the infill, wall thickness, and print orientation to the actual load. |
| Brim | 10–20 mm | Increases bed adhesion and helps prevent corners from lifting. |
| Fan | 0% | Prevents rapid localized cooling and thermal stress. |
| Print speed | 20–60 mm/s | Start slowly and increase the speed only after validating the process. |
Adjusting the print temperature
Assess not only the nozzle temperature, but also the bed and chamber temperatures as one combined process.
Temperature may be too low
- Poor adhesion between the layers
- A rough or matte material flow
- The extruder skips steps
- The part breaks between the layers
- The material flows irregularly
- Tall models show delamination
Temperature may be too high
- A lot of oozing during travel moves
- Details merge together
- The surface discolors
- Material remains stuck to the nozzle
- Overhangs and bridges become less precise
- The material may be degrading thermally
Troubleshooting common PEI issues
Click a problem to view the possible causes and solutions.
The model's corners lift up
- Check that the build chamber has been fully preheated.
- Increase the bed temperature within the permitted range.
- Use a wider brim.
- Check the print surface and adhesion layer.
- Reduce the first-layer speed.
- Prevent temperature fluctuations during printing.
Cracks form between the layers
- Increase the chamber temperature if permitted.
- Increase the nozzle temperature gradually.
- Reduce the print speed.
- Check that the filament is completely dry.
- Turn off all part cooling.
- Allow the part to cool in a controlled manner.
The print does not adhere to the print bed
- Clean the print surface thoroughly.
- Check the Z offset at operating temperature.
- Use a suitable adhesion layer for PEI filament.
- Increase the bed temperature within the product specifications.
- Reduce the first-layer speed.
- Check whether the build chamber is warm enough.
The filament crackles or forms bubbles
- Stop the print and dry the filament again.
- Print directly from a heated dry box.
- Check whether the desiccant is still active.
- Limit exposure to ambient air.
- Check whether the drying program was carried out correctly.
The extruder clicks or skips steps
- Check the nozzle for a partial blockage.
- Increase the nozzle temperature gradually.
- Reduce the print speed and material flow.
- Check the extruder gear and tension.
- Check whether the spool unwinds without resistance.
- Check whether the hotend actually reaches the set temperature.
The surface is rough or contains small holes
- Dry the material again.
- Check the flow calibration.
- Reduce the print speed.
- Check the nozzle for contamination.
- Check for temperature fluctuations.
- Print directly from a dry material environment.
The part dimensions are incorrect
- Check the stability of the chamber temperature.
- Account for thermal shrinkage.
- Calibrate the flow and motion axes.
- Check the nozzle and filament diameter.
- Use dimensional compensation in the slicer.
- First print a representative calibration model.
The part deforms during cooling
- Allow the model to cool in the closed build chamber.
- Do not use forced cooling.
- Do not open the printer immediately after completion.
- Remove the model only once it has reached a safe temperature.
- Check the design for large thickness variations.
- Adjust the print orientation if necessary.
The nozzle or hotend is damaged
- Check the maximum temperature of each hotend component.
- Do not use PTFE parts in the hot zone.
- Check the temperature sensor and firmware limits.
- Use a nozzle suitable for prolonged exposure to heat.
- Check the assembly and tightening torque at operating temperature.
- Replace damaged parts before the next print.
Designing PEI parts for technical applications
A high-performance plastic only delivers reliable results with a suitable design and a correctly validated printing process.
Recommended design choices
- Use rounded internal corners
- Avoid sudden changes in wall thickness
- Add ribs to large flat sections
- Reinforce mounting points
- Use sufficient wall thickness around holes
- Account for thermal expansion
When considering print orientation:
- The direction of the mechanical load
- The layer structure in the Z direction
- The required support
- The contact area with the print bed
- The required dimensional stability
- The final operating temperature
Storing and drying PEI
Moisture management is essential for a consistent material flow and strong adhesion between layers.
Properly storing PEI
- Store the spool completely airtight
- Use sufficient active desiccant
- Use a heated dry box during printing
- Do not leave the spool open unnecessarily
- Close the packaging immediately after use
- Record drying time and storage conditions
Signs of damp PEI
- Crackling or popping sounds
- Bubbles in the material flow
- Small holes in the surface
- A rough or foamy print result
- More stringing than usual
- Reduced adhesion between layers
Material properties of TM3D PEI
The exact properties depend on the selected PEI grade.
| Material | Polyetherimide, abbreviated PEI |
|---|---|
| Material category | High-performance amorphous thermoplastic |
| Filament diameter | Depending on the selected TM3D version |
| Key properties | Heat-resistant, strong, rigid, and dimensionally stable at elevated temperatures |
| General nozzle temperature | Approximately 350–400 °C, depending on the PEI grade |
| General print bed temperature | Approximately 120–160 °C, depending on the PEI grade |
| Print chamber | Actively heated and grade-dependent |
| Recommended fan | 0% |
| Moisture management | Drying and dry processing of filament |
| Use | Industrial parts, technical aids, high-temperature components, and heavily loaded applications |
Settings and material properties may vary by PEI grade, production batch, color, printer, and test method. Always consult the current technical data sheet for the supplied product before use.
Safe printing with PEI
Due to the extremely high process temperatures, additional safety measures are necessary.
- Use only a certified high-temperature printer.
- Ensure suitable ventilation and filtration.
- Inspect the machine before every production run.
- Do not touch the hot nozzle, print bed, build chamber, or part.
- Use heat-resistant personal protective equipment.
- Keep flammable materials away from the machine.
- Do not leave the printer operating unattended unnecessarily.
- Do not use printed parts for medical, food-related, or safety-critical applications without validation.
- Consult the safety data sheet and the technical data sheet.
Frequently asked questions about PEI
Is PEI the same as a PEI print plate?
No. PEI filament is polyetherimide printed as a model material. The term PEI is also used for thin coatings or sheets on a print bed. The filament and the print surface each have a different function.
Can PEI be printed on a regular desktop printer?
Normally not. PEI requires very high nozzle and bed temperatures as well as an actively heated build chamber. Use only a printer demonstrably designed for this material category.
Do I need an actively heated print chamber?
Yes. A simple enclosed housing is usually insufficient. An actively heated chamber reduces temperature differences, warping, and delamination.
Does PEI need to be dried before printing?
Yes. Use the drying program from the technical data sheet and, preferably, feed the material from a heated dry box during printing.
What is the difference between PEI 9085 and PEI 1010?
These are different PEI grades with different mechanical, thermal, and processing properties. Therefore, always use the technical data sheet for the exact product variant.
Why does my PEI print warp?
Warping is usually caused by thermal shrinkage, insufficient chamber temperature, poor bed adhesion, or cooling that is too rapid. Check the complete temperature management of the process.
Why does my PEI print crack between the layers?
Possible causes include a build chamber that is too cold, a nozzle temperature that is too low, a print speed that is too high, moisture in the filament, or unwanted cooling.
Which nozzle can I use for PEI?
Use a nozzle that can withstand the required printing temperature for extended periods. Filled or abrasive PEI variants also require a wear-resistant nozzle.
Can a printed PEI part be certified?
That depends on the material, printer, process parameters, post-processing, traceability, and test method. A certificate for the raw material does not automatically apply to the final printed part.
Can PEI be used outdoors?
This depends on the specific PEI grade, UV exposure, operating temperature, and mechanical load. For prolonged outdoor use, always consult the technical data sheet.
Ready to print high-quality parts with PEI?
Discover TM3D PEI filament for industrial high-temperature printing, technical parts, and demanding functional applications.
View the PEI filament